Vegetable Gardening in a Raised Bed | Beginner Gardener Part 1
Vegetable gardening in a raised bed doesn’t need to be difficult, even for beginners. This is your season! Grow with me as we grow a small, yet productive garden, in a raised bed. We can do it together!
Is Vegetable Gardening in a Raised Bed the Best Method?
Gardens can be grown in a number of different ways. Raised beds are only one option. Personally, it’s my favorite option for a few reasons.
- Raised beds mark the area to be used for the garden and keep out foot traffic like pets and children (assuming they listen).
- You can add any type of soil and compost directly on top of the ground in the raised bed so you have a great starting point for healthy soil. If you have clay soil, no problem! You just place your raised bed (it shouldn’t have a bottom) on the ground and add soil/compost. You’re ready to go!
- It’s an absolute dream to grow all of your plants in this loose, fluffy soil. There will be no compaction as no one has ever walked on it (again, assuming pets and kids listen:). You won’t hit rocks and clay when digging, because you aren’t adding rocks and clay! You can garden with a simple hand shovel. It’s fabulous!

Do I Need a Raised Bed?
Nope! Raised beds are awesome. But you don’t need one. All of my vegetables and most of my herbs are in raised beds or pots. But all of my fruit is in ground. It all works!
If you don’t want to spend the money on a raised bed, then don’t! Decided where your vegetable garden will grow and mound up soil/compost about 6-8″. It may look roughly like a burial site until you get some plants growing – – ask me how I know!
Now onto the nitty gritty of what and where for your raised beds!
Vegetable Gardening Raised Bed Options
You have lots of options when it comes to raised beds. I’m going to stick with the easier and less expensive options, as that’s how I roll. You can absolutely get fancy and make raised beds out of bricks, stacked stones, cedar, or high end kits. But we are trying to make this economical. Gardening, in my opinion, should be fun, soothing and rewarding. But, it shouldn’t cost more than your mortgage!
If you want simple, these options may be up your alley:
Galvanized Raised Garden Bed, roughly 5′ x 2.5′ (this is the size I am working with for this small vegetable garden)
Galvanized Raised Garden Bed Planter, 6′ x 3′
Wooden Raised Bed, 8′ x 4′
If you want a raised bed with legs for a patio or a deck, these are great options:
If you prefer a bit more DIY with some basic tools, you may want to go the solid wood route:
Basic lumber – – You can choose between pressure treated or kiln dried wood.. Some people say that pressure treated still isn’t safe, others say it is. Personally, I have both and I’ve painted all sides and ends of the wood with exterior paint. You can decide which option is best for you.
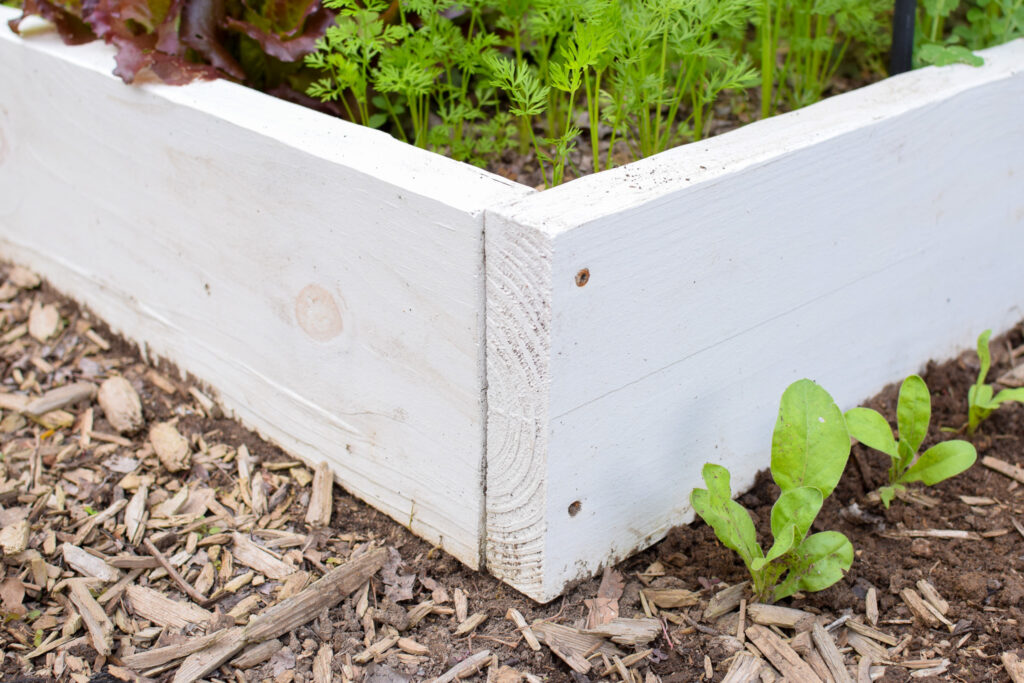
Wooden Raised Bed, about 2′ x 6′ :
Two 2 inch x 8 inch x 8 feet (2-in x 8-in x 8ft) boards and a box of 2.5″ wood screws:
Cut off 2 feet from each of the boards (or have the hardware store do it for you!) leaving you with two 6 foot and two 2 foot lengths. Attach the 2 foot long boards to the edge of the 6 foot long boards and drill together with the wood screws. This will cost roughly $25 – $30.
Wooden Raised Bed, about 4′ x 8′ :
Three 2 inch x 8 inch x 8 feet (2-in x 8-in x 8ft) boards and a box of 2.5″ wood screws:
Take one 2-in x 8-in x 8ft board and cut it in half (or have the hardware store do it for you). Make sure the two pieces are equal in length. This gives you two 4 foot side panels.
Then drill the 4 foot side panels into the edges of the 8′ boards. This will cost about $35 – $40.
With wood, you can really make any size you want. It’s up to you.
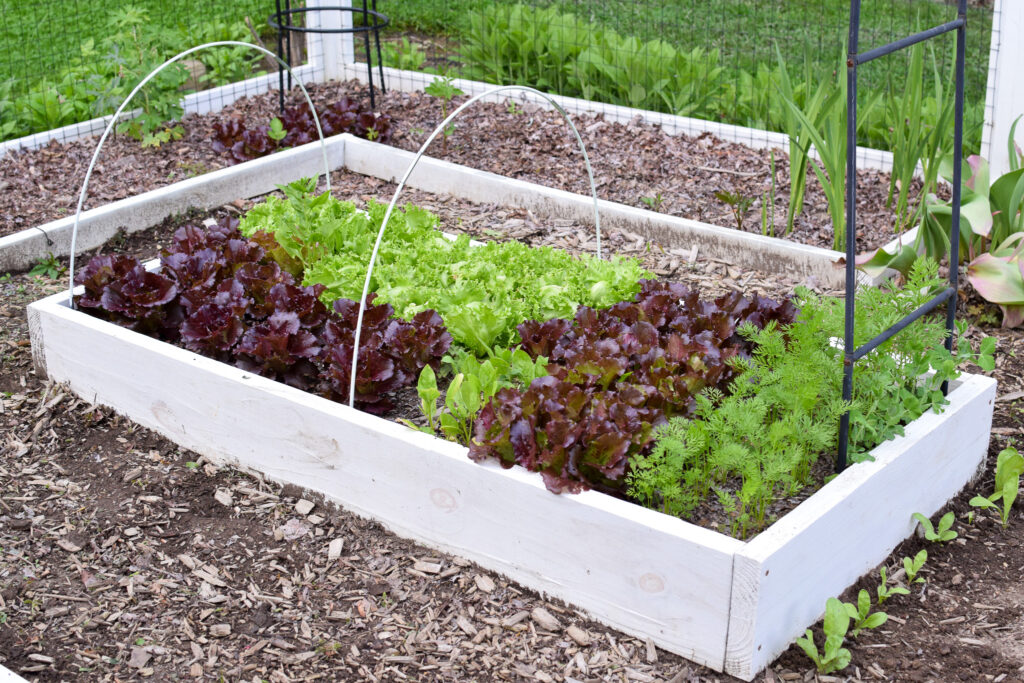
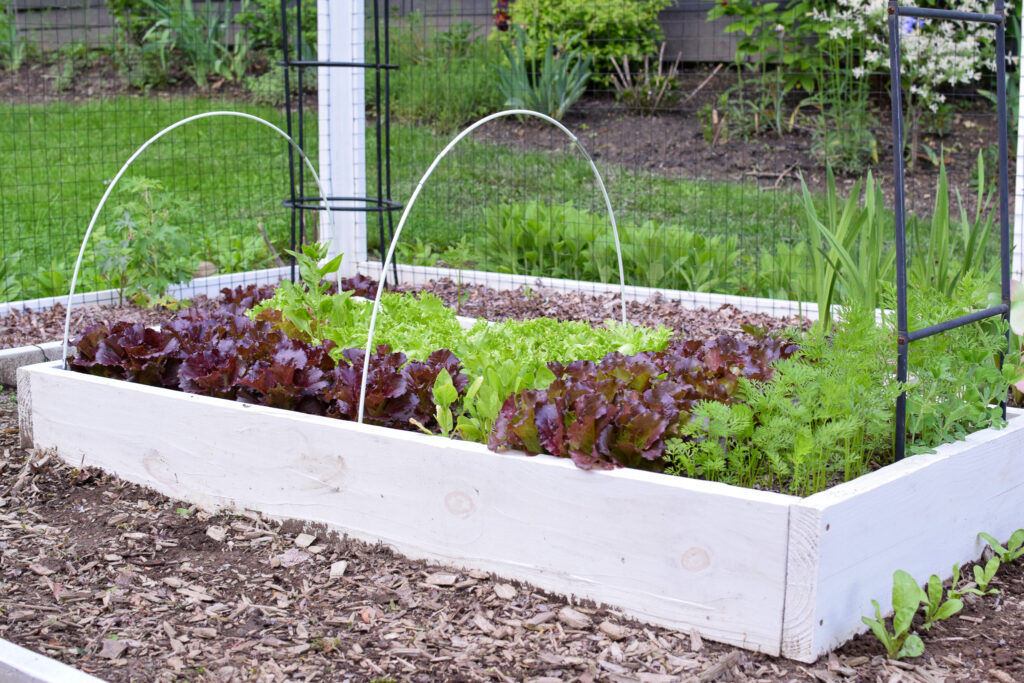
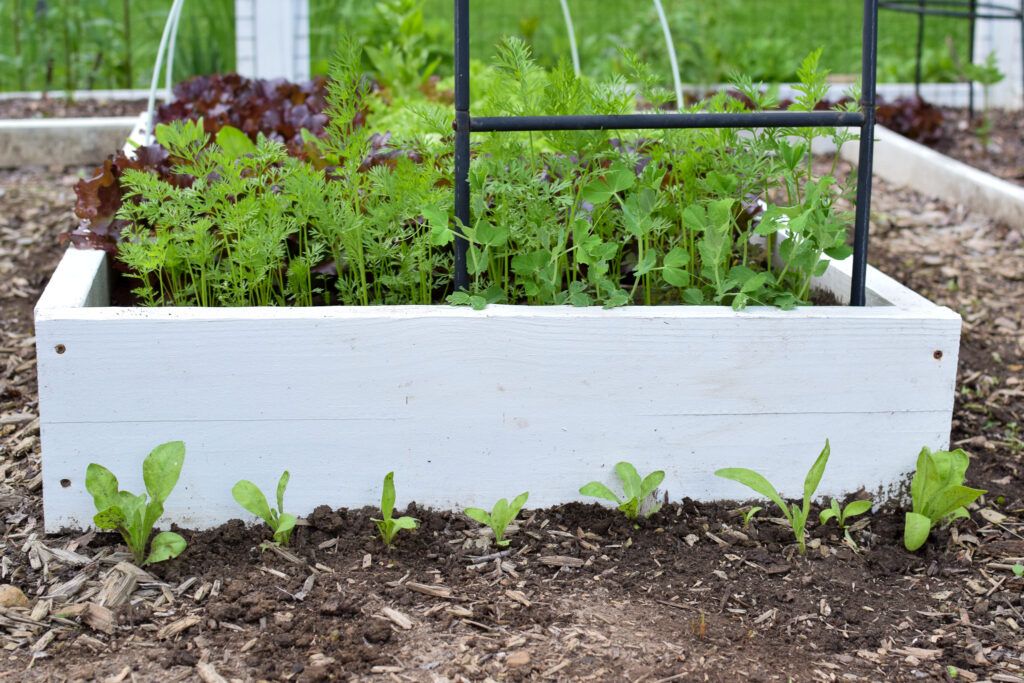
Setting Up Your Raised Bed for Vegetable Gardening
Sun
When your vegetable gardening, your raised bed should be located in full sun. This means your spot should receive at least 6 hours of direct sun per day.
Now, quite often I break all kinds of gardening rules. This is one of them. I don’t have 6 hours. Instead, I have a mix of 5-6 hours. It works. Use what you have! Don’t put your vegetable garden in the woods, but find the best spot you can on your property.
Don’t allow perfection, or needing to follow the rules exactly, stop you from gardening. Consider the rules more like guides. We can change them according to our needs!
Water
You will need to water your garden when you don’t get rain. In the hot dry months of July and August, I have to water every day, or every other day if I water deeply.
Keep your garden near a hose, or near a spot where you can fill up a watering can easily. This beginners raised bed isn’t very big, so a few doses of a 2 gallon watering can should do the trick.
Easy Access
Don’t think of your raised vegetable garden as a utilitarian eye sore! It can be beautiful. Kitchen gardens are a thing – -combining beauty and function will help you to love your vegetable garden even more!
You need to access your garden to monitor the plants, water, and pick the fruits of your labor! Keep it in an area you’ll want to visit. Make visiting your garden an experience…something you look forward to after work and on the weekends.
Level-ish
You can absolutely garden on a mountain side. But you can’t just throw an Amazon purchased raised bed on a slope. If you have building capabilities, have at it, build on a cliff.
If you’re purchasing a raised bed, or purchasing wood to build a simple raised bed, find a spot that is sort-of level. It doesn’t have to be perfect. But you don’t want all of your water to run downhill when you’re watering and you don’t want your soil to run out after a rain storm.
Native Soil Access
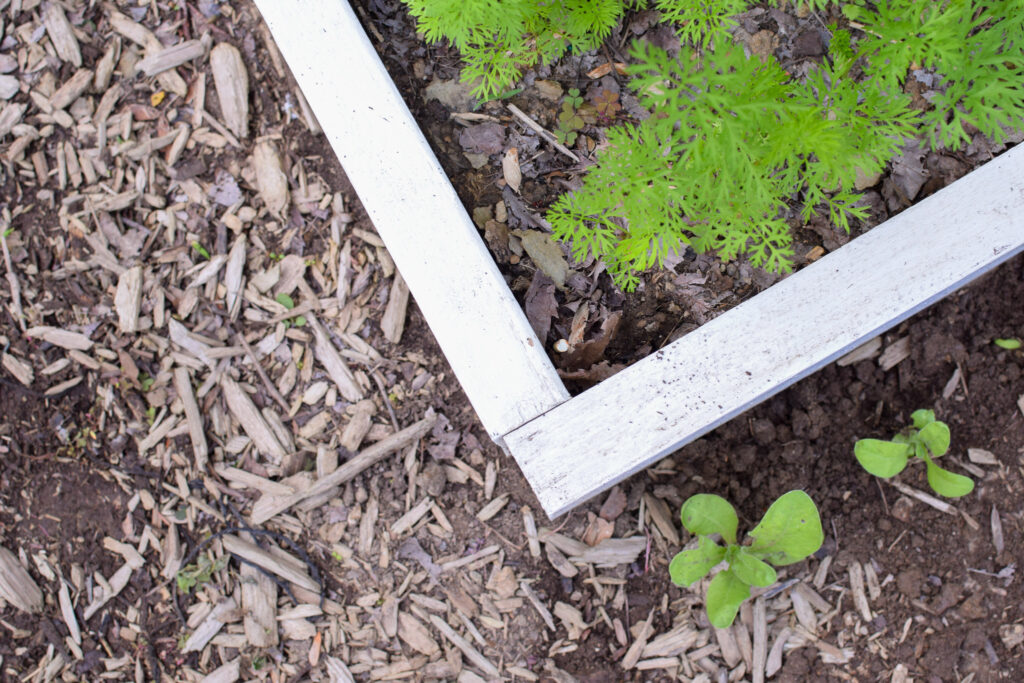
I love raised beds, and I love them even more when they have open bottoms with access to the dirt beneath.
Don’t use weed fabric as the base of your raised bed.
When you determine your raised bed placement, if there’s grass, cut the grass down (use a weed whacker for quick work) to the point of burning/killing it. Then place newspaper (black and white) or brown builder’s paper over the remaining grass. Wet it down and now you’re ready to add in soil and compost.
You can also use cardboard boxes on the bottom. It will take all season for them to break down. Your plants won’t have access to the native soil this year, but they will the following year. Do what’s easiest!
There are always exceptions. If you are in a wheelchair and can’t bend to ground level, then absolutely get a raised bed on legs!
If your soil is contaminated/toxic, then absolutely don’t grow in it.
If you don’t have yard access or if you want to grow on your patio or deck, raised beds on legs are a great way to go.
Filling
Once we have our raised beds purchased/set up, and placed in their growing location, it’s time to fill these bad boys!
I hate spending money on dirt. It’s the worst! So, we are going to do this in the most economical way possible, but still give our plants their best start.
I like to give my beds a 1:1:1 ratio of soil, compost, and peat moss. So, equal parts of each of these 3. I like to buy cheap topsoil, peat moss, and compost. To find out how much you need, multiply the length x the width x the height of your raised bed. This gives you the cubic foot measurement, which is how soil is sold.
If you purchased the Amazon raised bed that’s 6′ x 2′ and 1′ tall, that’s 6x2x1 = 12. So in that case, you will need 12 cubic feet of soil/peat moss/compost mix. It doesn’t have to be perfect. Grab some bags and roll with it!
You can get 4 bags of topsoil, 1 3-cubic foot bag of peat moss (it expands to more), and 4 bags of compost. It will cost about $60.
However, if you have extra topsoil from your own property, you can use that and save some money. If you have your own compost, use it!
If your raised bed is 12″ deep or taller, you can line the bottom with sticks, leaves, and a small amount of cut grass, and then add the soil/peat/compost mix on top.
Or, you can buy bags of raised bed mix. It will cost a bit more. The choice is yours!
Fertilizer
Once you have your bed filled, you can choose to add an all purpose slow release fertilizer like this one. Stick with all purpose, or one formulated for vegetables.
You’ll have to check the bag to figure out how much you need for your planting space. But in reality, when I fertilize (and I don’t always) I just grab a handful and throw it in. Then I’ll mix it up and call it good to go!
I have found, though, that as long as I use compost near the planting site, my plants don’t need much, if any, extra fertilizer.
Other Helpful Tools
There are some basic tools you will need, and some you may want, for vegetable gardening in a raised bed. I’ll include some links to help give you a visual of what you may want or need.
A kneeling pad is nice to have so you aren’t kneeling on hard ground or rocks.
A hand trowel is always nice for digging and planting in raised beds. You won’t need a shovel.
Gardening snips are prefect for trimming plants, flowers, and fruits. I have purchased about 5 pairs of these snips and I absolutely love them. They are very cheap and extremely sharp. If you buy nothing else, I’d buy these.
Pruners are great for thicker branches and when cutting down plants at the end of the season. These will cut through a tomato stalk with ease.
Grab a watering can for hard to reach places and when you don’t want to uncoil the hose. Try to get a 1.5 or 2 gallon can. It’ll go pretty far for a small raised bed garden like ours!
You need at least one pair of decent gardening gloves. You can get cheap ones for vegetable gardening, especially in a raised bed. I have these ones and I love them. I’ve had lots of gardening gloves but these ones are by far my favorite. They fit well and they can be washed. I’ve had the same pair for several years and mine get beat on pretty good!
Bamboo stakes are a natural looking solution for securing plants like peppers. Or, you can tie them together (with twine) to make a trellis for peas, cucumbers, and other climbing plants. You can get a bag of 6 stakes at Lowes, or a pack of 25 online.
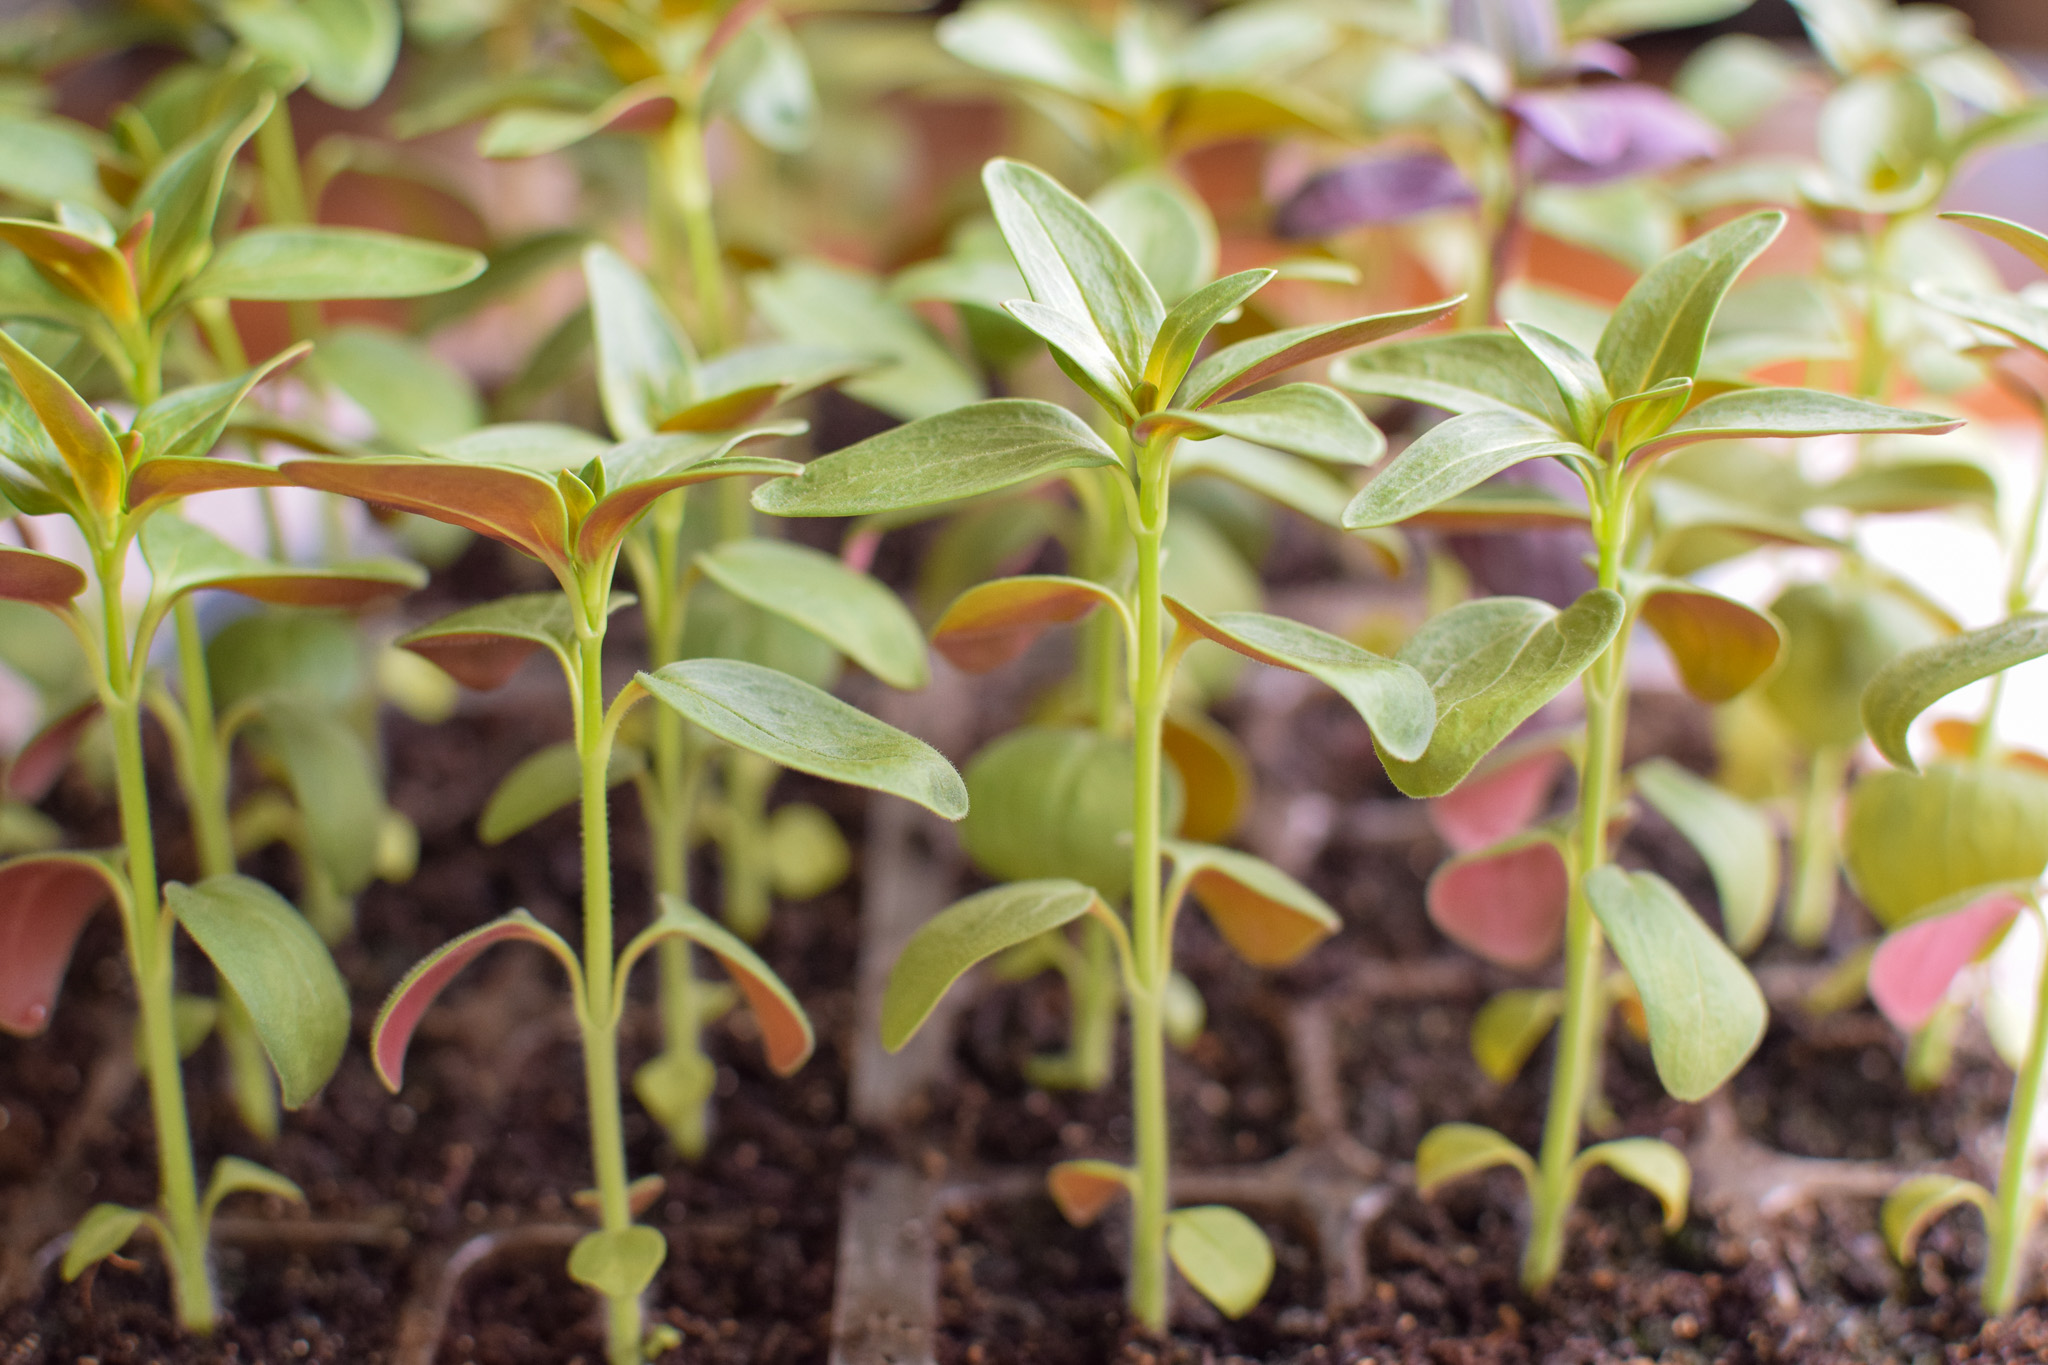
Start Vegetable Gardening in Your Raised Bed This Season
I hope this wasn’t too much information for you. I really hope it isn’t overwhelming. But if it is, don’t worry. Starting a garden from nothing can be overwhelming…but I’m going to simplify every step! Every gardener had to start as some point. Let this be yours!
I am going to walk you through the entire process of vegetable gardening from start to finish. We just built our beds today, and next up we are going to choose plants for our space, learn how to grow each one, how to space them, care for them, and harvest (fancy word for pick). We will even go over a few recipes for you to try with your homegrown produce.
Be sure to work on getting your raised bed set up. We will be talking all about plants next time!
I hope you’ll join me for part 2 in our series — Easy Vegetables to Grow in Raised Beds | Beginner Gardener Part 2.
Thanks so much for stopping by! from building through harvest!


One Comment
Comments are closed.