
Soil Blocks 3 Ways
Soil blocks are my favorite way to start seeds indoors. They compress soil to form a block. Soil blockers are usually made of metal and can last decades. Plastic seed starting trays, on the other hand, break down quickly (crack and get holes) and take up lots of room in storage during the off season. But soil blocks are small and should last (hopefully) a lifetime.
Seed starting can get fairly expensive. But if you do it right, a couple of key purchases can set you up for years. Today we are focusing on soil blocks / soil blockers / soil block makers. While they can be a bit pricey (like $30-$45 a piece), once you have one, you should be able to use it for decades. If you want to go the frugal $0 route, I’ve got you covered there, as well!
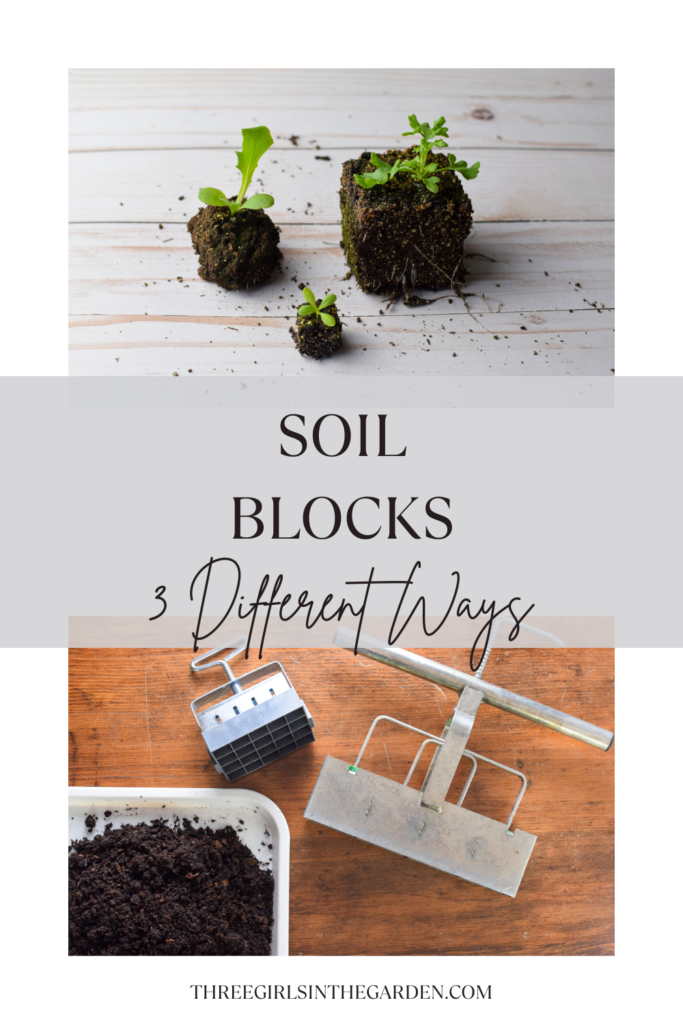
Making Soil Blocks 3 Different Ways
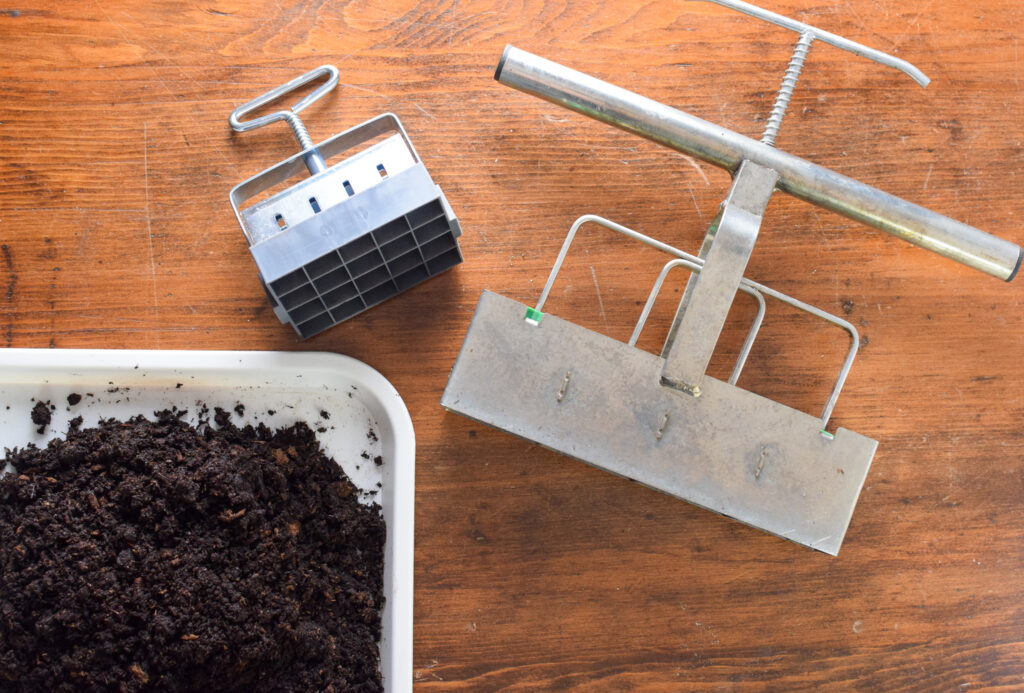
- 2″ soil blocker (makes 4 soil blocks at a time)
- 3/4″ soil blocker (makes 20 tiny soil blocks at a time)
- DIY soil block balls
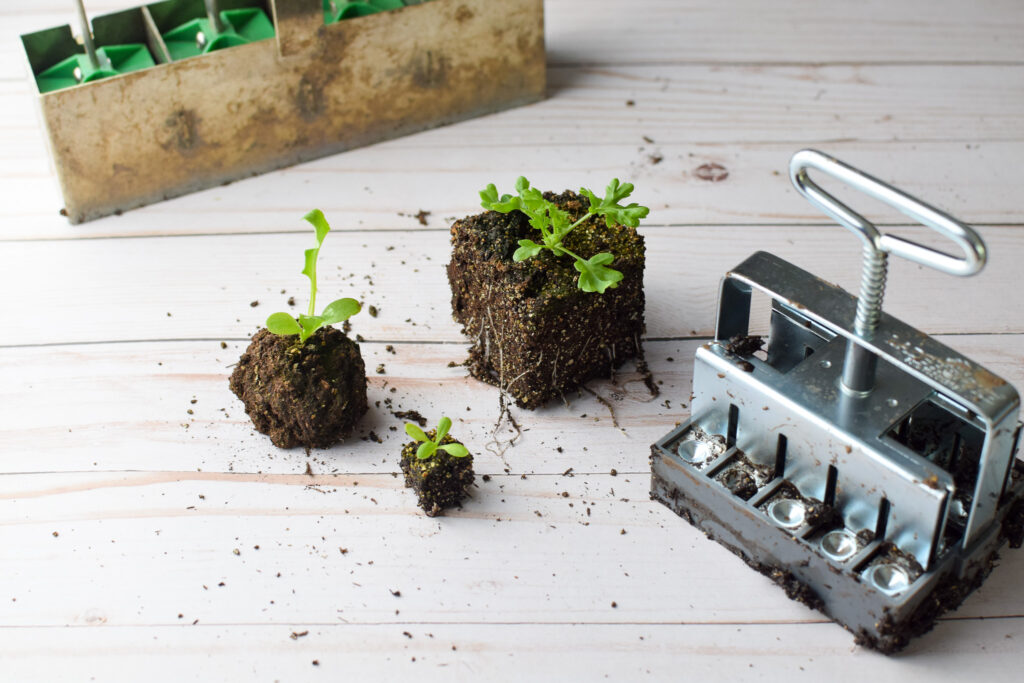
Soil blockers are all essentially the same, just different sizes. They are usually made of metal and have a plunger that ejects the block of soil once it’s been compacted. Working with soil blocks can take a bit of practice, but if you have a bad batch (i.e. they don’t stay together) you just scoop it up and try again. No waste!
And honestly, once you do 1 or 2, you’ll be fine! If the soil blocks are falling apart, you probably need to add more water or compact them more. Problem solved!
Seed Starting Mix vs Potting Soil (Potting Mix)
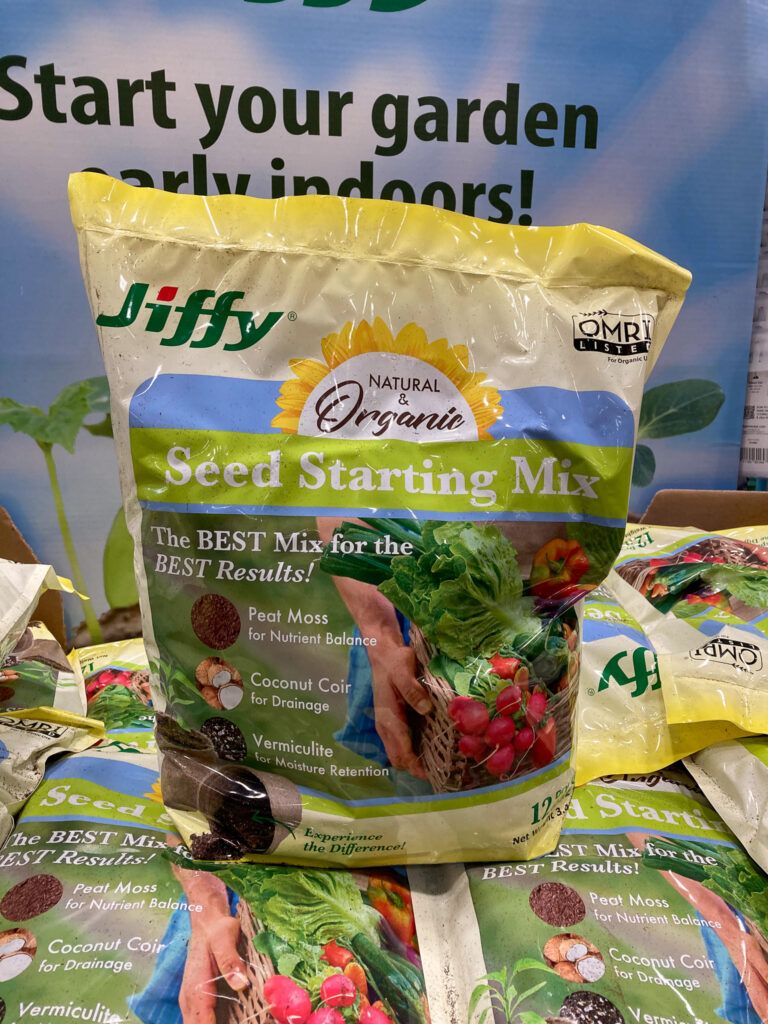
If you’ve started seeds indoors in the past, you are probably familiar with seed starting mix. Generally speaking, when starting flowers, herbs, and some vegetables indoors, you want to use seed starting mix. Not potting mix.
Seed starting mix is sold in bags labeled as “Seed Starting Mix”. It’s generally made of peat moss, vermiculite, and perlite. That’s it. No fertilizer, no compost, no soil (clay, rock, minerals). Seed starting mix is very light and fluffy. Its light, airy texture allows small seeds to germinate and roots to develop, all the while holding onto moisture without becoming overly wet.
Potting mix may contain the same ingredients as above (peat moss, vermiculite, perlite). But it may also have wood chips, bark, and fertilizers. It is lighter than garden soil, but heavier than seed starting mix. The wood chips and bark make it not usable for soil blocks.
If you are just starting out and you only plan to start a dozen or so plants from seed, one bag of seed starting mix is probably plenty. It runs about $8 a bag, and is good for small amounts.
If you are starting hundreds of seeds, it can get costly to buy all those small bags. I would suggest making your own mix. That’s what I do.
Recipe for Soil Blocks
When I first started soil blocking (that’s the verb of making soil blocks…not sure if that’s a thing!) I was so confused by the all of the “recipes”. Most recipes contained many ingredients that I couldn’t get my hands on. Farm stores are not exactly on every corner here in Pittsburgh. If Lowes or Home Depot doesn’t carry it, I’m out of luck.
So, I made my own. It took a few rounds to get it right. Then a few more to get it affordable. But now it works and costs very little. In fact, I’ve been using this same batch for 2 years now. And it’ll last me through my fall seeds, as well.
Soil Block Recipe
- 3 parts peat moss
- 1 part vermiculite
- optional: 1/2 part compost (if it’s smooth and has no chunks)
And in complete honesty, I don’t even “measure” really. I take a few scoops of peat moss, 1 scoop of compost, and then dump some vermiculite in and mix. The most important thing is that the bulk of this mix is peat moss.
Now a word about peat moss. It’s not a renewable resource. However, it’s easy to obtain where I live and it’s affordable. I’ve had a 3 cubic foot bag that cost $13 three years ago and I’m still using it. It looks like peat moss is almost double in price today, but it’s still a good value compared to buying seed starting mix (which is mostly peat moss).
If you don’t love the idea of using peat moss, you can use coco coir instead. I can’t find that in bulk in my area, so for now I’ll continue using the bale of peat moss I already have on hand. When it’s gone, I’ll look for a simple and environmentally friendly replacement.
How to Make the Soil Block Recipe
I have this recipe in “parts” because it doesn’t really matter how you measure. I use a giant ice scooper as my “part”. You can use a plastic cup, your hands, a bucket, anything that works as a scoop. 1 part is 1 scoop.
I use a large plastic storage box as my mixing bowl.
- Take 3 scoops of peat moss and a 1/2 scoop of compost and dump them into your container.
- Take a tea kettle of boiling water and dump it over the mix. Mix well until everything is saturated.
- Add in 1 scoop of vermiculite and mix well.
- Push all of the mix into the bottom and smooth over the top to trap in the heat from the boiling water.
- Place the lid on the storage box (if you have one) and wait several hours until the mix has fully cooled. I wait overnight.
Why boiling water you ask? 2 reasons.
- Fungas gnat eggs live in soil/compost/peat moss. You won’t know they’re there until they’ve hatched and are flying all over your seeds and house. It’s gross. The boiling water kills them.
2. This year I had a bucket of compost in my garage waiting to be used for seed starting. When I leaned over it to get a scoop, a centipede ran out and freaked me out.
So, I like to kill everything in the mix before I bring it into my house! While this may be killing the nutrients in the compost, it’s still fine. Seeds contain all the nutrients they need to germinate. Once they are up and bit stronger, you can start fertilizing them.
If you think boiling water is overkill, then just add water. You’ll want moisture in the mix because peat moss can float in the air as it’s incredibly dry and light.
How to Make Soil Blocks
Now we get to the dirty part!
I like to make my soil block mix in my garage, cover it with a lid to trap heat, and then bring it into my 68 degree basement where it cools off slowly (lid is on!). I like to let it cool down overnight and then work with it the next day.
You want to make soil blocks when you’re ready to start planting the seeds in them. Don’t make the blocks ahead of time. They’ll dry out and fall apart. You can make lots of soil block mix though. I usually make enough to fill up a quarter of my 66 quart storage tote.
The key to making soil blocks is moisture. You need this mix dripping. It’s not like seed trays that only like moist, but not wet, soil. We want wet!
Add in water, mix it up. Grab a handful of mix. When you squeeze it, water should come out. You don’t want it so wet that the mix is floating. You want it to be almost mud. But not fully there.
Using a Soil Blocker to Make Soil Blocks
Take a soil blocker and move it around in the mix so it fills the blocks. I like to flip it up, and use my hands to actually push the mix into the blocks. I feel like this is the fastest way to get the mix into the blocks fully without wasting time moving the soil blocker around a bunch.
Then I turn the soil blocker over onto a container that can hold water. I use cafeteria trays. You can use old cookie sheets, disposable baking pans or lids, plates, reused Chinese takeout container (I use these too), essentially anything that is water tight.
With the soil blocker against the tray, push the plunger down to compress the soil in the blocker. Don’t lift up yet! You are gently compressing the soil in the blocker. Once you’ve pressed the plunger down, release it, and then press once more, this time slowly lifting the soil blocker up as you go. You should be left with near-perfect blocks.
The technique is the same whether it’s a 4 block or a 20 block.
DIY Soil Block Balls
If you don’t to spend the money on a soil blocker, you don’t have to! You can do this by hand. I actually make soil bocks by hand to “pot up” seedlings. Teeny tiny seeds like feverfew and snapdragons can be a pain to seed start. You have to place these near microscopic seeds onto a soil block or a seed starting cell. It’s time consuming.
In a slightly lazy fashion, I like to fill an old Chinese takeout plastic container with seed starting mix or soil block mix. It’s just pre-moistened, not wet like soil blocks. I then sprinkle the seeds over the container, spray it with a water bottle, and cover it with the clear take out lid top until it germinates.
Once the seeds have germinated, I gently lift them by scooping from below (to get the roots). I take a small blob of soil block mix, and place the seedling roots into the soil block mix. Cupping my hands, I gently apply pressure to form a ball, with the green seedling (the 2 little leaves) at the top of the ball.
I like to do this type of broadcast seeding into a small tray when the seeds are tiny, or when I’m not sure if the seeds will germinate quickly (if they’re old seeds). It saves time in working with tiny seeds and saves additional time if a high percentage of the seeds aren’t viable.
How to Water Soil Blocks
When you first plant the seeds, you’ll need to cover them to retain moisture (called a humidity dome). I use seed starting tray lids currently, while I still have them. I also use plastic wrap to loosely drape over the seeds that are buried or covered in vermiculite.
Keeping seeds moist until they germinate is very important! The seeds need moisture or they won’t germinate (grow).
Once 75% of the seeds germinate, you can take the humidity dome or plastic wrap off. Then you must keep the soil blocks moist. Not wet. We only want wet soil when we are creating the soil blocks/balls.
Keeping them moist serves 2 purposes.
- Soil blocks need the moisture to stay together and not crumble.
- The seedlings need moisture to grow.
I like to line up my 2″ soil blocks and soil block balls in 2 touching rows of 5 blocks each. I leave a space, and then create another 2 rows, each containing 5 blocks/balls. This 10 block grouping allows for water to reach every block.
For the 20 soil blocker, leave half an inch or more between each 20 block set.
When you water, water the channels, not the blocks. The rushing water from a watering can will wash away the blocks, especially before they have roots to hold them together.
Gently pour water into the channels – -the spaces between the blocks/balls. Make sure all the blocks have access to water. I like to fill the tray with about 1/8″ of water. Soil blocks/balls will need to be watered just about every day. When the seedling grows, you may wish to fill the tray with 1/4″ of water as the plant will need more water.
Are Soil Blocks for You?
Soil blocks are said to create healthier plants than seed cell trays. I have had success with both, so I can’t really say one creates a healthier plant over the other based on my experience.
I love soil blocks for 3 reasons.
First, I’m tired of spending money on products that break. I’ve purchased 6 different sets of seed starting trays in varying sizes. Each one has broken down after 1 season of use. I’ve had water leak out of “water tight” trays so much that it warped my butcher block counter top.
Watering soil blocks is so much easier! I don’t even have to move the tray. I just pour water into the channels and the blocks soak them up.
Second, varying sizes of seed starting cell trays have taken over my shed. With soil blocks, I store all of my equipment (2 blockers and trays) in 1 box. And I have room in the box for scoops, fans, spoons, and vermiculite.
Third, and really my #1 reason for loving soil blocks over seed trays, is PLANTING. You don’t know the joy of planting hundreds of seedlings until you’ve planted soil blocks. There is no more messing around with dumping trays out and scooping out stuck seedlings, cutting roots, and having a mess everywhere. Soil blocks pull apart nicely and leave nothing but stackable hard trays behind. I hose them off and let them dry on the grass in the sun. They get stored until their next use.
I hope you try soil blocks (or DIY soil block balls) the next time you start seeds inside. If you do, I’d love to know what you think!
Have any questions? I’m happy to help! Just ask away!
If you love gardening, you may want to check out more on cut flowers and vegetable gardening, too. And if you love to bake, too, we need to be friends!
I hope you’ll visit again. Thanks for stopping by!


2 Comments
Comments are closed.