
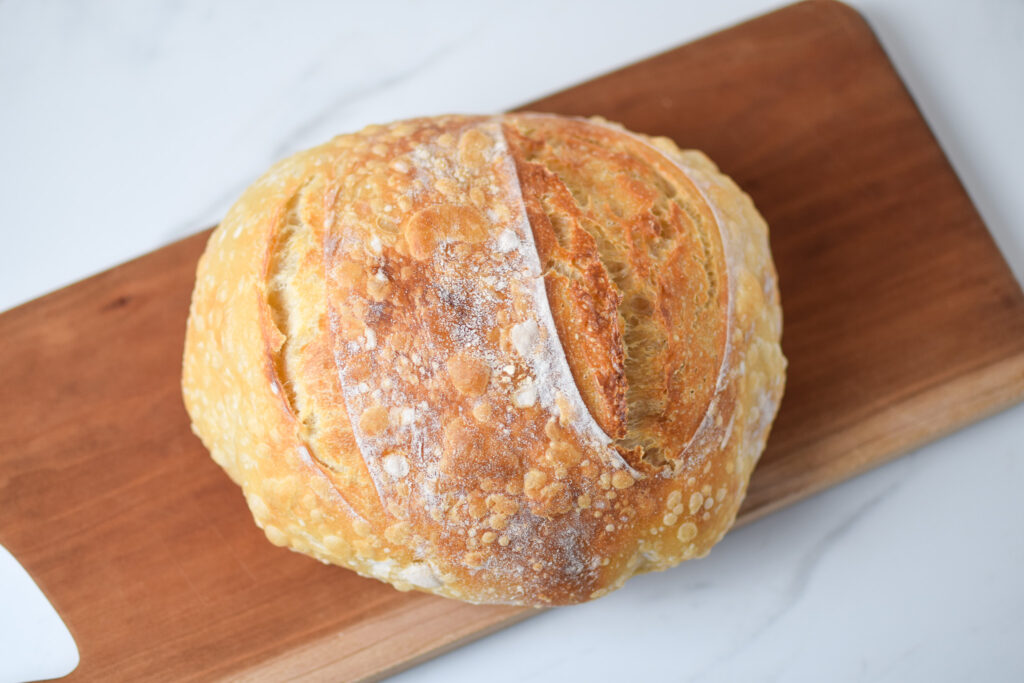
How To Make Sourdough Bread
If sourdough bread seems scary, confusing, or just plain what the f$%, then this post is for you! I’ve simplified all the confusing stuff so beginners can learn how to make sourdough bread like a pro.
Sourdough bread eluded me for years. I just didn’t get it. It seemed SO confusing. I finally conquered my fear and discovered it isn’t that difficult. It can be difficult, but at its core, it’s just flour and water. We can work with that!
What Exactly is Sourdough Bread?
Sourdough bread is made with sourdough starter instead of yeast. Yeast is used traditionally in bread baking to make it rise. In sourdough bread, there is no store bought yeast involved. Instead, you use starter.
If you’re thinking “What the F is sourdough starter?” no problem! I’ve got you! Check out this post first to learn all about starter, then come back here to get baking!
How to Make Sourdough Bread for Beginners
In a sourdough recipe, the term “active starter” refers to sourdough starter that was fed and allowed to double or triple in about 3-12 hours. You bake with this active starter once it has doubled or tripled.
If you’re unfamiliar with sourdough starter, then head here first. I explain in the simplest way how you can make your own and get started with baking your very own sourdough bread!
Let’s start!
You begin making sourdough bread by taking 45 grams of active starter (remember it needs to have been fed 3-12 hours earlier and doubled or tripled in size) and mixing it with 315 grams of water.


Stir together and then add in 450 grams of bread flour and 9 grams of salt.


Mix that with a spoon, and when it’s tough to mix, I like to use my hand and kind squeeze the dough around. It helps to get the little bits of flour incorporated into the water. It’s too wet to knead. Don’t add more flour. It should be fairly wet. It’s not traditional bread dough. You’ll get used to it!


As a side note, you can use all purpose flour in the same ratios as above. The final bread won’t be as big or as fluffy, but it’ll still be delicious. I use all purpose anytime I run out of bread flour. If you’re planning to bake homemade bread on the regular, I highly recommend getting King Arthur Bread Flour. It’s the best flour I’ve ever tried. It has never failed me.
Autolyse
Once you have the ingredients mixed, you’ll let it sit on your counter, covered in plastic, for about an hour so the flour can absorb the water fully. This is called autolyse.
Stretch and Fold
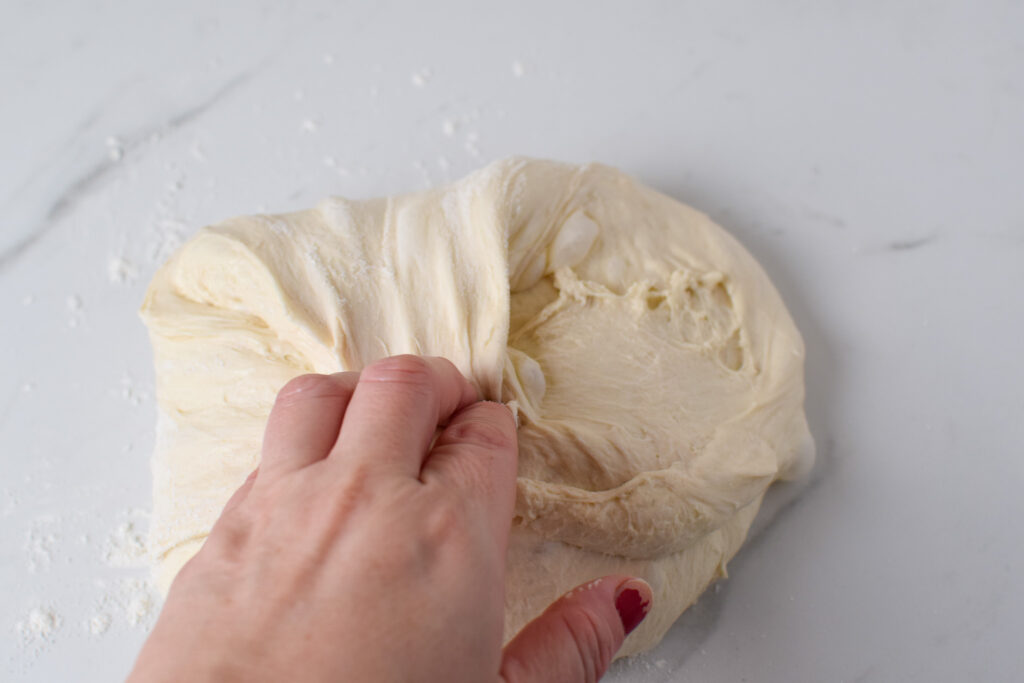
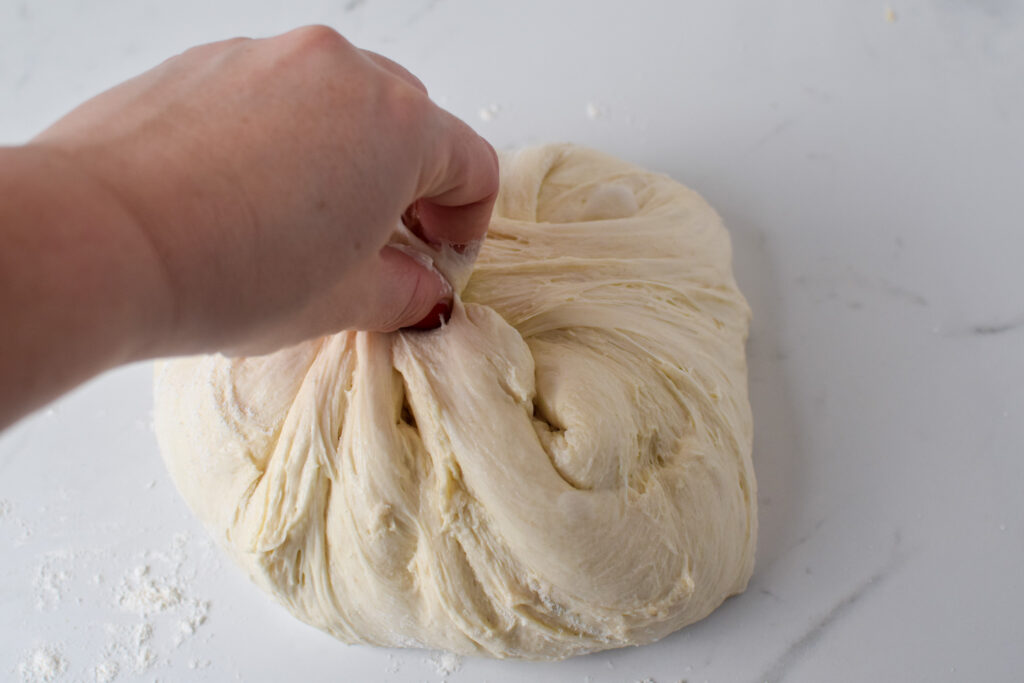
After the hour, take the messy looking stuff in the bowl and form it into a ball. Pull up on the edges, and then place it in the middle of the dough. Do this about 10 times around the dough to form a ball.


Let this rest, covered, for 30 minutes. Set a timer so you don’t forget.

After 30 minutes, you begin a series of “stretch and folds”. This is the equivalent to kneading.
Instead of pulling up about 10 times like you did before, this time you’ll do 4. Take about 1/4 of the dough, stretch it up as high as it can go without ripping, and place it on the opposite side. You can use two hands to stretch it up, or 1 hand to stretch, and 1 hand to hold the bowl.


You’ll repeat that step so that each 1/4 turn of the dough has been stretched up and placed back down on its opposite side.


Once you’ve completed your first set of stretch and folds, cover with plastic wrap, and set a 30 minute timer.
After 30 minutes, you’re going to do the next set of stretch and folds exactly the same. Then, cover with plastic, and set a 30 minute timer (I forget otherwise).
This is your last set. Complete one more set of stretch and folds, and then cover with plastic. I like to then cover with a tea towel to make sure the junky plastic doesn’t lift off.


Now that 3 sets of stretch and folds have been completed over 1 1/2 hours, you let your dough rest on your counter for up to 12 hours (which is the bulk ferment).
Bulk Ferment


This rest (bulk ferment) is the fermenting period. In yeast dough your bread can rise in about an hour. But with sourdough, it’ll take about 8-12 hours.
I like to start mixing my dough between 6 and 8 pm so that by 10 pm I can let the dough begin its bulk ferment overnight on the counter and pick up again in the morning around 7 am after I get the kids their breakfast. That’s why I only use 45 grams of starter in my recipe. It allows me to have a longer bulk ferment with a bigger window for life to interrupt.
I know this may sound confusing, but hang in there!
Forming the Dough
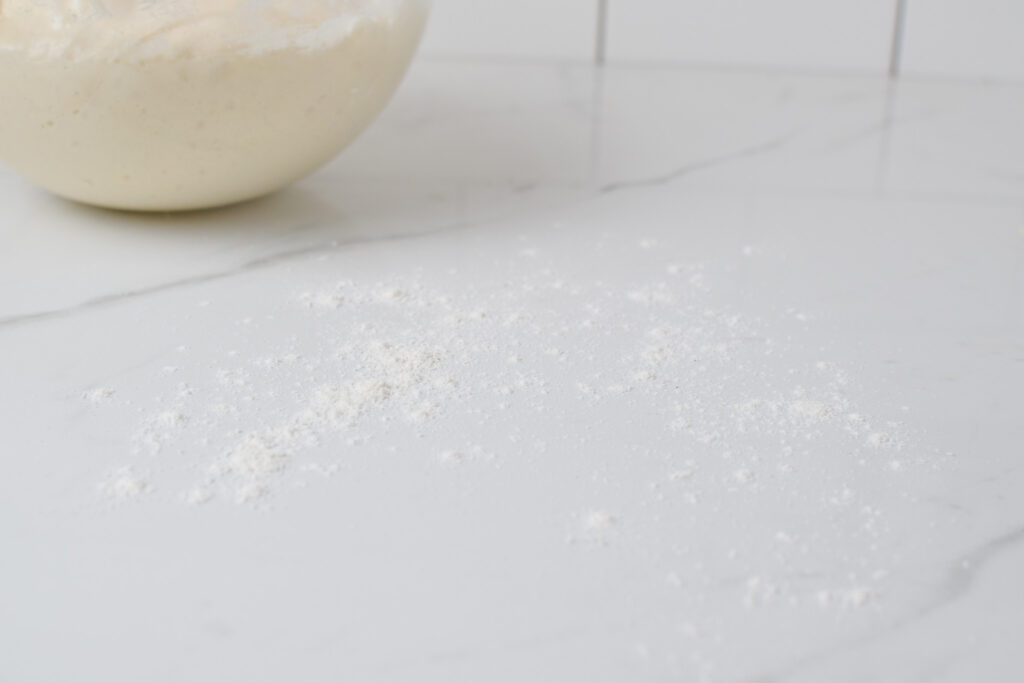
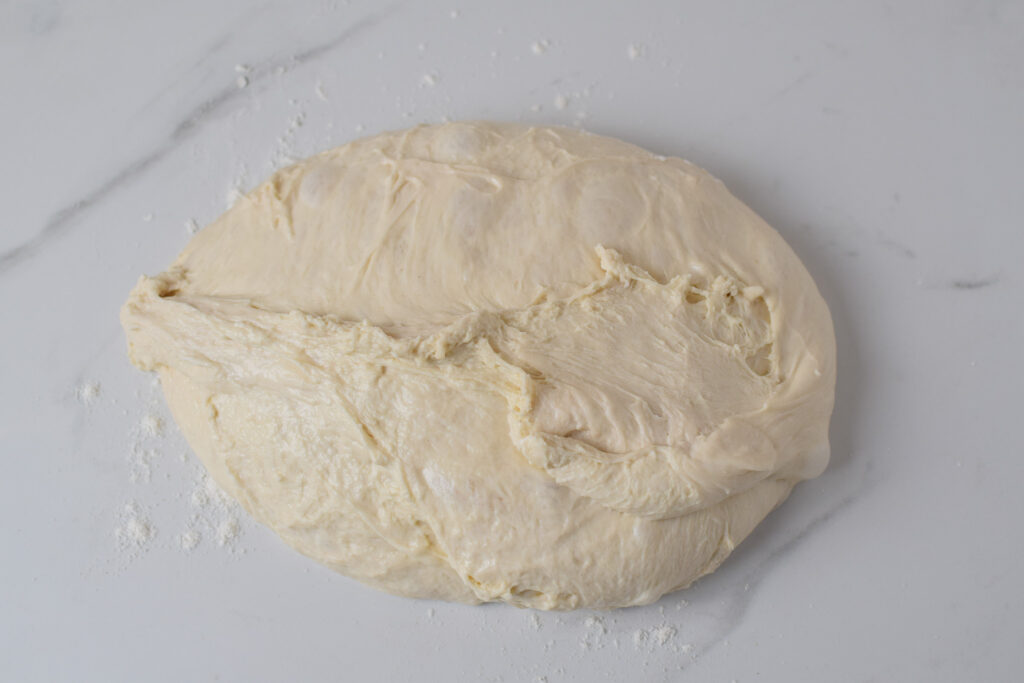
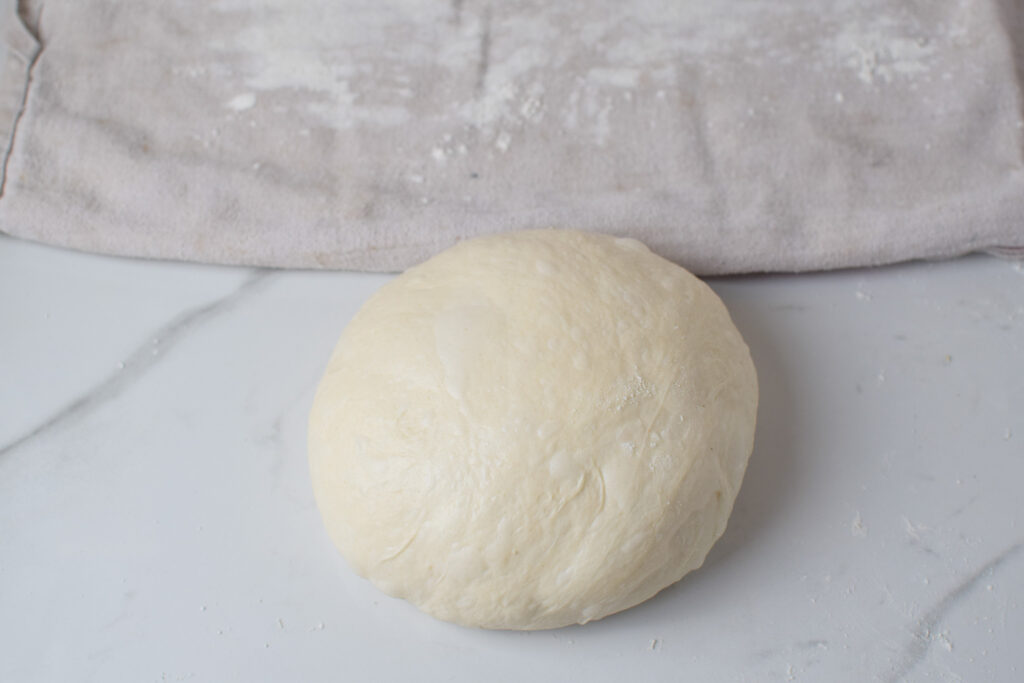
The next morning, or after your 8-12 hour window, dump the dough out onto a lightly floured counter (ideally use a gluten free flour). It will look wet and loose. We are going to form it.
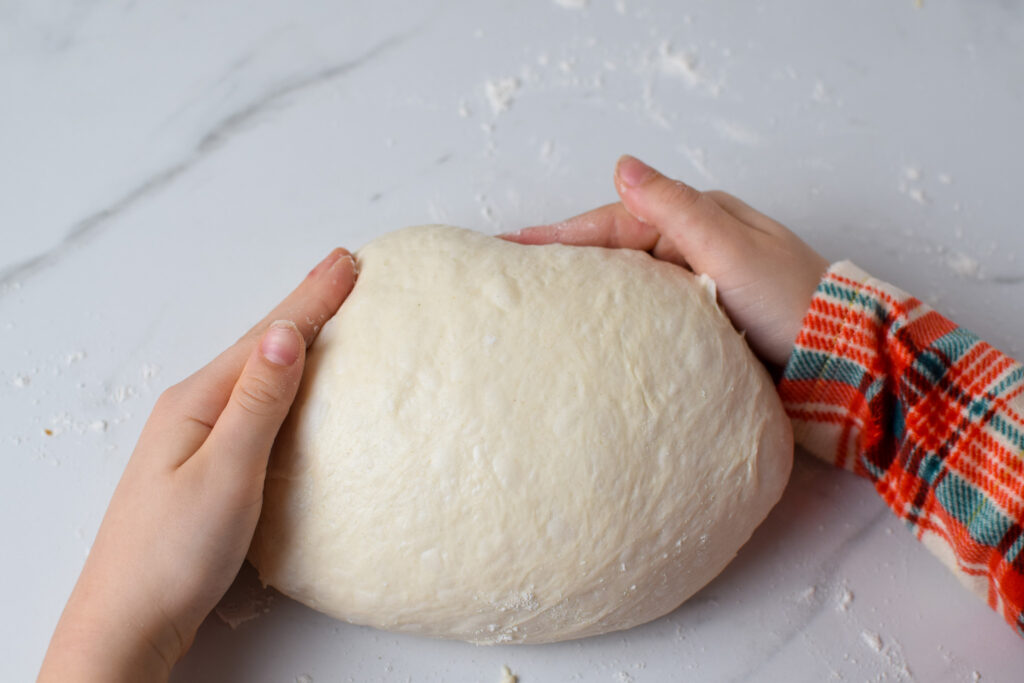
Lift the outside edges up and bring them together in the middle the dough to create the basic shape of round bread dough.
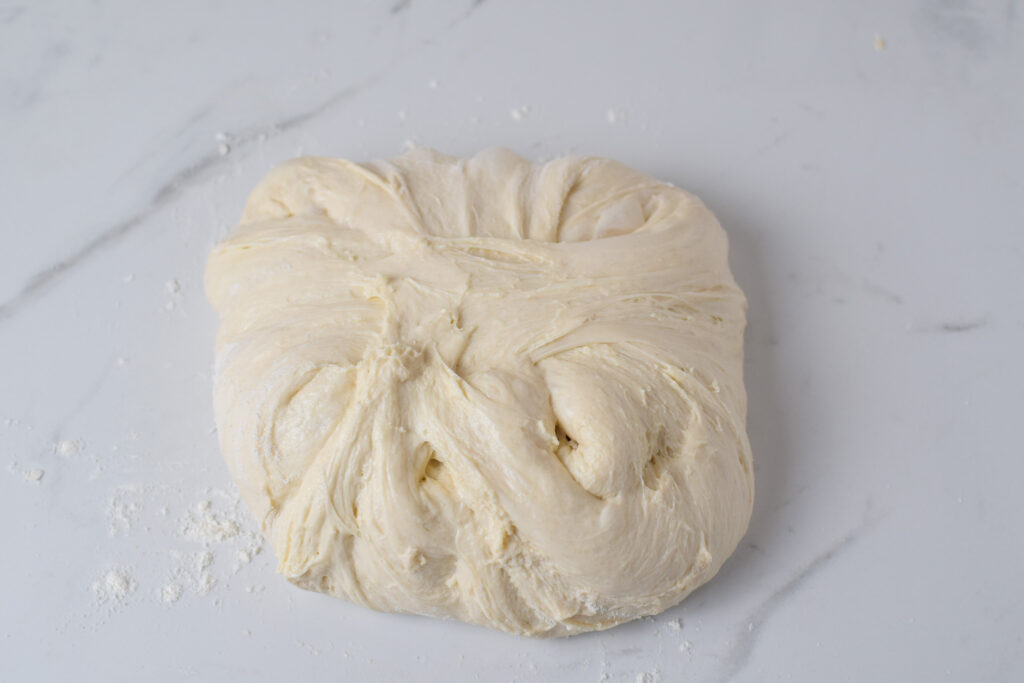
Now that it is in something of a ball shape, roll the dough over so the pinched together side is against the counter.
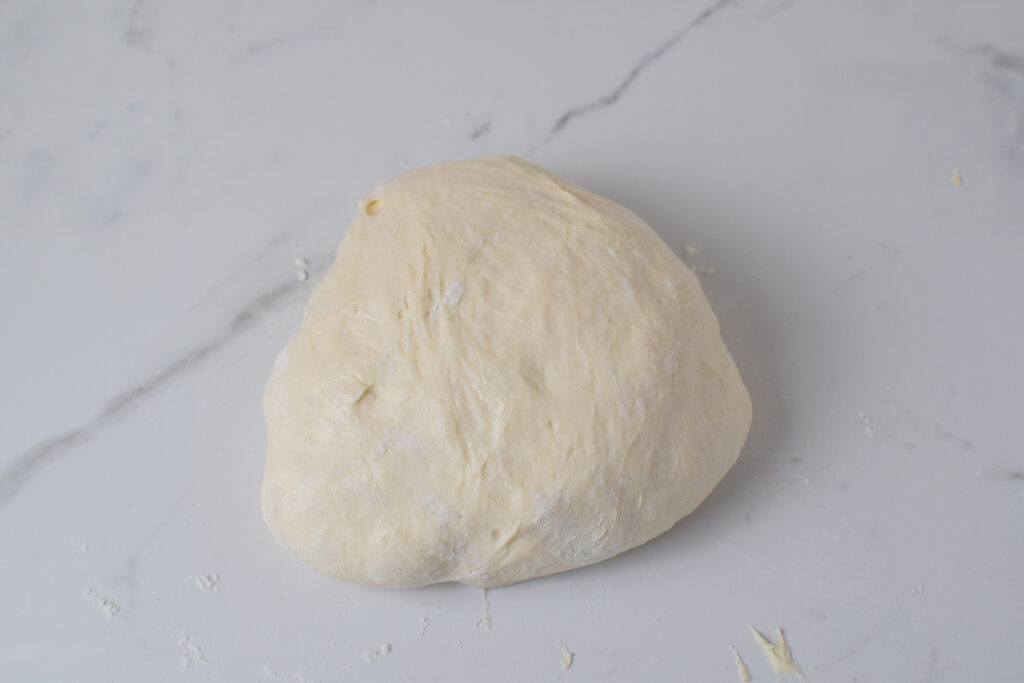
This smoother side that we can now see will be the top of your bread. This top will actually go face down in the banneton. Again, sounds weird, but once you do it it’ll make sense.
We are going to use the bottom (which is sticky and against the counter) to help form a “skin” on the top. The sticky bottom will cling to the counter while we pull, creating a tightening on the top of the dough (the part we see).
Lightly cup the dough with your hands, twist and pull it towards you.
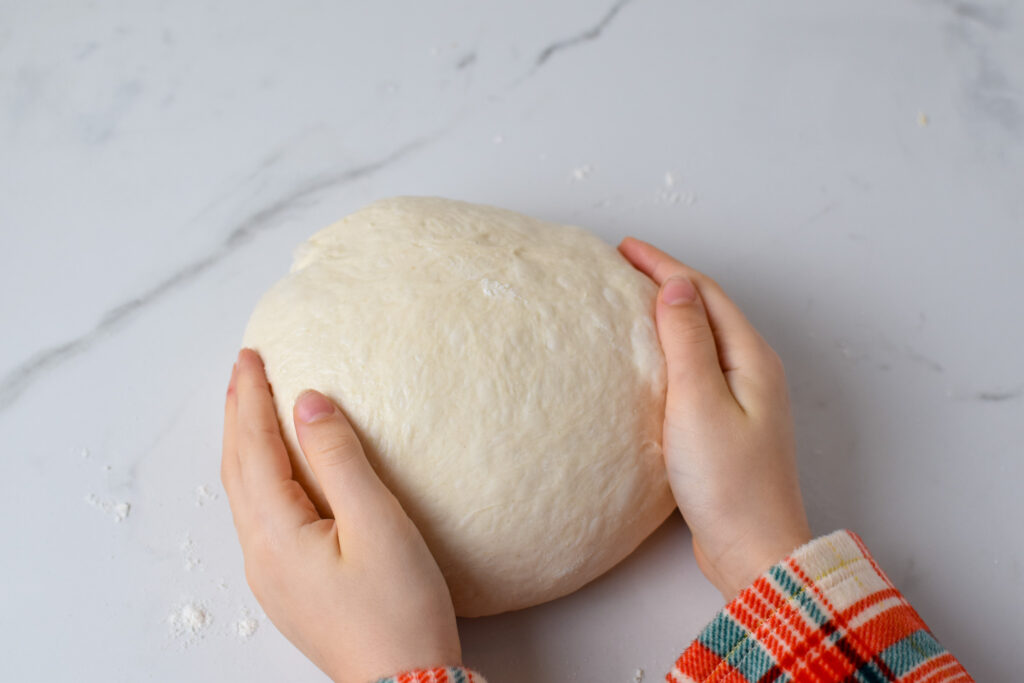
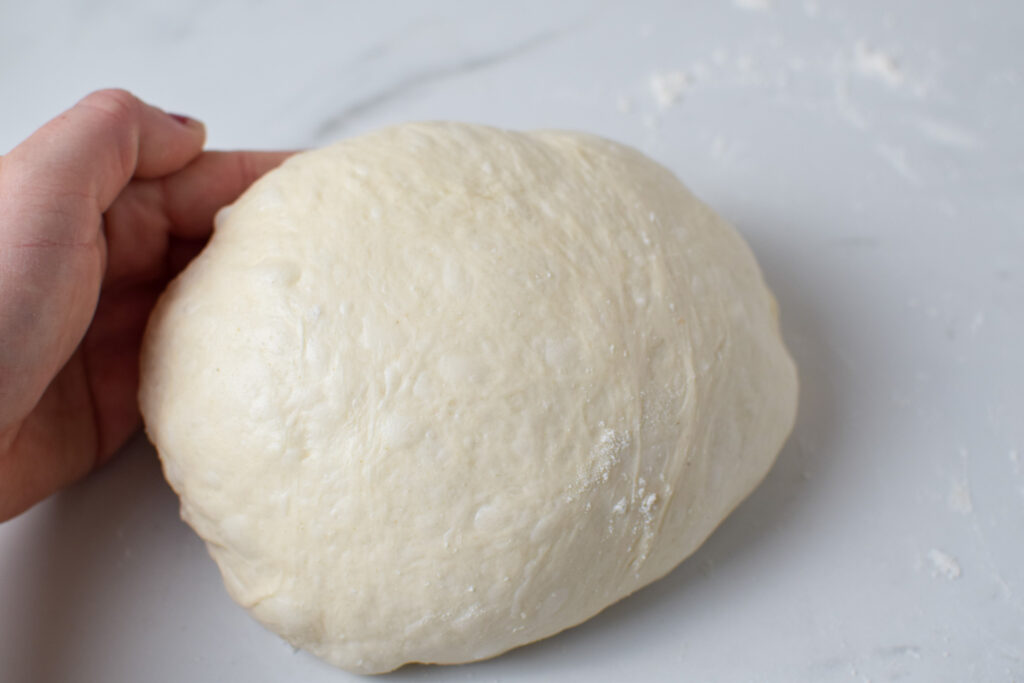
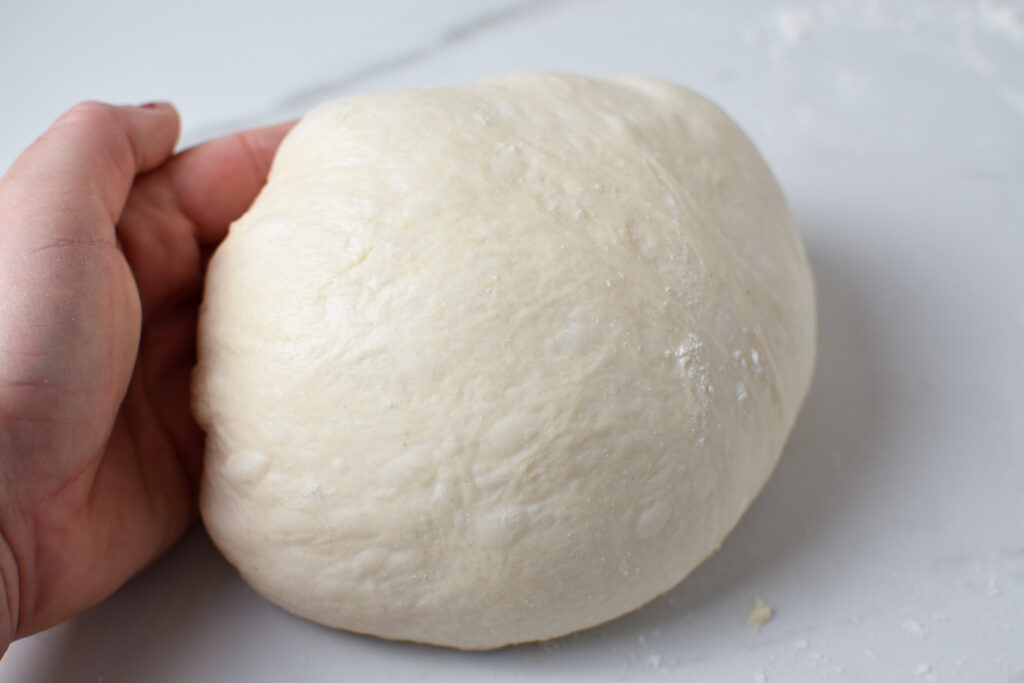
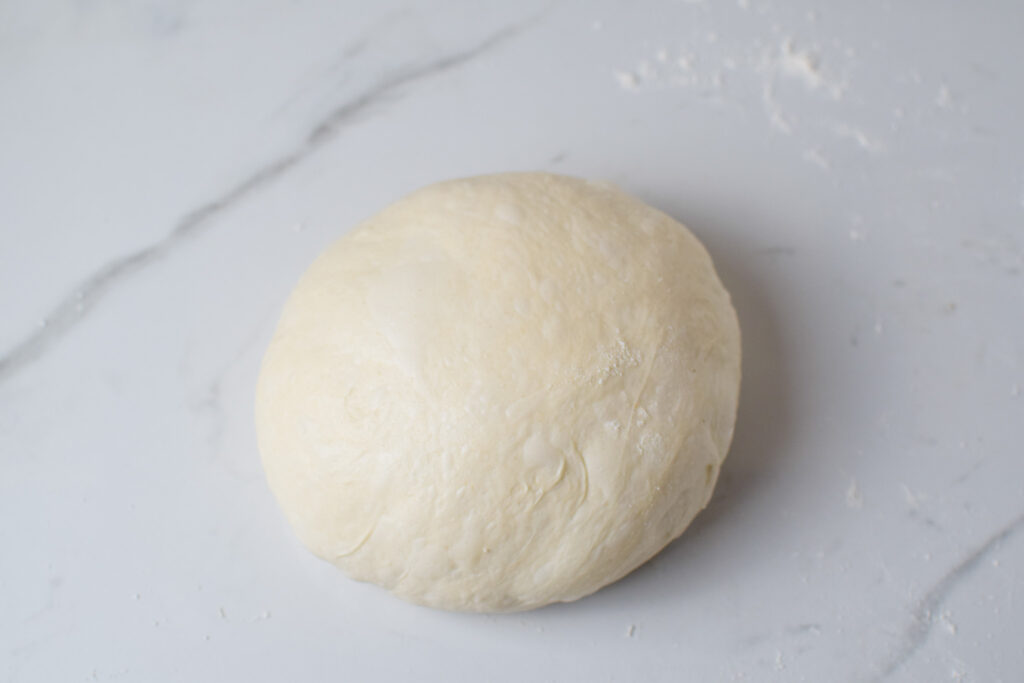
You will start to see a “skin” form along the top, with tiny air pockets just under the surface. I like to do about 5 or 6 of these pull, turning motions to get the skin of the dough into a tight, smooth, ball. Don’t worry if it feels awkward at first. You’ll get the hang of it. And that just means you get to bake, and eat, more bread!
Cold Ferment
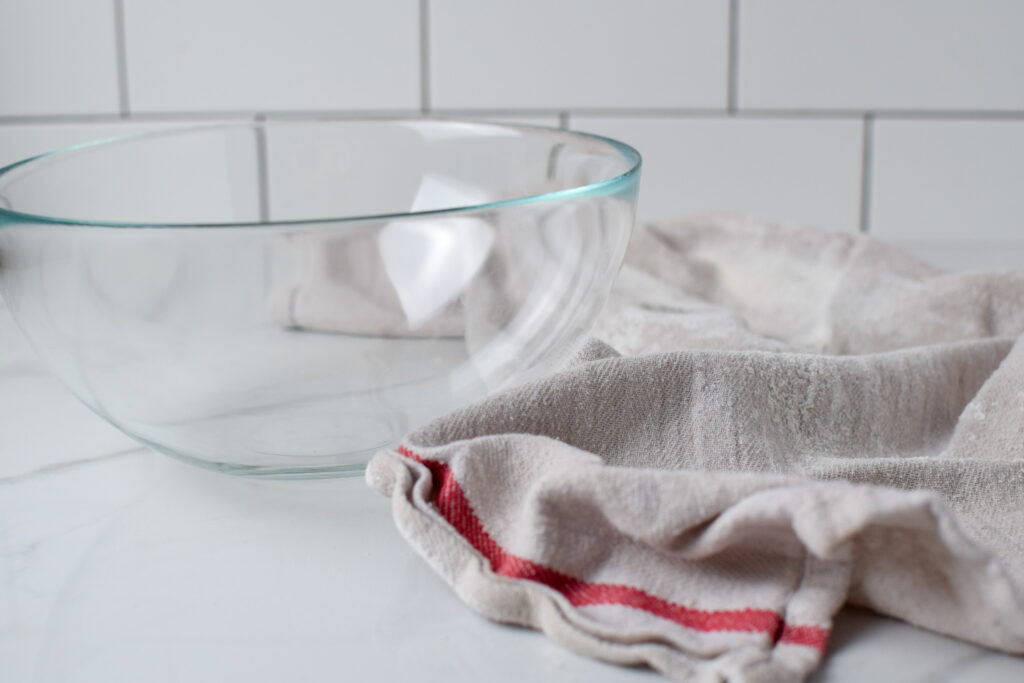
Next, flour a tea towel with gluten free flour/rice flour, or any flour you have. Place the floured towel in a bowl / banneton that is roughly 9″. Use whatever you have on hand that will do the trick. We are just looking for a vessel that will help hold the dough’s round shape while it cold ferments in the refrigerator. I use an 8″ glass bowl with a floured kitchen towel.
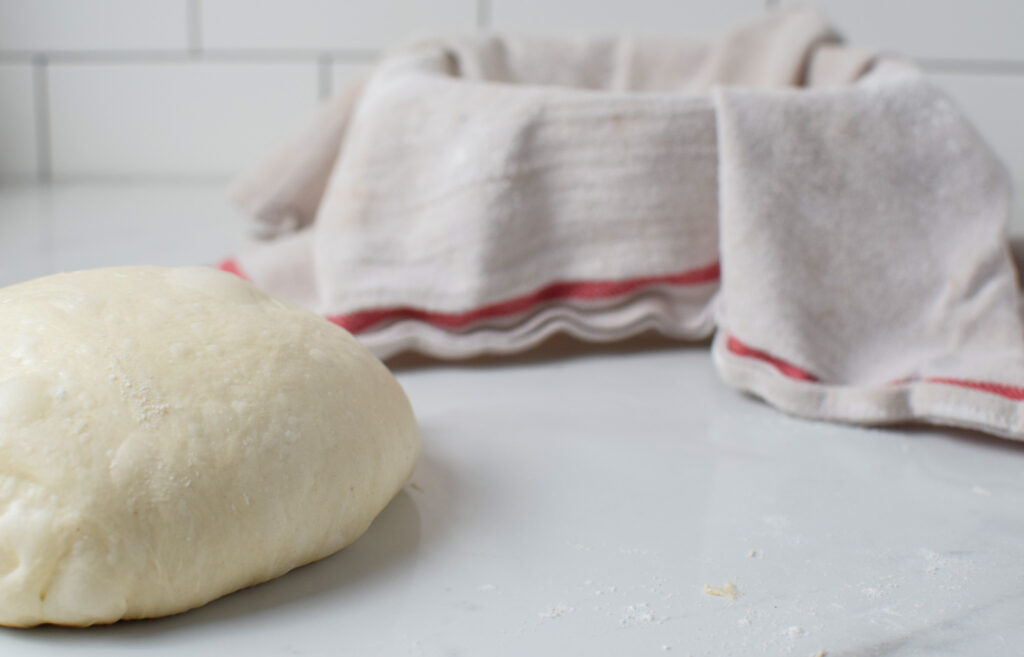

Place the dough into the floured bowl/banneton upside down. The smooth side we just created with the “skin” should be on the bottom now, and you should be looking at the semi-ugly sticky end.
Then fold the towel lightly over the dough. We flour the towel to keep the bread dough from sticking to it.


Place this in a plastic bag and tie it. Keep it in the refrigerator for 8-36 hours. This is a cold ferment. It won’t really rise anymore. When you take it out of the fridge, it will look pretty much the same. When you cook it, it’ll blow up – – in a good way!


I realize this all sounds crazy! Who takes 2-3 days to make a loaf of bread? I promise it is much faster once you do it a few times. In know way is it as daunting as it looks in print.
The actual work time is very low. It’s minutes! I find it helps to think that if I start sourdough tonight, Friday, I can have homemade sourdough bread for dinner on Saturday evening or anytime Sunday. Or, if I double the recipe, I can have sourdough bread Saturday and Sunday!
If I bake it Saturday evening, the dough will have cold fermented (sat in the bag in the refrigerator for about 16 hours). If I want bread on Sunday, I’ll bake it anytime on Sunday and it will hit the 36 hour marker, sometimes 48 hours. I’ve never had a problem with cold fermenting up to 48 hours (yet).
Baking your Sourdough Bread
When you decide to bake your sourdough bread, sometime after 8 hours, but ideally by 36 hours, you’ll preheat your oven to 500 degrees, with a dutch oven inside it. Once your oven hits 500, take your dough out of the refrigerator and open it up. It may have risen a bit, but not much at all. That’s okay. The cold ferment doesn’t allow for a lot of rise. Gently dump out the dough onto parchment paper so it’s face up. That’s the smooth side against the tea towel…not the cracked side you can see.


Cut a 1/2″ (score the bread) ‘X’ across the top, or you can get fancy with designs. I use a bread lame, but a very sharp knife can work. I used to use my kitchen scissors to cut an ‘X’ in the dough…using a knife isn’t easy.

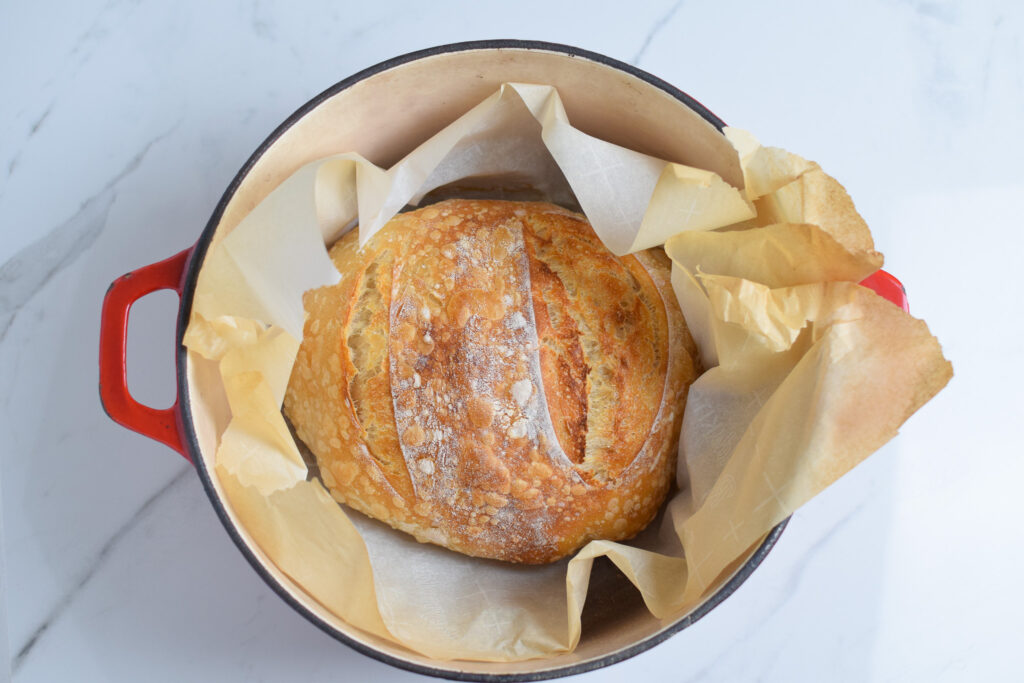
Pick up your sourdough bread by the parchment paper, like handles, and carefully place it (parchment and dough), into your hot dutch oven, inside the oven.
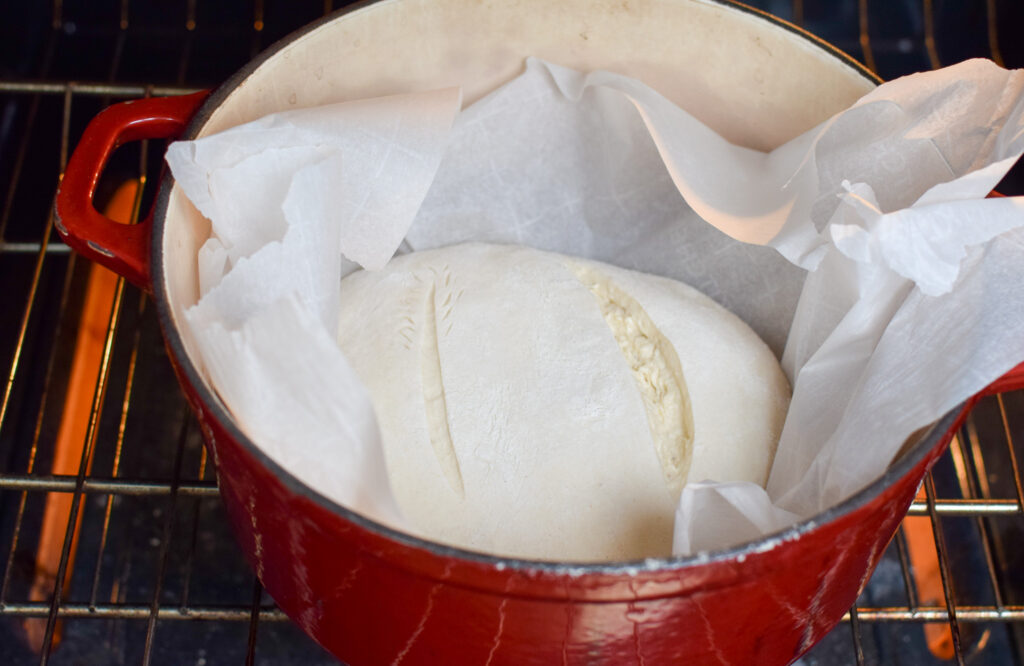
Place the lid back on the dutch oven, close the oven door, and lower the heat to 450 degrees. Cook for 30 minutes with the lid on, and then 10-15 minutes with the lid off. Don’t forget this is crazy hot! Be careful!
I like a lighter crust, so I bake mine at 30 minutes with the lid on, and 10 minutes with the lid off.
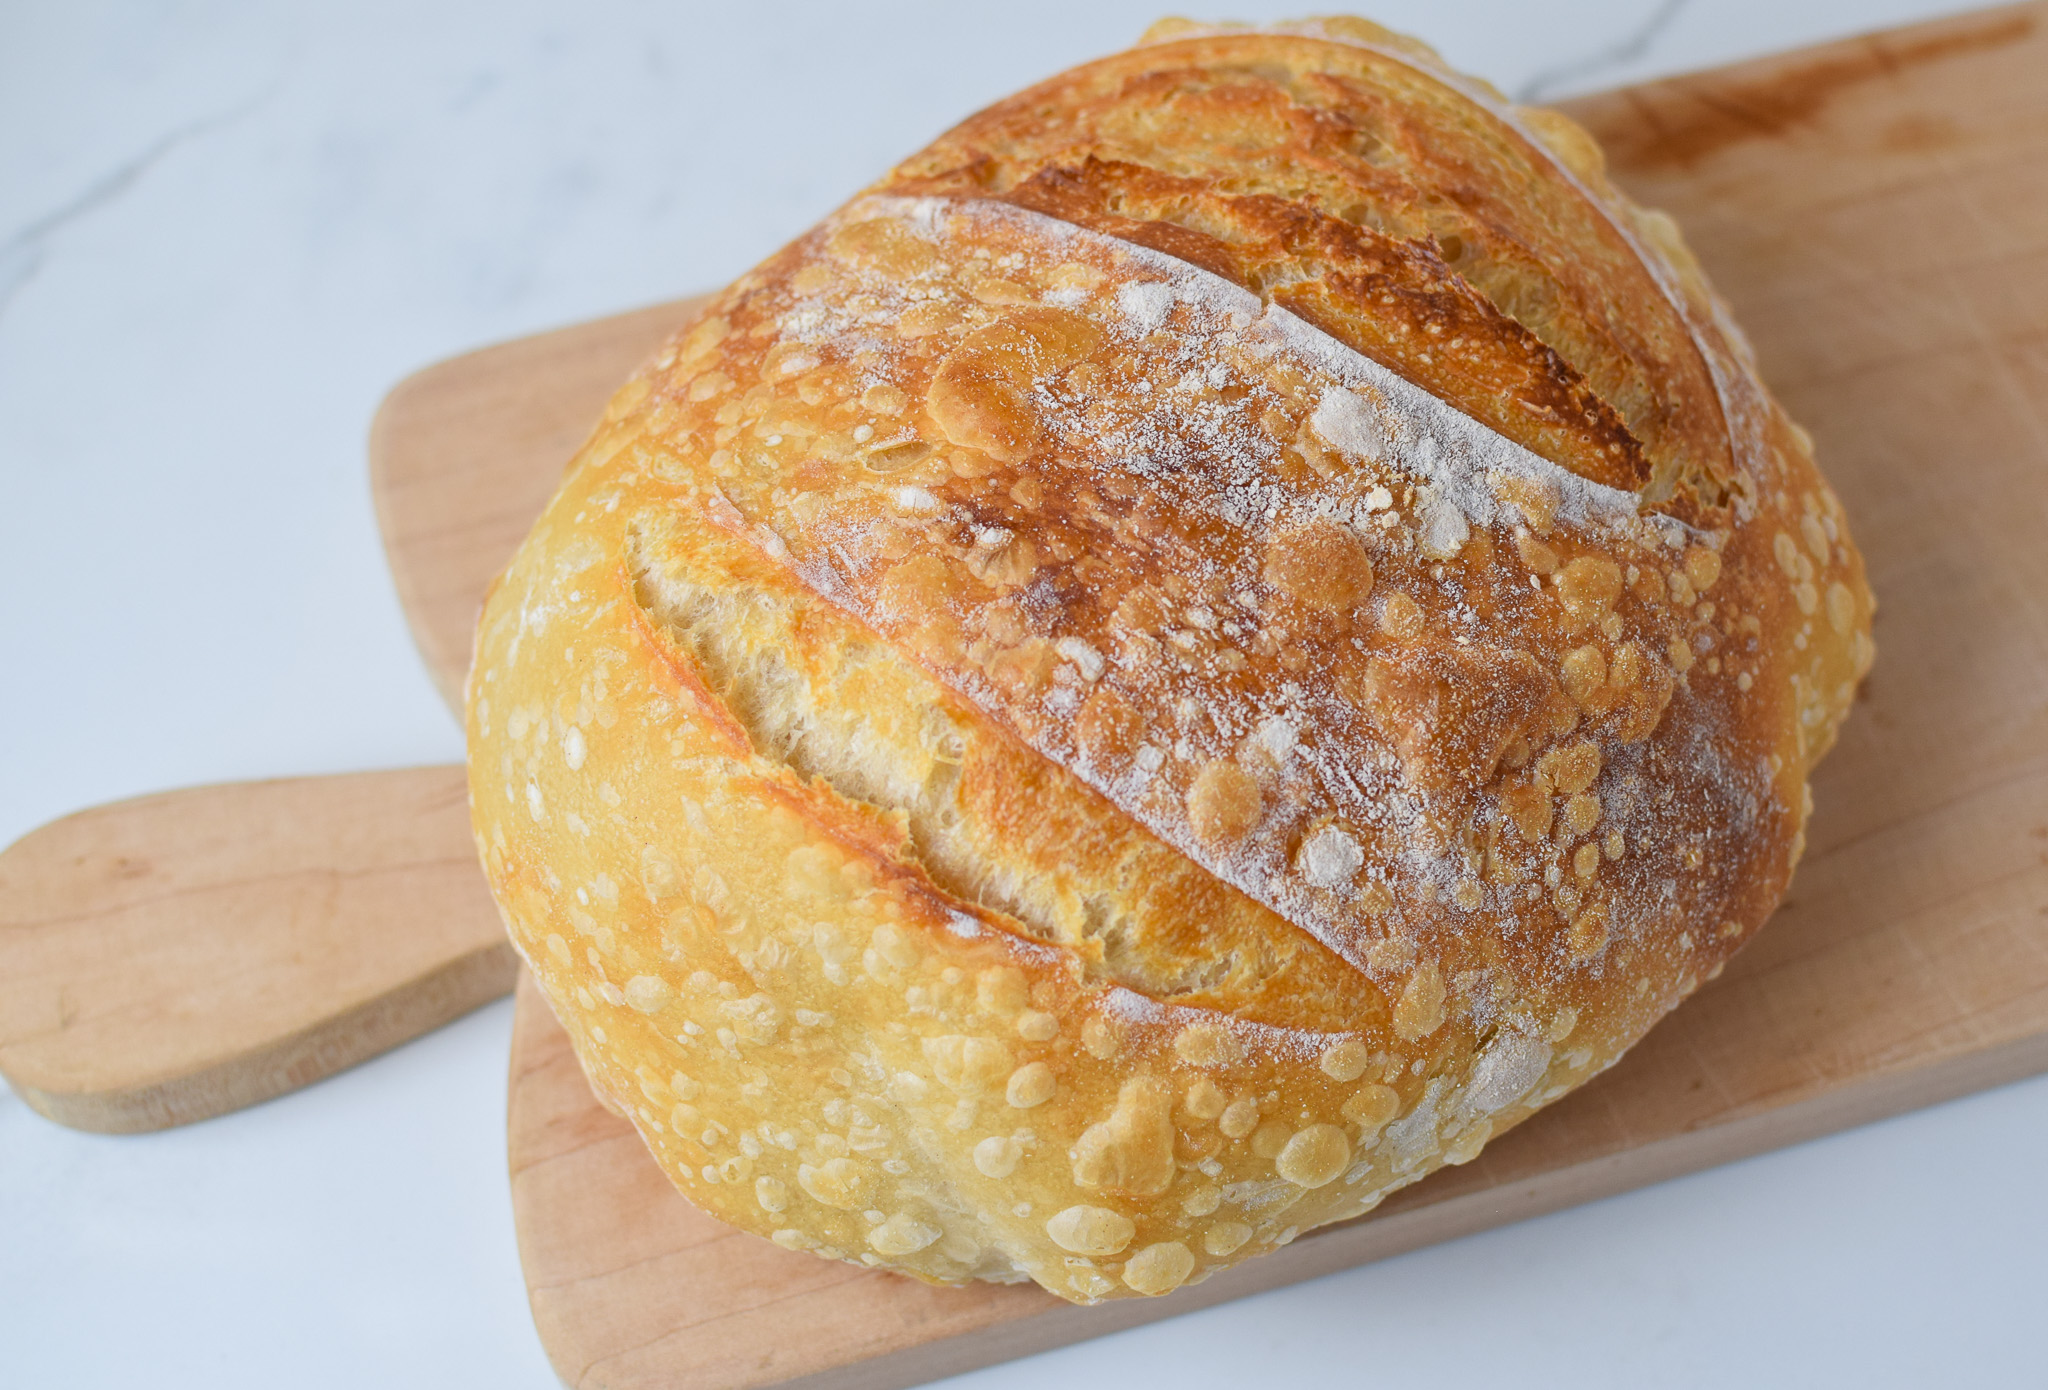
You Can Bake Sourdough Bread!
And that’s it! Really easy, right? I’m kidding. It sounds awful, but it gets better. My first 2 loaves were fairly tragic, but then loaf 3 through only God knows how many more have been absolutely amazing and delicious.
You can do this! Once you start, you’ll probably get hooked. I love making soup for dinner (I used to hate soup) because it goes so well with homemade sourdough bread. And during a cold and miserable winter (I really hate winter), hot soup with warm homemade sourdough bread really hits the spot for dinner, and for leftovers.
If you love the idea of homemade bread, you can feast on more homemade bread recipes here.
Let me know if you try this! I really hope you do. Ask any questions. It’s okay to feel confused. Once you start the process, it gets easier. Good luck!
Sourdough Bread
Equipment
- dutch oven
Ingredients
- 45 grams sourdough starter Fed 3-12 hours earlier and doubled in size
- 315 grams water
- 450 grams bread flour Can use all purpose. The final product will be slightly smaller without the same rise, but still delicious.
- 9 grams salt
Instructions
- In a medium bowl, stir together 45 grams of starter and 315 grams of water.
- Add in 450 grams of bread flour and mix in 9 grams of salt.
- Mix that with a spoon, and when it’s tough to mix, you can squeeze the dough together with your hand. This helps to get the little bits of flour incorporated into the water.
- Cover with plastic and let it sit on your counter for about 1 hour.
- After the hours, form this into a ball. Pull up on the edges, and then place it in the middle of the dough. Do this about 10 times around the dough to form a ball. Cover again and let sit for 30 minutes.
- After 30 minutes, you begin your first of 3 sets of “stretch and folds”. Instead of pulling up about 10 times like you did before, this time you’ll do 4. Take about 1/4th of the dough, stretch it up as high as it can go without ripping, and place it on the opposite side. You can use two hands to stretch it up, or 1 hand to stretch, and 1 hand to hold the bowl. After you've gone around 4 times, cover, and let the dough rest for 30 min.
- Repeat this stretch and fold process 2 more times, with 30 min between each set.
- After your third and final set of stretch and folds, cover with plastic, leave on the counter, for up to 12 hours. This is the bulk ferment. It can ferment in summer faster than in the winter. When it's doubled, it's ready to be shaped.
- When the dough has doubled, roughly 8-12 hours later, dump the dough out onto a very lightly floured counter (gluten free flour). It will look wet and loose. We are going to form it.Lift the outside edges up and bring them together in the middle of the dough to create the basic shape of round bread dough. Now that it is in something of a ball shape, roll the dough over so the pinched together side is against the counter.
- Lightly cup the dough with your hands, twist and pull it towards you. You will start to see a skin form along the top, with tiny air pockets just under the surface. Complete about 5 or 6 of these pull and turning motions to get the skin of the dough into a tight, smooth, ball.
- Flour a tea towel or banneton liner with gluten free flour.Place the dough into the floured bowl/banneton with the “skin” side down. The sticky side should be facing up. Then fold the towel lightly over the dough.
- Place this in a plastic bag and tie. Keep this in the refrigerator for 8-36 hours. This is a cold ferment.
- When it's time to bake, 8-36 hours later, preheat your oven to 500 degrees with the dutch oven inside. Once your oven hits 500 degrees, take your bread out of the refrigerator. Gently dump out the dough onto parchment paper so the smooth floured side is face up.
- Cut an expansion score in the bread about 1/2" deep with a lame or sharp knife.
- Using the parchment paper to carry the dough, place it in the dutch oven, lower the heat to 450, and bake for 30 minutes with the lid on.After 30 minutes, remove the lid and bake for 10 – 15 minutes to achieve the level of browning you desire.
- Allow the bread to cool, and then enjoy!

2 Comments
Comments are closed.