How to Grow Zinnias
If you’re interested in your very own cut flower garden, then you definitely want to grow zinnias this year. Luckily you’re in the right place, cause I’ve got you covered from seed starting through harvest!
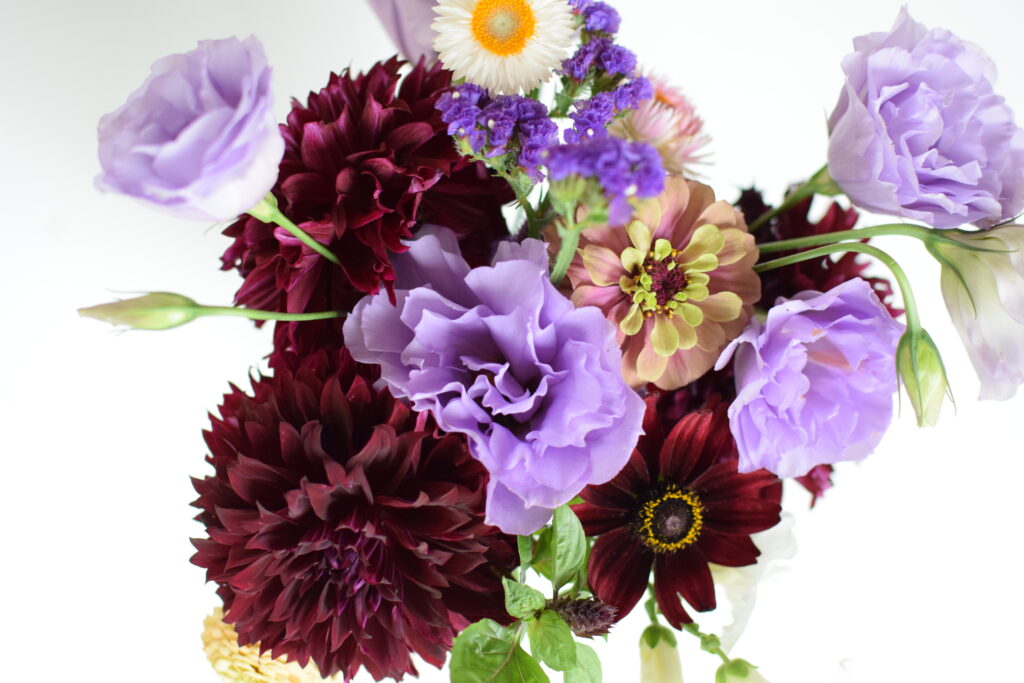
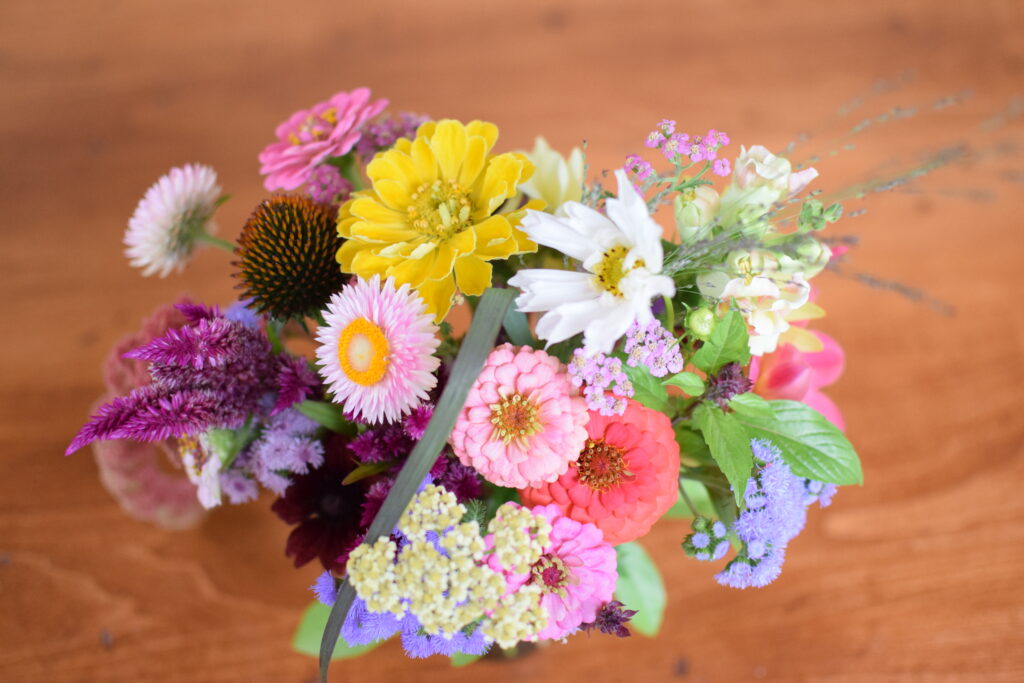
Zinnias are a staple in the cutting garden as they come in a wide range of colors and are fairly easy to grow. If you have sun and a spot to plant them, you’re good to go! They don’t need to be heavily fertilized and they aren’t too picky about soil (just not boggy).
You can grow zinnias in your cut flower patch, or in the landscape, and you’ll have a beautiful show of flowers. But today we are going to focus specifically on how to grow zinnias for your backyard cutting garden.
You can grow zinnias by planting seeds directly in your garden, as well as starting them early indoors. Let’s begin with indoor seed starting!
Grow Zinnias Early by Growing Indoors
You can get a jump on the season by starting zinnias indoors 2-4 weeks before your last frost (find your last frost date here) under grow lights.
You don’t want to start zinnia seeds any earlier than this. They don’t like to have their roots disturbed. This becomes very evident when you try to grow a double blooming variety, like Benary’s Giant, and end up with single blooms. When a seedling gets root bound, it can end up as a single bloom later on. So we plant closer to our last frost, and in bigger containers/soil blocks, as well.
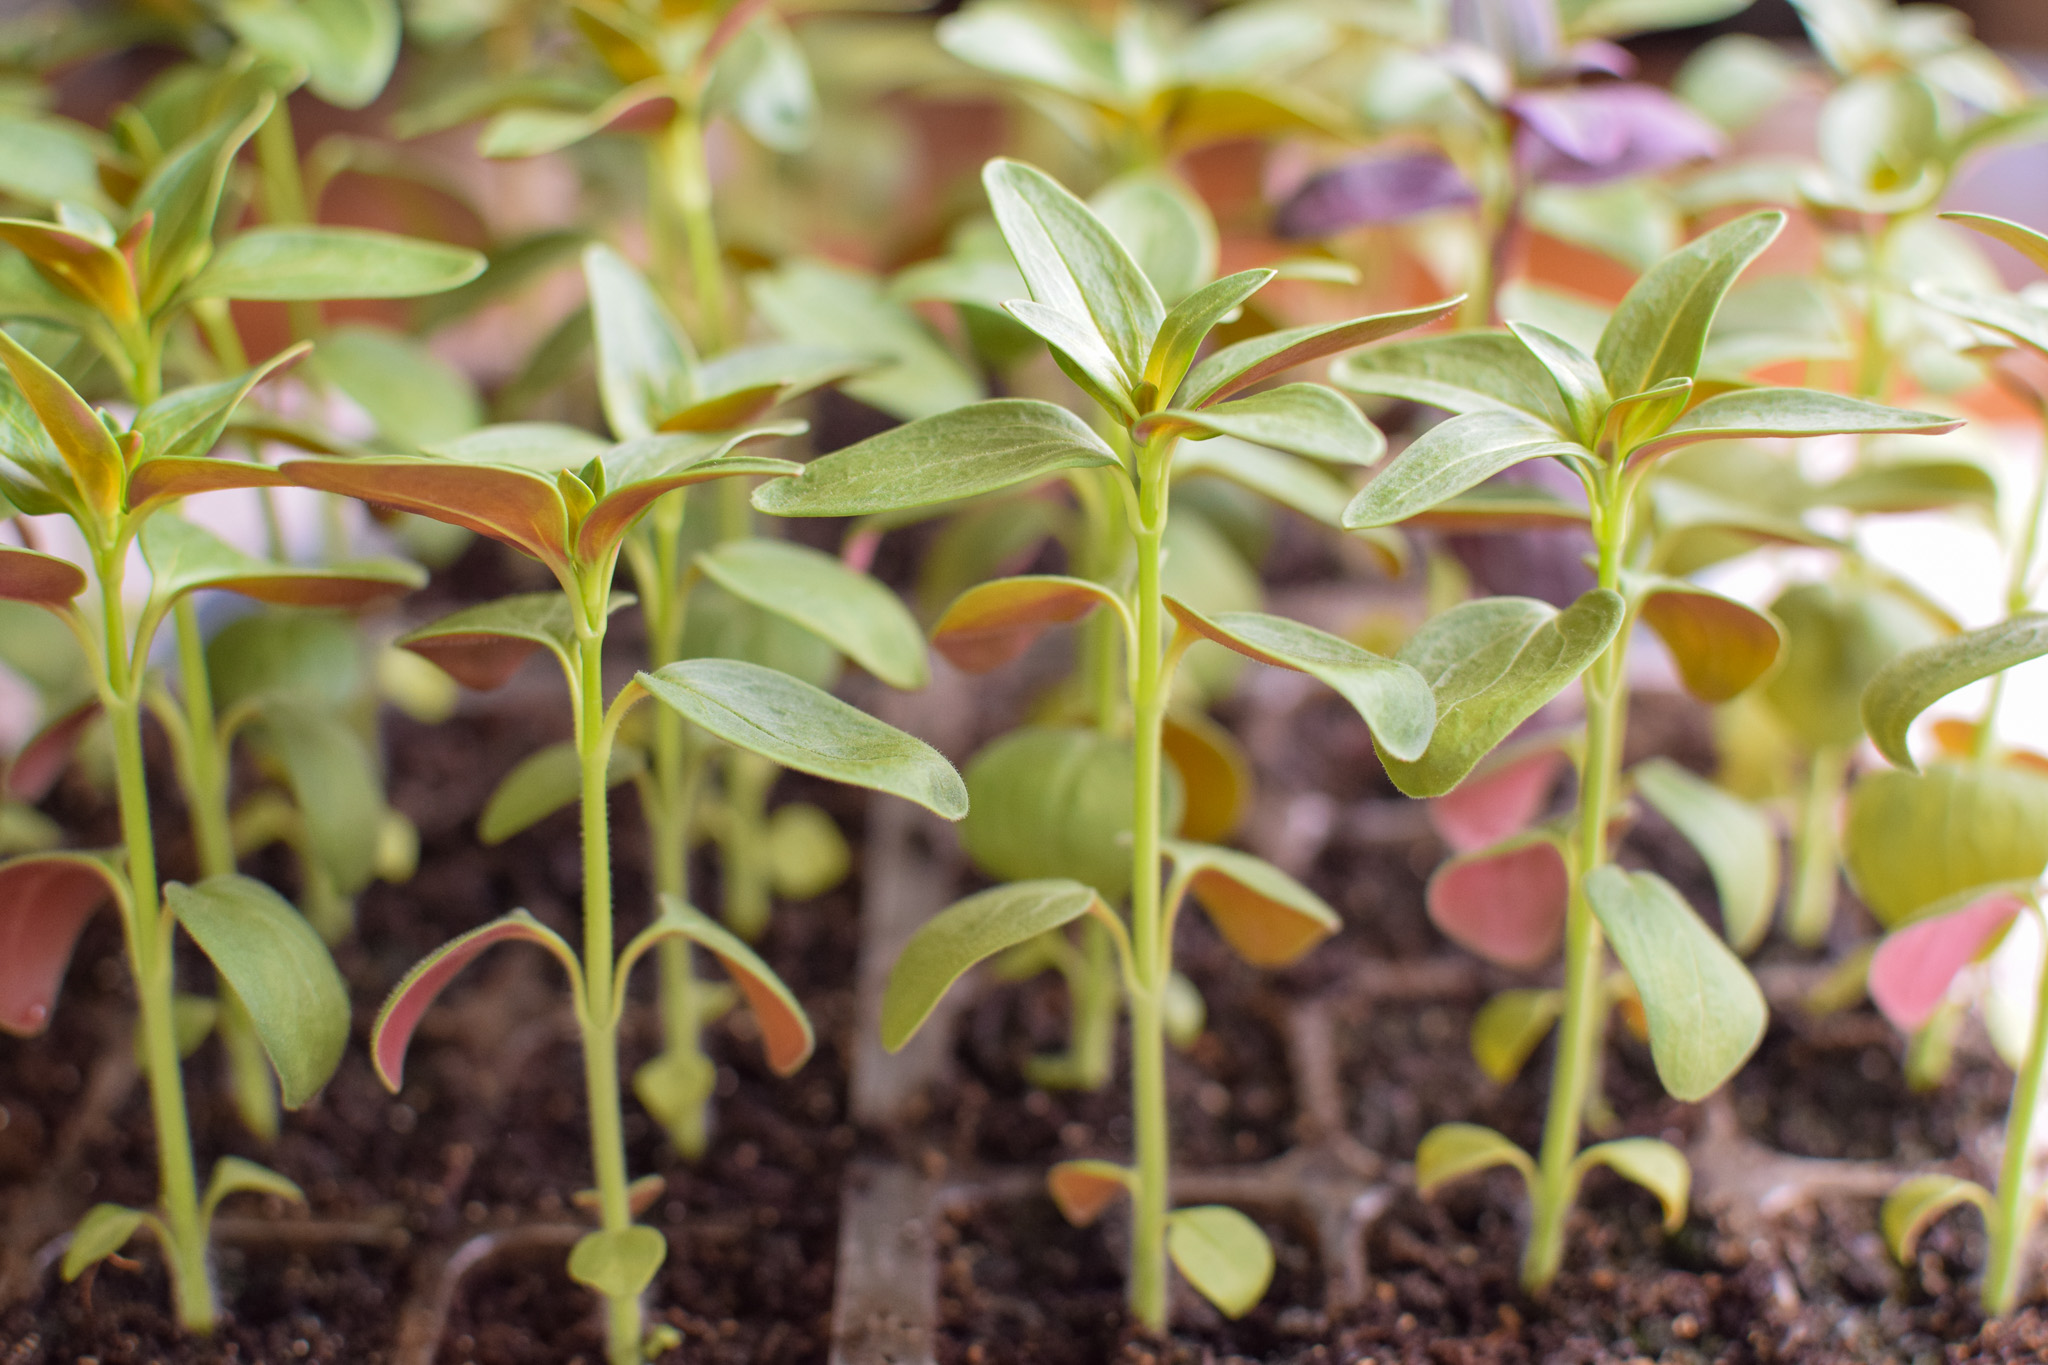
How To Start Zinnia Seeds Indoors
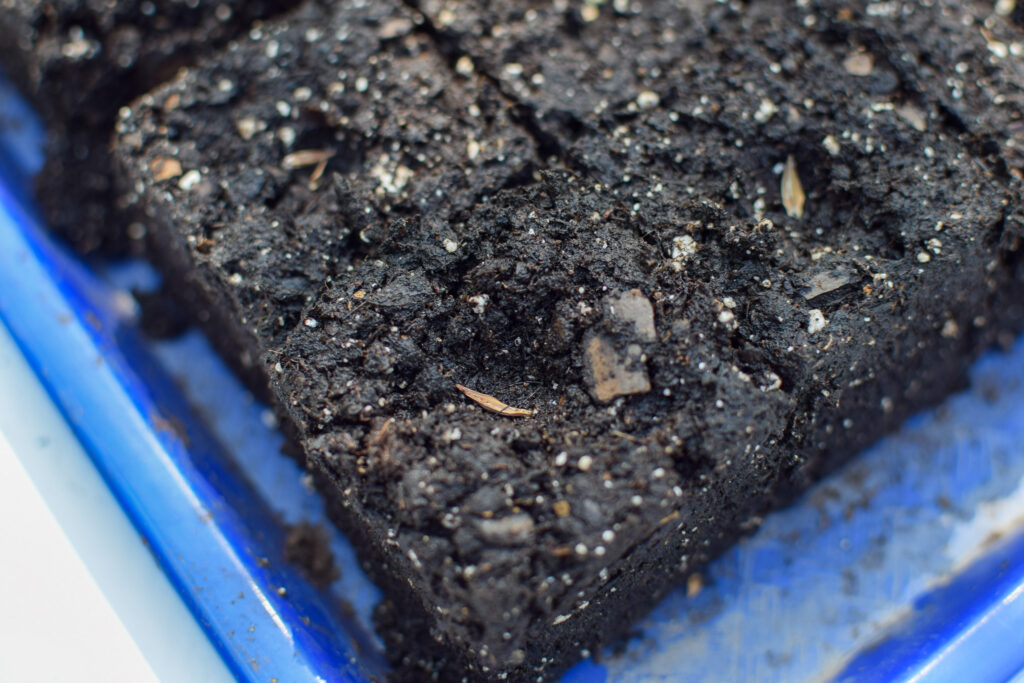
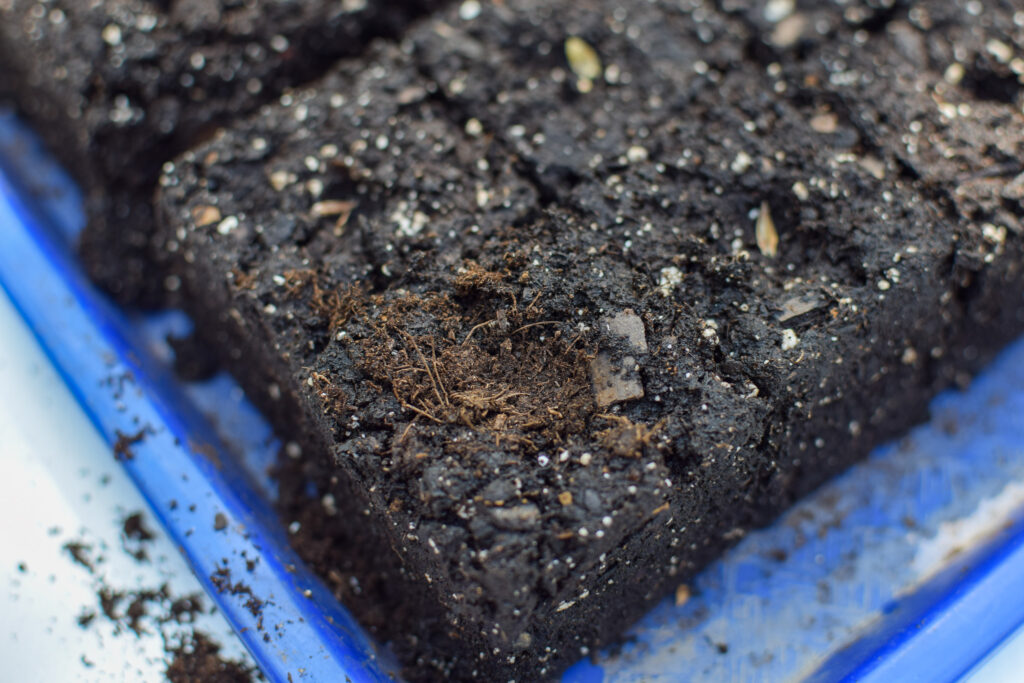
Start by pre-moistening potting mix (make sure it is a smooth mix with no chunks if soil blocking) or pre-moistening seed starting mix. I like to start zinnias a bit bigger. So if you soil block, use a 2″ blocker.
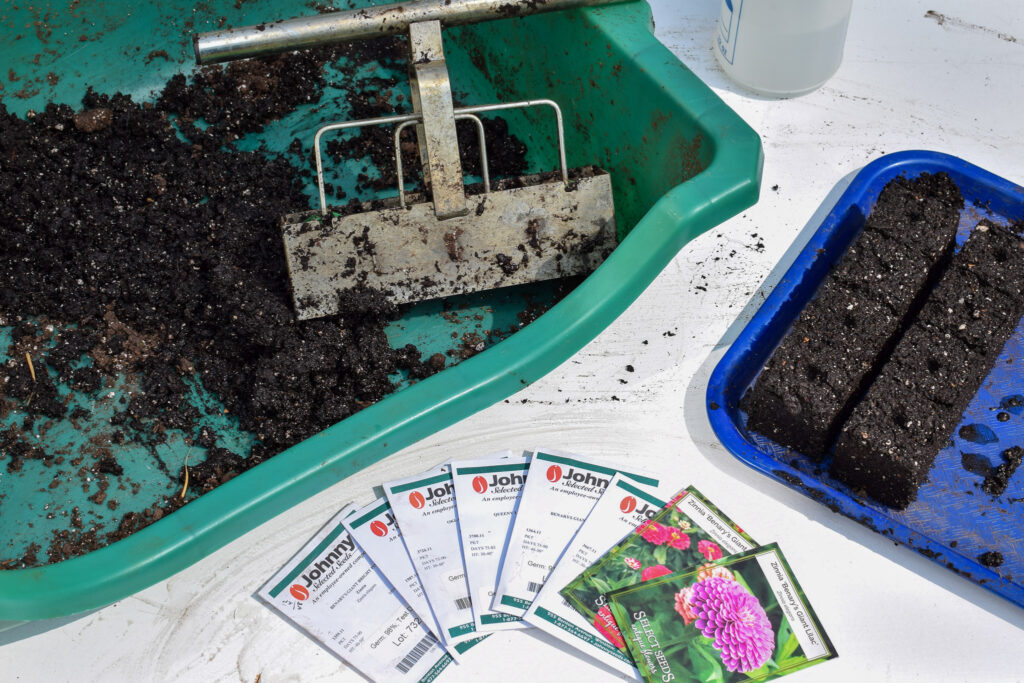
For soil blocks, place your seed in the block depression and cover with seed mix. The seed should be buried 1/4″ deep. Zinnias have a good germination rate, so 1 or 2 seeds in each block should be enough. Once the seed has been planted, spray with a mist of water.
If more than one seed germinates (grows) you can pluck out (cut/snip) the extra.
If you prefer seed trays, use pots that are at least 2″ or 2.5″ wide. You can also use yogurt containers (with holes poked in the bottom for drainage) or any small plastic container with drainage.
For 2.5″ pots, fill your container with pre-moistened mix to about 1/2″ from the top. Place your seed and cover with about 1/4″ of seed mix and firm it in. Spray it with a mist of water.
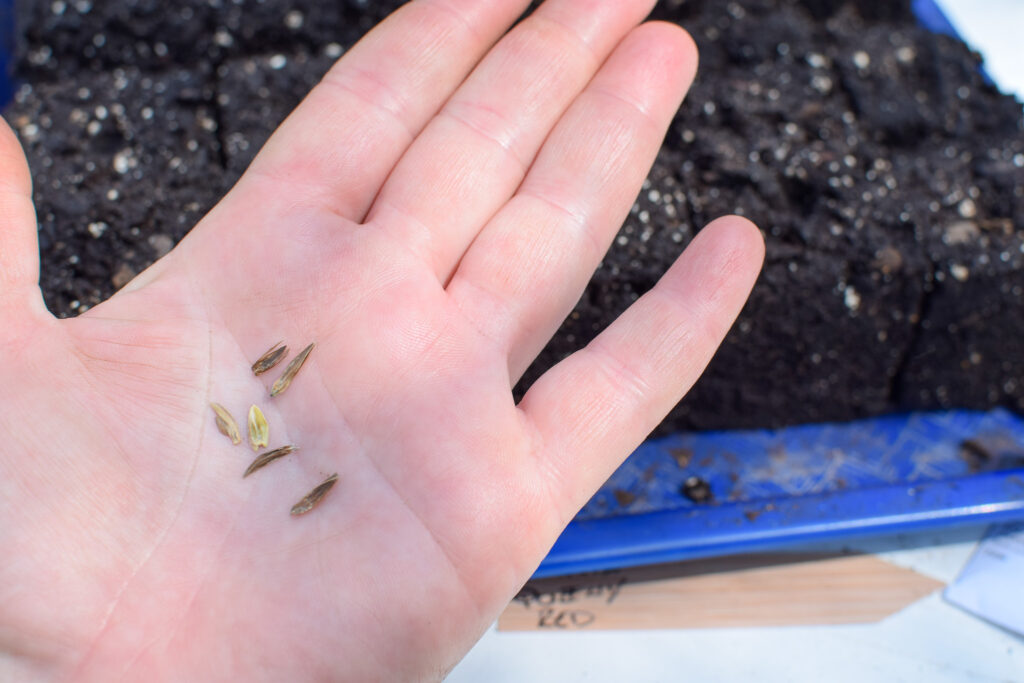
If you have older seed (my seeds here are about 4 years old) it’s a good idea to place a few extras in each pot. The germination rate of seeds decreases each year, so while they’ll still germinate, it may take 2 or 3 times the amount as usual.


Moisture
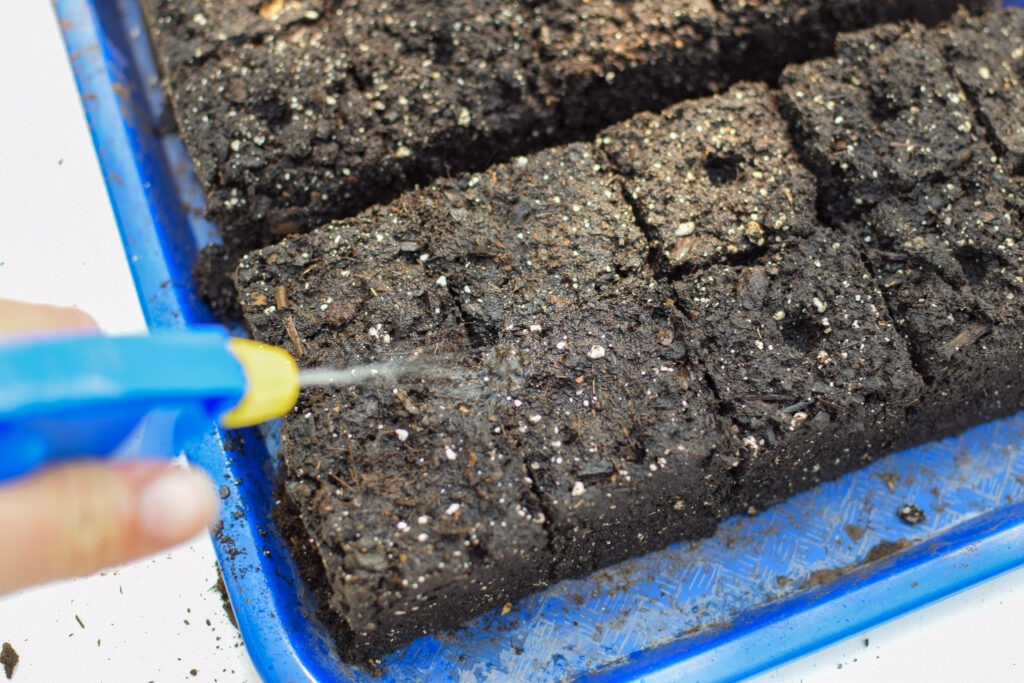
I like to spray the tops of pots and soil blocks with a mist of water and then cover with a plastic dome or plastic wrap to seal in moisture (this helps with germination).
You will have to spray your soil blocks or pots at least one time a day with water to keep them moist until they germinate (emerge from the soil as a tiny plant).
Lighting
Keep your soil blocks/pots under lights (turned on) for 14-16 hours a day. I like to keep them under the lights right away so the second the seedling emerges it is hit with light.
LED shop lights need to be adjusted to about 2-4″ above the plants (or soil if the seed was just planted). You may have to raise the lights as the plants grow.
Hardening Off Zinnia Seedlings
About a week before you plant to plant your zinnias in the ground, it’s time to start hardening off your seedlings.
Hardening off is a process of acclimating your baby plants to the big bad outside world. Your plants have never felt sunshine, rain, or wind. We need to adjust them slowly. And I’ll be honest, this is my least favorite part of growing seeds indoors.
This process should take about 7 days. I usually skimp and do it for about 3 days. I have also burned quite a few seedlings by skimping on this. So, make it last 7 days. I’ve heard some people say 14 days, but I will NEVER harden off seedlings for 14 days.
On day 1, preferably a warm (60 or above) and cloudy day, take your seedlings outside for 1 hour and then bring them back in under the lights.
Day 2, take your seedlings outside for 2 hours and then bring them back in under the lights.
On day 3, take your seedlings outside for 3 hours and then bring them back in under the lights.
You will continue to gradually expose your seedlings to more and more outside time, by roughly 1 hour increments, over the course of a week.
Don’t take your seeds out during a thunderstorm. Remember, they’ve never had rain, so heavy rain will do damage. You are trying to gently acclimate them. By the end of 7 days, they should be strong enough to be planted outdoors.
Another side note, if you’ve had really cloudy weather during the hardening off week, you may need to extend your hardening off period by a few more days to acclimate the plants to sun slowly.
Hardening off seedlings, in my opinion, is a dreadful task. Do your best to acclimate your seedlings. They will be healthier for it!
Planting Zinnia Seedlings in your Cut Flower Garden
When it’s finally time to plant your seedlings in the cut flower garden (hooray!), you’ll want to keep them spaced about 9- 12″ apart.
This will allow for air flow and help keep disease to a minimum.
Grow Zinnias Outdoors by Direct Seeding
Direct seeding means to plant your seeds directly in the soil/location where they will be grown.
I’ve grown zinnias in raised beds and in the ground, and they’ve both done really well.
The process for starting zinnia seeds directly in your cut flower garden is fairly similar to indoors, but faster!
Place 1 or 2 seeds about 1/4″ deep into a prepared bed (no weeds), spaced about 9″-12″ apart. That’s it!
Zinnias are said to grow better being direct seeded. They don’t suffer transplant shock, and they will thrive over indoor started seeds.
Personally, I find that slugs always eat most of my seedlings the second they emerge. So I always start a batch inside, and then after my last frost I’ll direct some, too. I like to have both!
Moisture
Zinnias germinate quickly (about 3-5 days). The most important part of direct seeding any seed is to water, water, water.
When the time comes to grow your zinnias, your weather should be hot. The ground may dry out quickly so you may have to water 2, or even 3 times, a day (unless it’s raining, of course). Once the seedlings emerge, you can back off watering to about once per day or every other day when they are small.
Thinning
If more than one seedling comes up in a spot, you’ll have to snip the extra plant/plants out. You can use your nails, or snips, to cut the extra out.
Zinnias can be prone to diseases like powdery mildew so it’s important to give them proper air flow. A spacing of 9″ or 12″ is ideal.
Pinching Zinnias
Zinnias are a type of plant that benefits from pinching the first bud off. When the plant is about 8″ tall you may see a bud form. It may be painful for you, but you need to cut off that lead bud down to the next set of leaves.
Pinching this type of plant helps the plant to branch out and produce more blooms. It seems counterproductive, but it does help!
How to Harvest Zinnias
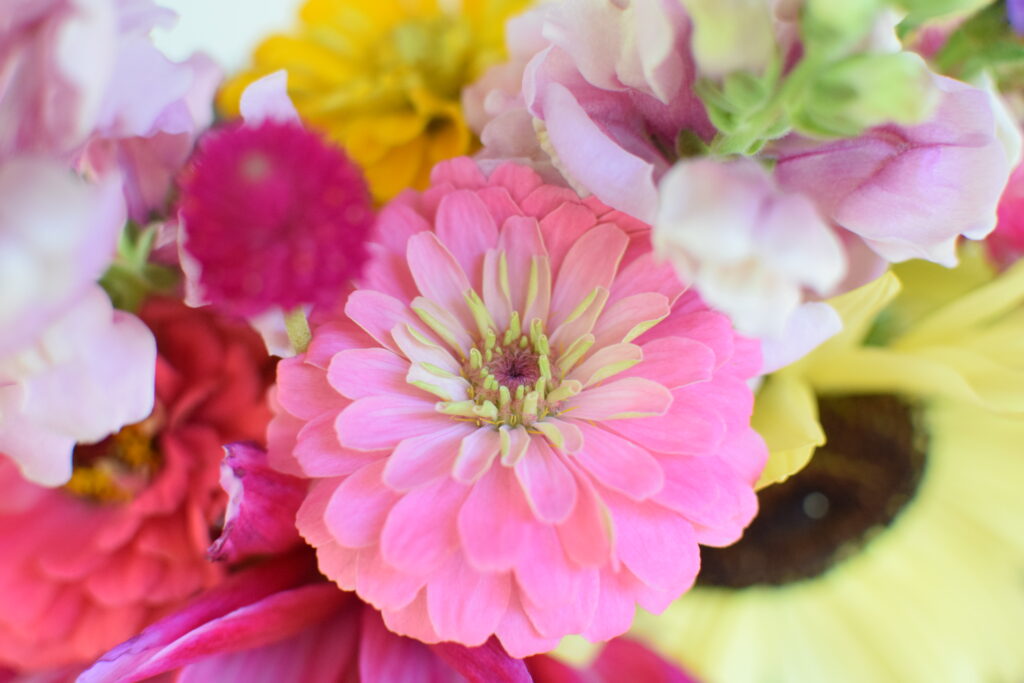
The best part of knowing how to grow zinnias is your reward of gorgeous flowers!
Zinnia plants can produce flowers on short stems at the beginning. You may be tempted to cut the stem where it meets another branch. But don’t!
What you actually need to do is sacrifice the bud below and cut a stem long enough for a bouquet. You’ll be sacrificing flowers, but the plant will repay you with more blooms on longer stems. Each cut should be roughly the length of the fingers to your elbow.
When to Harvest Zinnias
Zinnias are a unique flower in that you can’t tell when they’re ready simply by looking at the flower (at least I can’t).
While the flower head should be nearly, if not all the way, open, what you need to check is the sturdiness of the neck. Take a branch about 8″ below the flower head and gently wiggle it from side to side. If the flower head flops or looks flimsy, it’s not ready. If the flower stays straight, its stem is strong enough to be cut.
It’s a good idea to get in the habit of cutting zinnias in the early morning hours or in the late evening. Zinnias, among other plants, can wilt if they’ve been cut in the heat of the day.
When you cut your zinnias, place them directly into a bucket of cool water and keep them in the shade while you are out cutting your flowers.
It’s a good idea to let your flowers, zinnias as well as others, sit in a cool location (inside your air conditioned house, for example) for a few hours after being cut.
When you let them sit, they can drink up extra water before being handled or tied into a bouquet. This is called “conditioning”. It gives your flowers the best chance for a long vase life.
Cut and Come Again Zinnia Varieties
Zinnias are known as ‘cut and come again’ flowers. You may see this in other flowers as well, such as cosmos.
The term ‘cut and come again’ refers to the fact that the more you cut from your plant, the more the plant is encouraged to push more growth and more blooms.
My favorite cut and come again zinnia varieties are:
Succession Plant Zinnias
Zinnias can last all summer, but they can also get disease. Mine sure do!
It’s a good idea to succession plant at least once, if not twice. What this means is, after you have one batch of zinnias growing, it’s a good idea to start another group/succession of zinnia plants about 2-4 weeks later.
Succession planting zinnias ensures that you have fresh zinnias all the way through your first frost. And the first frost, even a minor one, will kill them.
The number of times you succession plant will depend on how long your season is.
If you plant your first batch of zinnias on May 15, you can plan to grow your second succession of zinnias on Jun 1 or June 15.
Keep in mind that zinnias will be killed by your first frost, so you want to leave enough time to enjoy the blooms on your subsequent zinnia successions.
Grow Zinnias in Your Cut Flower Garden
I hope you find this information helpful. This should be everything you need to know to get your zinnias growing successfully this year for a great cut flower garden.
If you have any questions feel free to ask me below. Thanks for stopping by!