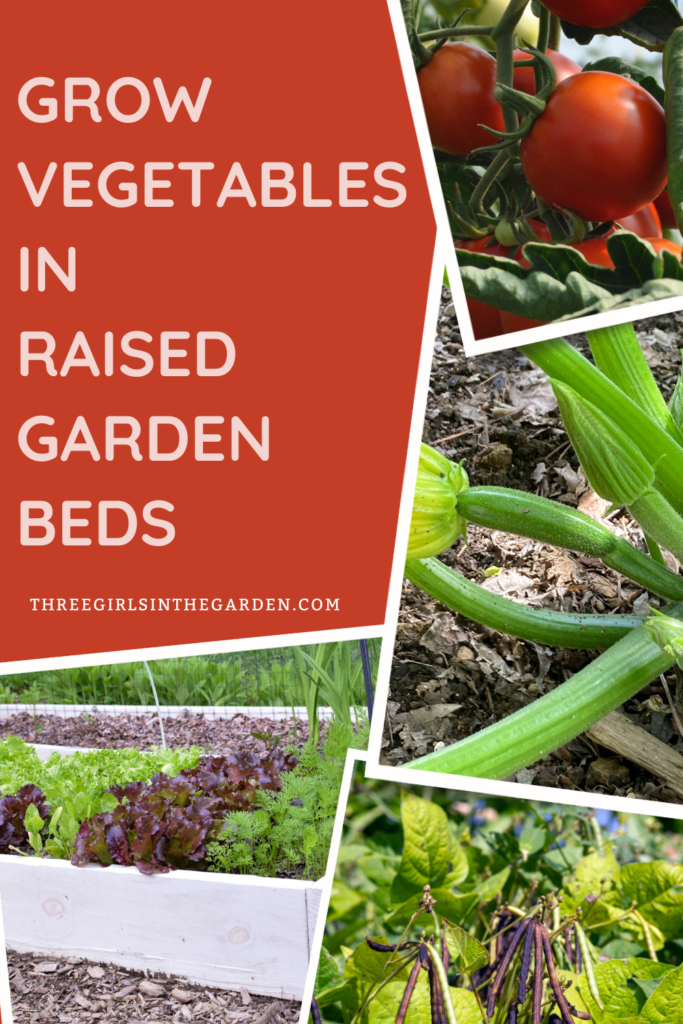
How to Grow Vegetable Plants for Raised Garden Beds | Beginner Gardener Part 4
Are you ready to grow vegetable plants in your raised garden beds? I sure hope so!
Just to recap, in our Beginner Gardener Series on Raised Beds, we have covered purchasing/building your raised beds in part 1, the best/easiest vegetables to grow in part 2, and how to grow from seed in part 3. Be sure to check those posts out so you’re all caught up.
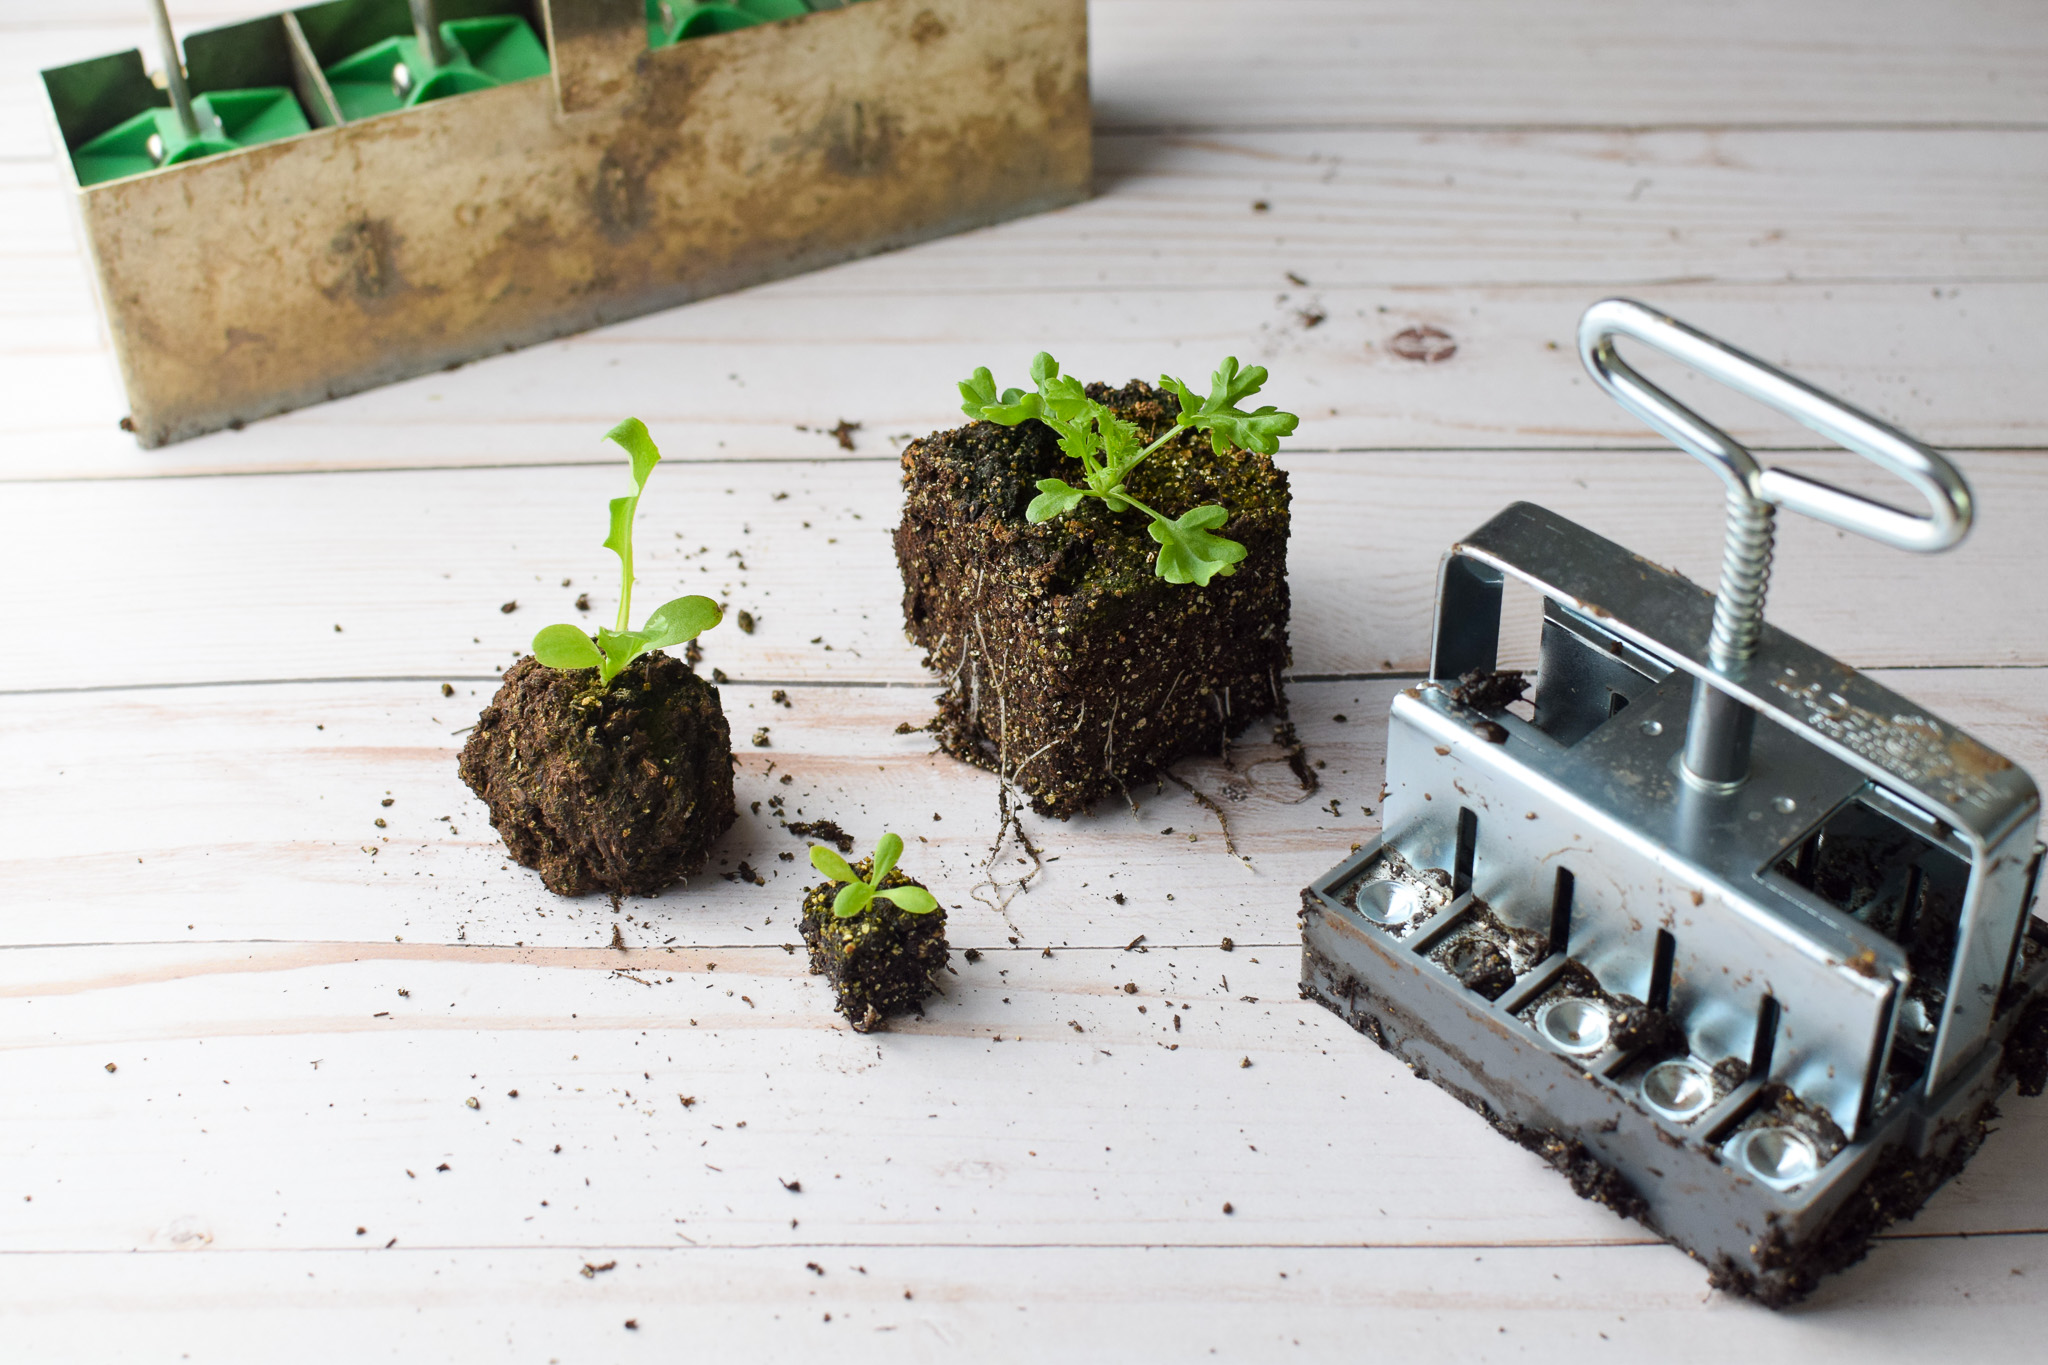
Today we are covering how to grow the last 6 vegetable/herb plants for your raised garden beds. Most of these are available as small plants, also called seedlings, that you can buy from a nursery, or Lowes/Home Depot. They are affordable and easy to come by. And for most of us, late May is a great time to get your plants in your raised beds!
However, a couple of these plants can be easily grown by seed, as well.
With this guide, you will be able to plan out your raised bed based on how much space you have available (square feet = length x width) and the spacing for each of the 12 plants we cover.
6 Summer Vegetable Plants to Grow in Raised Garden Beds
These next 6 crops are your heat loving summer plants. They perform under the high heat of summer, after your last frost. You can find your last frost date here. Be sure your last frost has passed before planting summer vegetables!
Consistent water will be the key to getting your best crop. And with a raised bed, consistent water is easily achieved with nothing more than a watering can!
I hope you’re ready to cover the last 6 crops on our list. By the time we’re done, you’ll know which vegetable plants, and how many, can grow in your raised garden beds at one time!
1. Beans
There are loads of bean varieties to choose from and they all fall into 2 categories: bush beans and pole beans.
While you can buy beans as plants, I still recommend getting seeds. They grow easily from seed and fast. Also, you can plant up to 12 vining bean plants in just 1 square foot of space. 12 seeds is a lot cheaper than 12 plants!
How to Grow Pole Beans (Runner Beans/Climbing Beans)
Pole beans will need something to climb on like a trellis, obelisk, or stakes. I’ve used all three options and have had success with each. Growing vertically allows you to free up lower space so you can grow additional plants such as carrots, radish, and lettuce.
When planting vining bean seeds, you want to plant them at the base of an obelisk, like this, or some type of structure/wire.
Place your obelisk or trellis in your raised bed, and push it down to make sure it’s firmly in place. Then, place 8-12 bean seeds around the base of the obelisk. You can evenly space them if you place a seed at 12 o’clock, 3, 6, and 9. Then go back to and place 1 or 2 more seeds in between each seed.
Push the bean seed down about 1″ deep, and cover it with soil. Water well, and water every day until you see the plant emerge.
You may have to add string to your obelisk to help the beans get established. Some beans will wrap around the poles and won’t need help. Others may need an extra hand. I wrap black twine like this around my obelisks to help the tendrils grasp on and grow. FYI, it doesn’t have to be black! I just like how it blends in with my black obelisks and therefore isn’t as noticeable.
How to Grow Bush Beans
Bush beans have the bonus of not needing extra support at all. I have found that as long as I plant several together, they help stand each other up.
When planting bush bean seeds, place 4-6 seeds in a square foot section, about 4 inches apart. Push each seed into the ground about 1″ deep. Cover with soil and water well.
In the picture below, you can see the 5 circles in the top right quadrant. Those are bush beans that want 4″ spacing. I planted 5 in a square foot section.
The lower right quadrant is an amethyst bean that only wants 2″ spacing. I planted 15 in a square foot section.
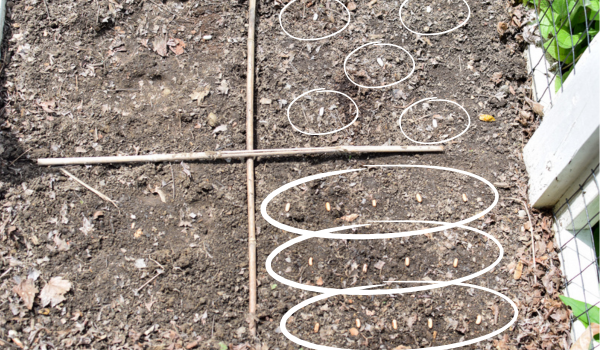
Some beans will have different spacing requirements. When planting tight like this, you don’t have to worry about “row” spacing. We have no rows! This is raised bed gardening! Just follow the space guidelines between each bean, and you should be go to go! But, if all else fails and you plant 4-6 beans per square foot, you’ll still have a nice harvest.
2. Radish
Radishes are a great beginner crop as they grow from seed to harvest in about 1 month. Also, they can be planted at the base of bigger plants, like tomatoes, peppers, and zucchini, as the radish will be pulled out long before the bigger plant can shade out the radish.
Planting this way helps you to maximize a small space which is especially important in a raised bed.
In full transparency, I personally despise the taste of radishes. They are like eating a peppermint flavored vegetable! But if you like them, or if you just want to be guaranteed success, plant some radish and watch them grow!
How to Grow Radish
I don’t dedicate space to radish. I personally feel they are best planted in the surrounding areas around the bigger plants, like I mentioned above. They aren’t big, and their roots aren’t too imposing.
With radish, you want to grab a pack of seeds.
Take the side of your hand, or your finger, and make a 1/4″ furrow in the soil around your bigger plants (place the bigger plants first). You can start your furrow about 6-8″ from the base of your bigger plant. Sprinkle the seeds in the furrow, and then cover with soil. Water every day until the seedlings emerge.
When the seedlings are about 1″ tall, thin them down to about 1 seedling every 1-1/2″. This means to pluck out all the extra seedlings that grew to allow the radish you’ll keep the room it needs to grow. They need about 1-2″ of space per radish.
If you don’t want to thin, you can place 1 seed every 1″ and then cover with soil. This takes a while with small seeds, but it’s up to you.
You can pick radish after about 35 days. You’ll know they’re ready when the red head of the radish is popping up at the soil surface.
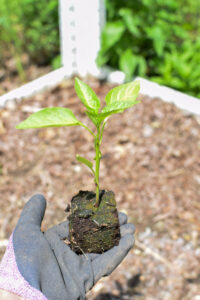
3. Peppers
Homegrown peppers are the best…in my opinion anyway! There are loads of pepper varieties to choose from so look around and grab a few.
I space peppers about 12″ apart in a staggered pattern.
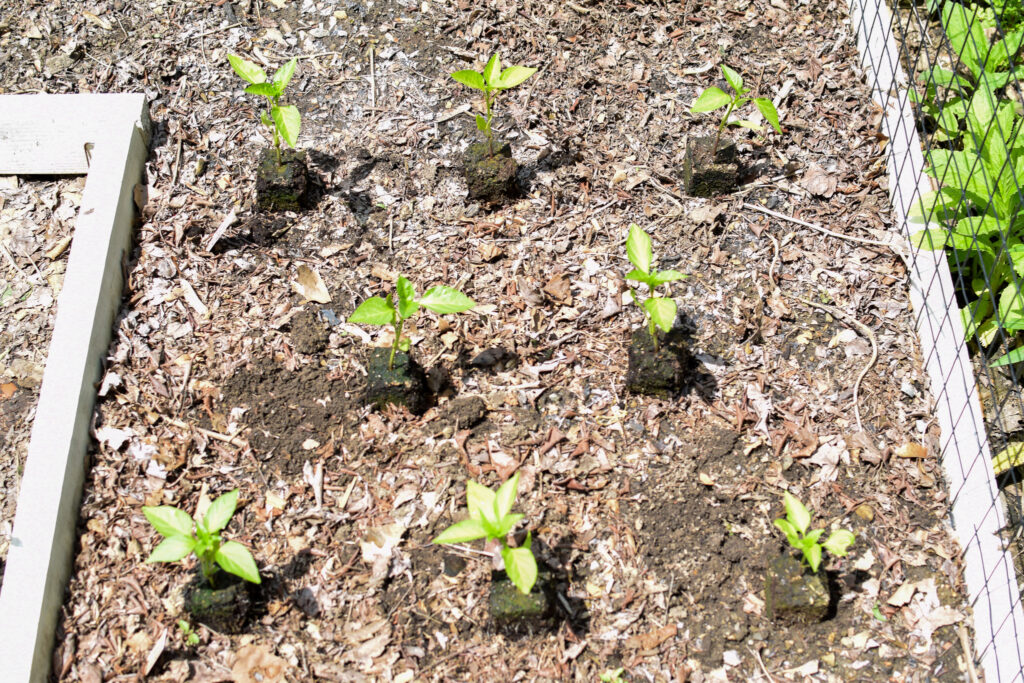
My favorite varieties, and the ones I have the most success with, are banana peppers, cubanelle, and lunchbox peppers. Each plant produces loads of peppers!
How to Grow Pepper Vegetable Plants in Raised Garden Beds
You want to grab peppers as plants (until you’re ready for seed starting indoors).
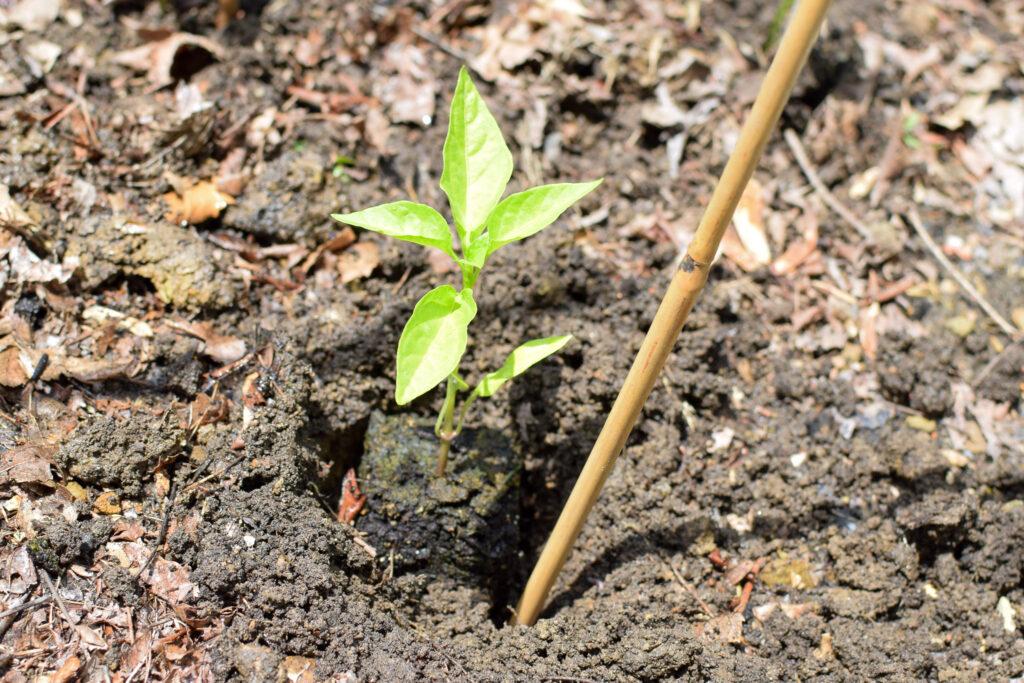
Dig your hole just a bit wider than your potted plant, and the same depth. Turn your pot over, supporting the plant between your fingers, and gently ease the plant out.
Gently loosen the roots on the bottom of the plant and place the root ball into the hole. With the root ball sitting in the hole, take a garden stake (I use the smaller 4′ bamboo stakes for peppers) and push it into the ground behind the plant…make sure you don’t spear the plant or its roots. Once your stake is firmly in space, fill the hole back up with soil, and water it in well.

It’s best to tie your plant to your stake at planting, and then every 8-12″ or so of growth. My favorite ties are rubber coated wire plant ties. Cut them a little longer than you need and you can easily use them year after year.
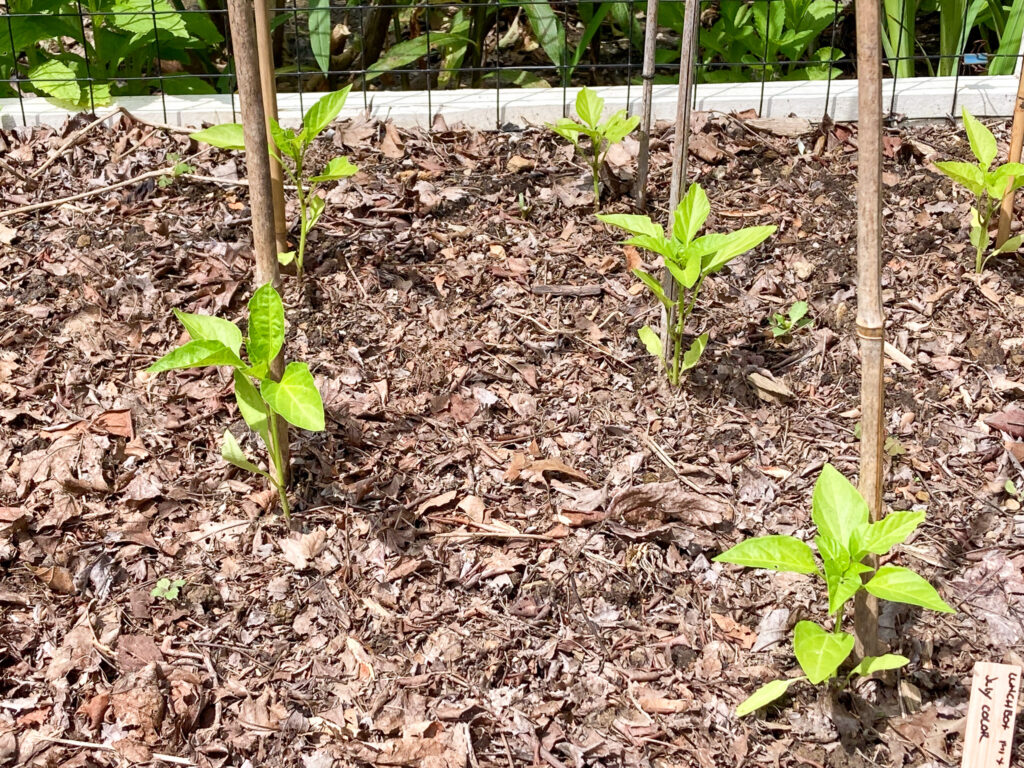
I ran out of rubber ties after securing my dahlias so my peppers have to wait a couple of days for another order!
4. Tomatoes
Tomatoes are another incredible summer crop to grow in your raised beds. Most people recommend giving tomatoes loads of space. However, I have found with just a bit of pruning (and I’ll teach you how), 12-18″ is plenty of space in a raised bed.
There are 2 types of tomatoes: determinate and indeterminate.
Determinate tomatoes usually grow to about 3′ tall. You don’t need to prune these tomatoes other than removing any stems that are touching the ground. This helps prevent disease.
Indeterminate tomatoes grow very tall (usually over 6′) and need pruning. I’ll show you how when it comes time to maintaining our plants.
Both types of tomatoes will need strong staking. A simple bamboo stake is great for peppers, but it’s not enough for tomatoes. You can use tomato cages, or make a cage out of several bamboo stakes tied with twine to form a teepee.

How to Grow Tomatoes in a Raised Bed
Tomatoes are one of the few vegetables that can be planted deeper than the pot they are grown in. This helps develop roots along the main stem and give more support and nutrients to the plant.
The depth of your hole will depend on the depth of your raised bed. If you have a 12″ raised bed, you can dig a hole twice as deep as the pot the tomato is in, or until the lowest set of leaves. Strip the lowest set of leaves and bury the plant.
Place your stakes/cage over the top of the newly planted tomato. You will want to tie your tomato on now if you are using stakes, and every 8-12″ or so of growth.
Also, be sure none of the leaves are touching the soil. Tomatoes get diseased easily, so it’s important to prolong their health by removing the lower leaves that may get splashed by soil.
Tomatoes get heavy so make sure they are supported well. It’s horrible when you’re so close to harvest and go outside to find your tomato plant has broken off in a strong wind or has been blown over. So support your plants early and often!
5. Zucchini
Zucchini plants are another incredible heavy hitter in the summer garden. While they’re a big plant, they can be easily managed by growing vertically. Yes, we are staking our zucchini in our raised garden beds!
Zucchini need much less space when we grow them vertically. If you have no desire to stake your zucchini, you’ll have to allow about 3′ of space for it. That’s about half of most raised beds! So, I urge you to consider going veritcal and save about half of that space. Give your zucchini plant about 12-18″… the same as tomatoes.
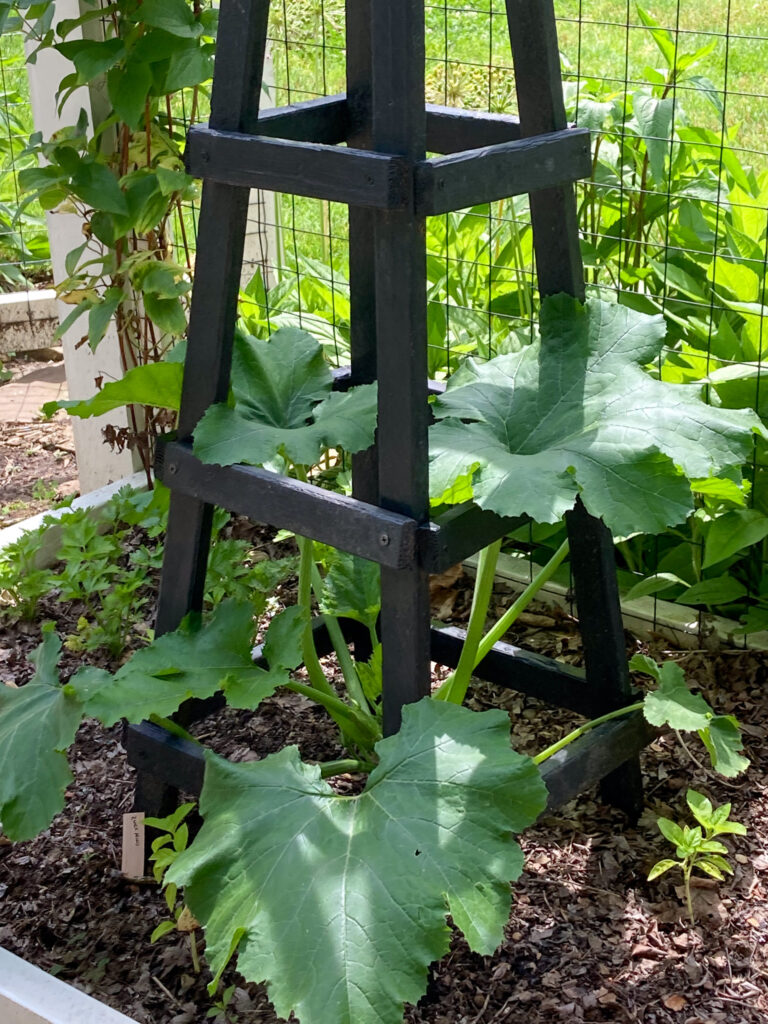
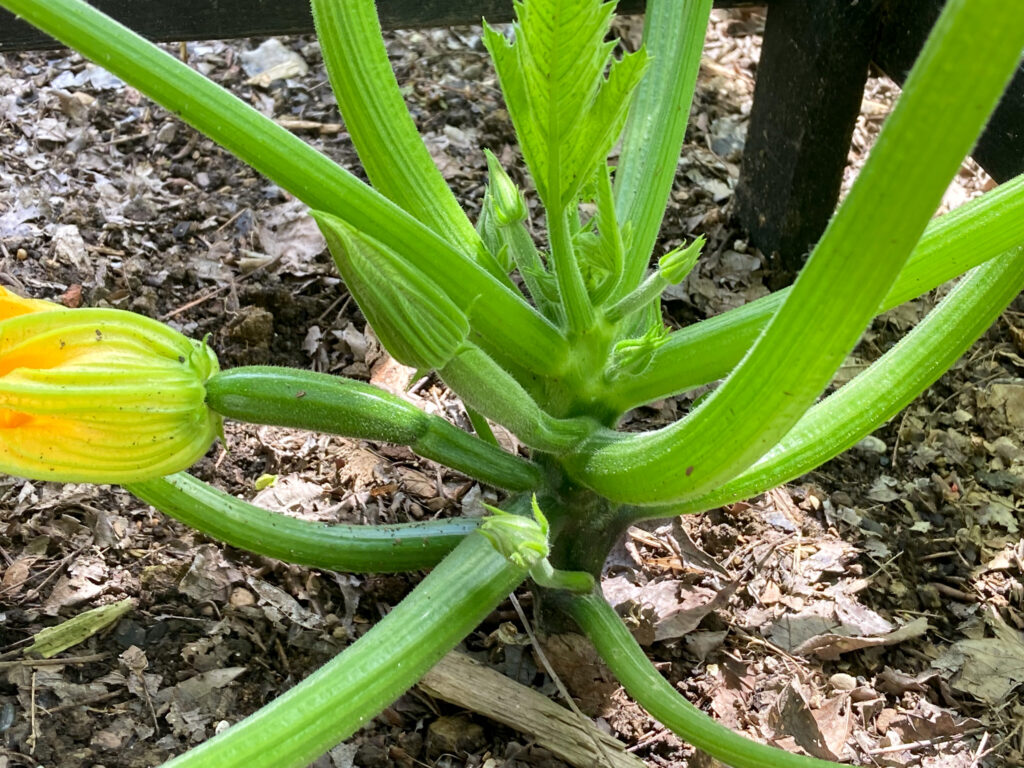
And like tomatoes, I find it’s best to use strong support, like a metal stake, or use an obelisk, to support your zucchini plant. You’ll want to tie your zucchini stem often as it can bend with only a few inches of growth. You’ll want to check it every day!
This year I’m trying out a wooden obelisk I made out of simple 1×2’s. I’ll keep you posted as the season progresses. So far I’m loving it. As the plant grows, the leaves naturally rest on the wooden cross bars, keeping the stem straight and supported off of the ground.
6. Herbs
I’m using the term “vegetables” a bit loose here as we have herbs on this list. But every good vegetable garden needs some herbs!
Potted herbs are readily available anywhere that sells plants. You can plant about 2 herb plants per square foot in a raised bed, or one every 6″. When you plant herbs closer, you just have to remember to use them!
Dig your hole a bit wider than the pot the herb is in, and just as deep. Remove the herb from the pot, loosen the roots a bit and place the root ball into your raised bed. Backfill with soil, and firm in your new plant. Water well.
Don’t let your herbs get so big they go to seed. You want to cut a bit from the tops every few days, or at least once a week, once they are established. Trimming often promotes growth, which in turn, gives you more herbs to harvest all season long!
Success with Raised Garden Beds
Raised garden beds are ideal to grow healthy, productive plants, in even the smallest of vegetable gardens. We don’t need acres of land or a degree in horticulture to have beautiful garden spaces and productive kitchen gardens.
Don’t let the “rules” of gardening stop you from growing a productive vegetable or herb garden in a raised bed. Instead, think of gardening “rules” as a loose guide that can be used or tossed aside when needed!
It’s your garden! It’s your raised bed! Garden the way you want. You can be successful whether you’re new or experienced. We all have failures and successes. Learn from both and keep gardening!
Stay tuned for part 5 of our Beginner Gardener Series where we cover different layouts for your raised bed. You can come up with your own, based on the information you’ve learned in parts 1-4, or see what combos I come up with for different sized raised beds.
Let me know if you have any questions about your raised bed garden this year! Thanks for stopping by and I hope you’ll be back for part 5!