
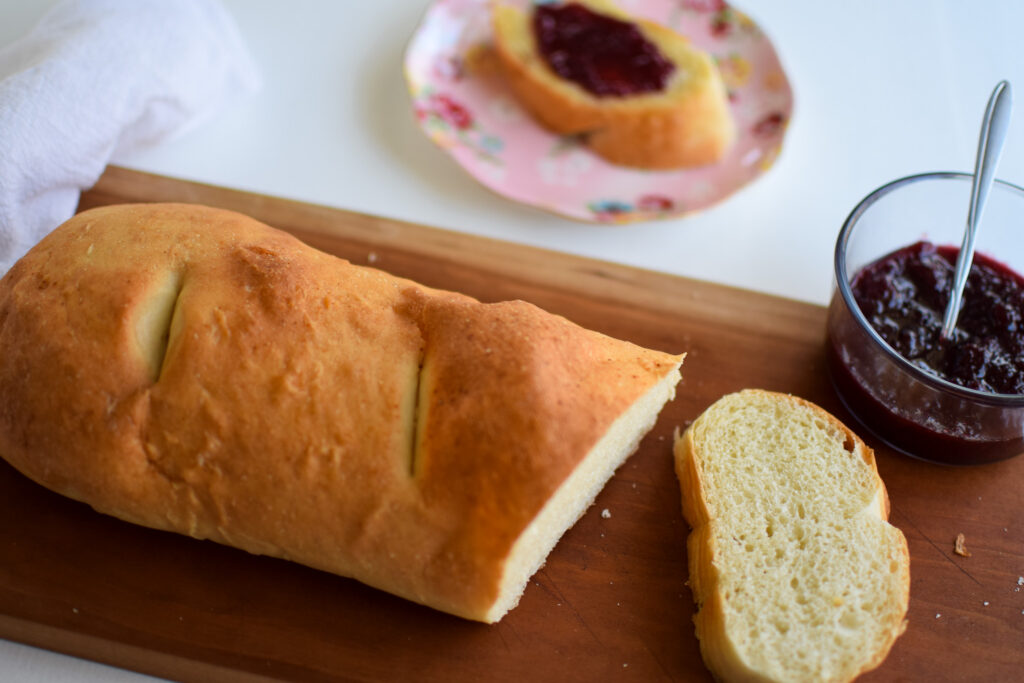
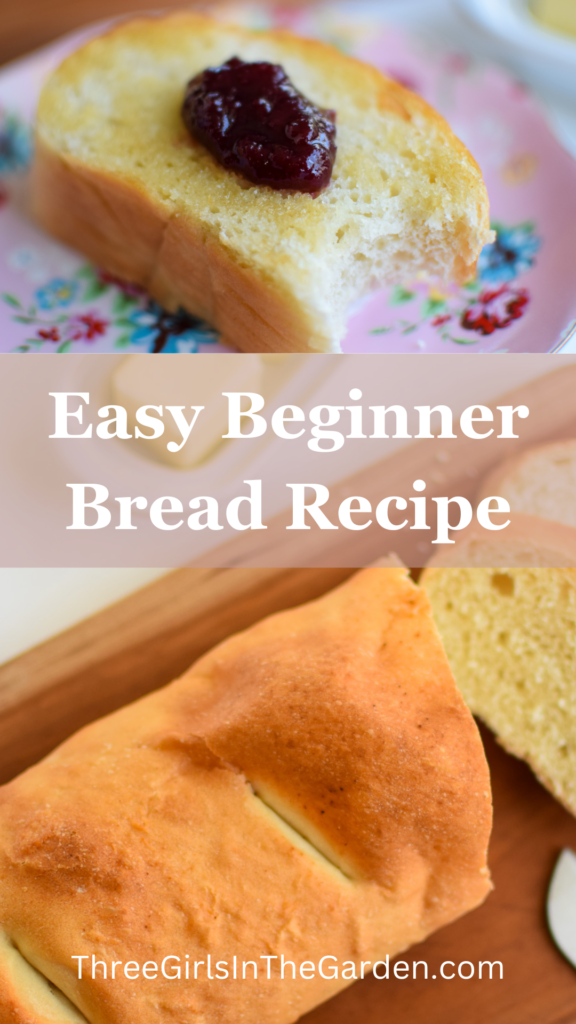
Easy Beginner Bread Loaf Recipe
Does the thought of making bread overwhelm you? Does it seem way too complicated or time consuming? I used to think so. But not with this super easy beginner bread loaf recipe. If you’re new to baking bread and you’d like an easy recipe that you can master on your first attempt, this beginner bread loaf recipe is for you!
Bread used to terrify me. Not eating it, clearly. But attempting to make a crusty on the outside and soft on the inside, kind of bread? No way! But finally I dove in and as my kids say “What the what the?!” (that’s code for a swear word they haven’t yet learned). I have no clue what I was so afraid of – – it’s so simple, fun, and ridiculously rewarding! And if you’re anything like me, you’ll be amazed at how easily this bread comes together.
Common Questions for Beginner Bread Making
These questions are asked the most often so I hope this Q & A helps. Let me know in the comments if you have any more questions I can answer for you.
Which flour is used to make an easy loaf of bread?
Bread flour is the best for baking a loaf of bread. I personally use and love King Arthur. If you don’t have bread flour, then just use all-purpose. I use all-purpose flour every time I run out of bread flour, so no worries. If you have all-purpose, use it, and when you feel comfortable with baking easy bread recipes, switch over to bread flour and try your hand with it. You won’t be disappointed!
I have only 1 request, or tip, when it comes to flour. Don’t go generic! There are plenty of quality, generic, products out there. BUT, flour isn’t one of them! Purchase a named brand. It doesn’t matter which one, just don’t do generic. I’ve never had luck with them.
Do I need yeast in a beginner bread loaf?
Yes. But please don’t fear yeast! It’s actually much easier than you probably think. This recipe calls for only 1 teaspoon of yeast. If you purchased a packet of yeast, you’ll have 2 1/4 teaspoons in that packet. You can simply use half the packet, and save the other half in the fridge. You don’t even need to measure! More yeast will rise faster, less with rise slower. But they will both produce the good bubbly water mixture that smells amazing.
Here’s a random fact – – I love the beer smell of yeast, but I don’t like the smell of beer. How does that make any sense?!
How do I use yeast in a bread recipe?
I live to activate yeast in warm water with a bit of sugar/honey/maple syrup. You can add it directly to the flour and water, but if the yeast is bad/old, you won’t know until your bread is sitting there lifeless. And I’d prefer to not waste all of that flour. So, I activate the yeast in a separate bowl.
How do I activate yeast?
Run warm water on your wrist like you would with a new baby. Not too hot, not too cold. If you would bathe your newborn in it, you’ve got the right temperature. No thermometer needed!
Measure out about 3/4 cup of warm water. To it, add 1 teaspoon of Active Dry Yeast, (I like Red Star) and 1 teaspoon of sugar or honey. I find the sugar really helps to activate the yeast and gets it producing its bubbly, smelly, goodness.
Tips for Easy Beginner Bread Loaf Recipes
1. Using a scale will help you get the most consistent results when baking bread. 1 cup of flour will never weigh the same amount twice. But, 120 grams of flour is always 120 grams.
If you don’t have a scale, then simply measure out the flour in a measuring cup and add the lower end of the water. You can add water if it’s too dry, or add more flour if it’s too wet.
2. Don’t be discouraged if your bread isn’t “perfect”. I wrote this recipe to produce only 1 loaf of bread so you can practice more often without using a ton of flour. The more you make bread, the easier it will become, and the more familiar you will be with how the dough should feel/look.
3. Get your kids involved! My girls LOVE baking. And they extra love knowing they are getting bread with dinner (or sometimes bread as dinner for my little carb addicts). Don’t worry about the mess. It can be cleaned up.
Teach your kids the joy of baking and have fun together in the kitchen. Baking doesn’t need perfection. Have fun and enjoy a cold afternoon with your kids while baking bread in the warmth of your kitchen.
4. Once you get a good feel for this basic loaf of bread, you can really start to have fun. Add rosemary and garlic for a savory loaf, or cranberries and chocolate for something sweet (that’s the next delicious loaf I’m baking).
I’ve included a video as well as step-by-step instructions/pictures so you know what type of consistency to look for in making your very first batch of bread.
Welcome to the world of bread baking. Let’s get started friend!
Step by Step: How to Make Easy Beginner Bread Right at Home
Add 1 teaspoon yeast and 1 teaspoon sugar to 3/4 cup of warm water.
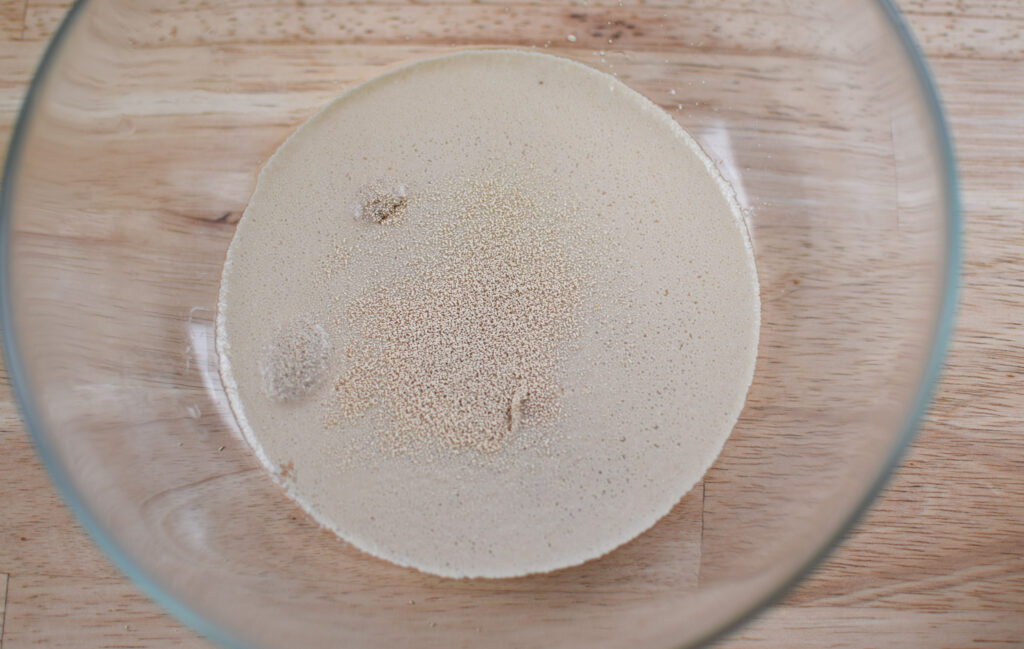
Mix and set aside.
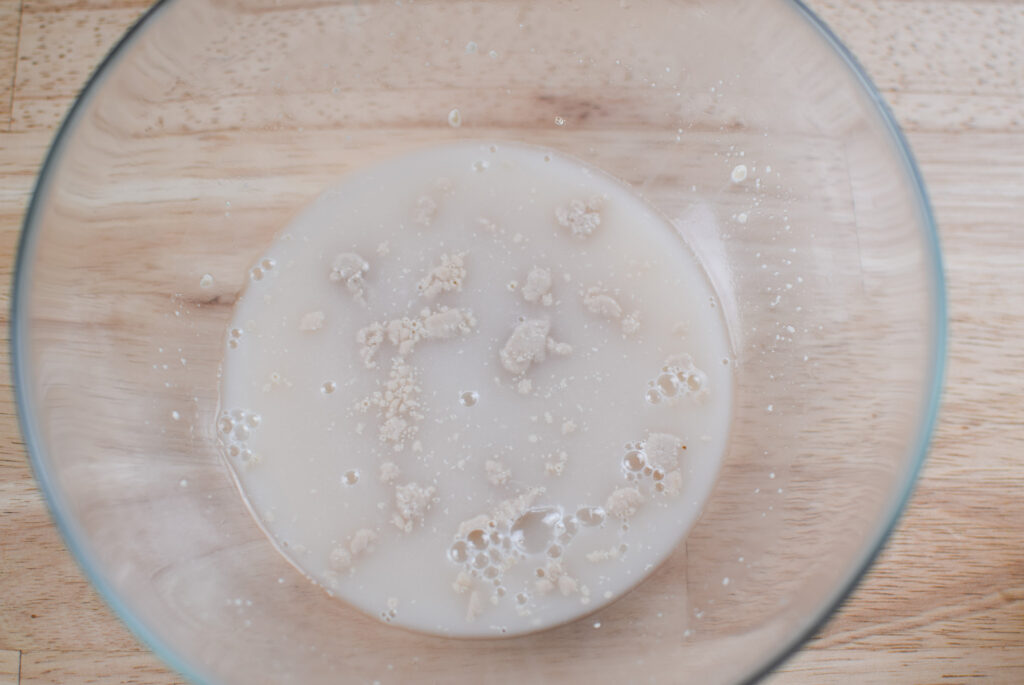
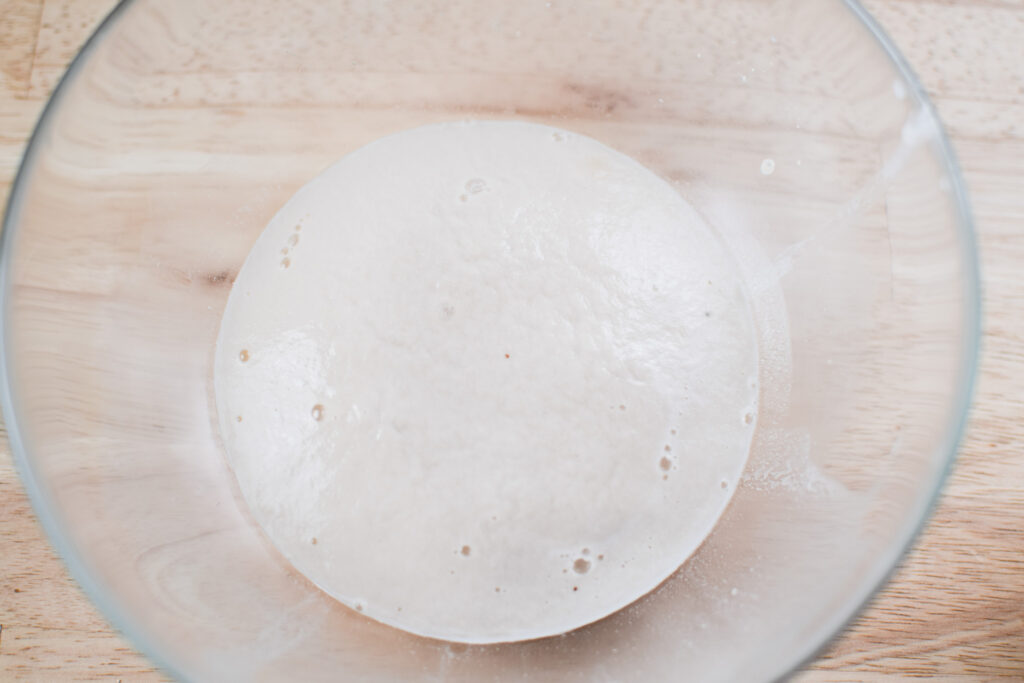
After about 5 minutes, it should have bubbled and thickened on top.
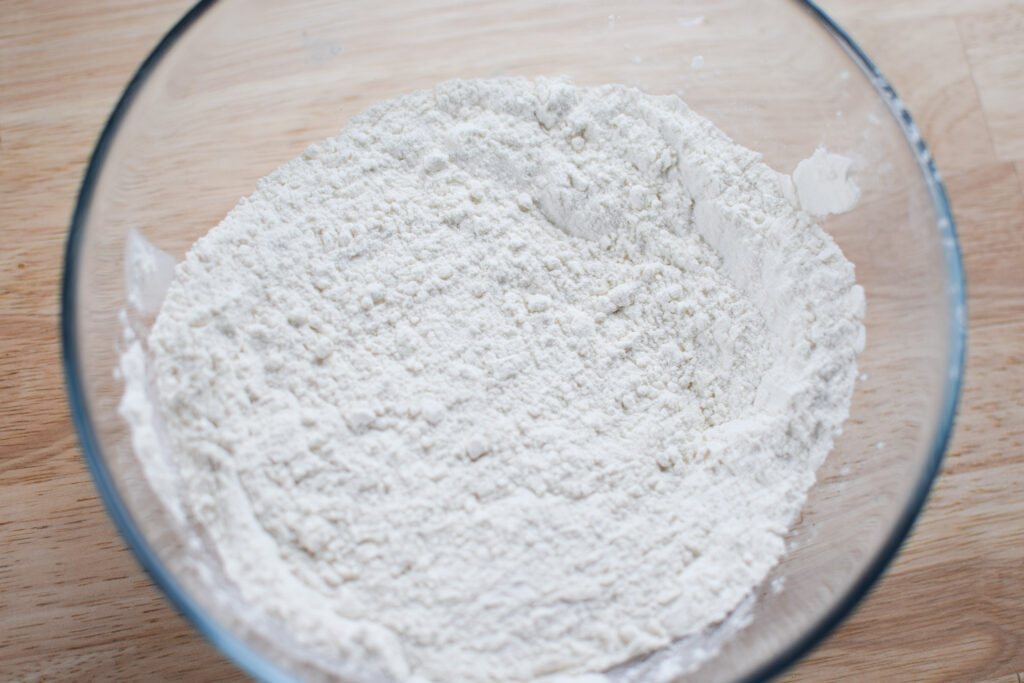
In a large bowl, mix together the flour and salt. Tip: use a fork or whisk to mix the salt through.
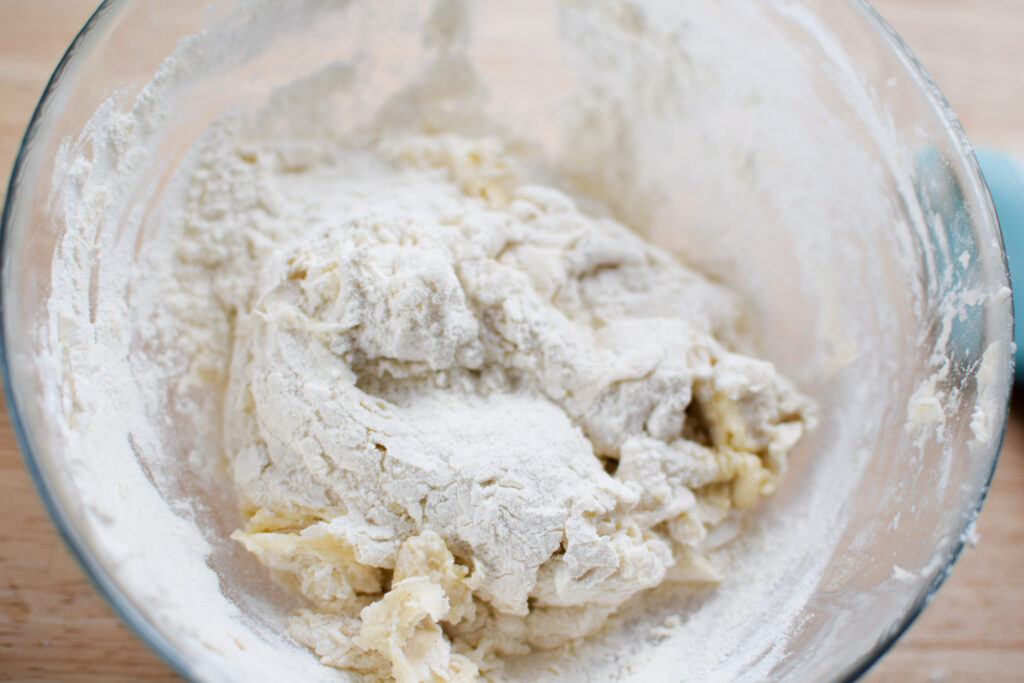
Once the yeast mixture is thick and bubbly, add it to the flour/salt mixture.
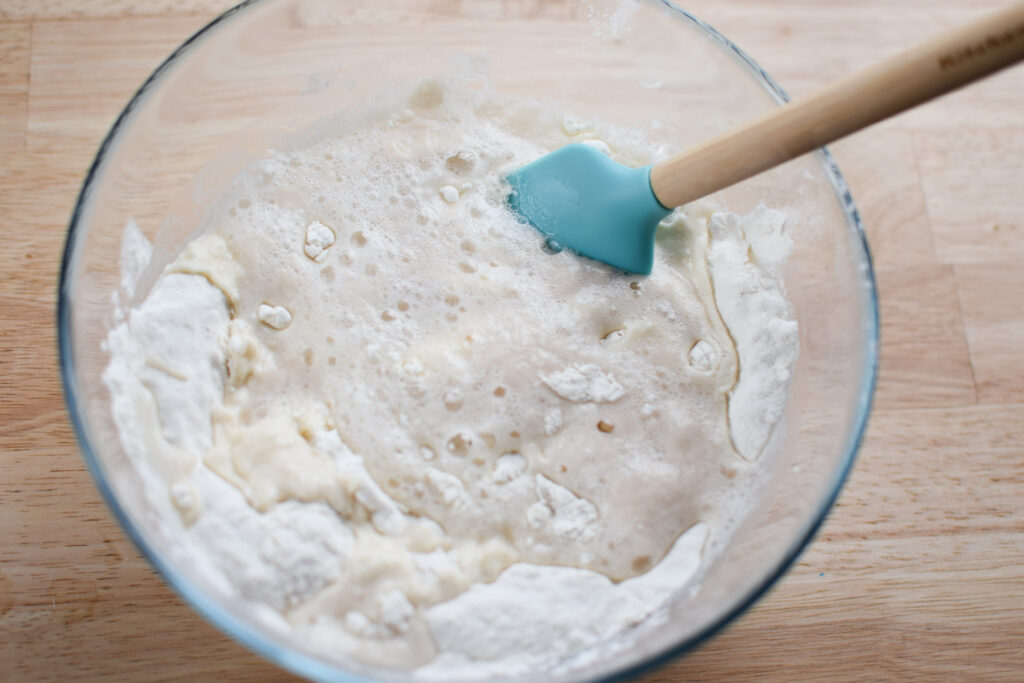
Mix with wooden or silicone spoon until it starts to come together (meaning there is no more liquid in the bowl).
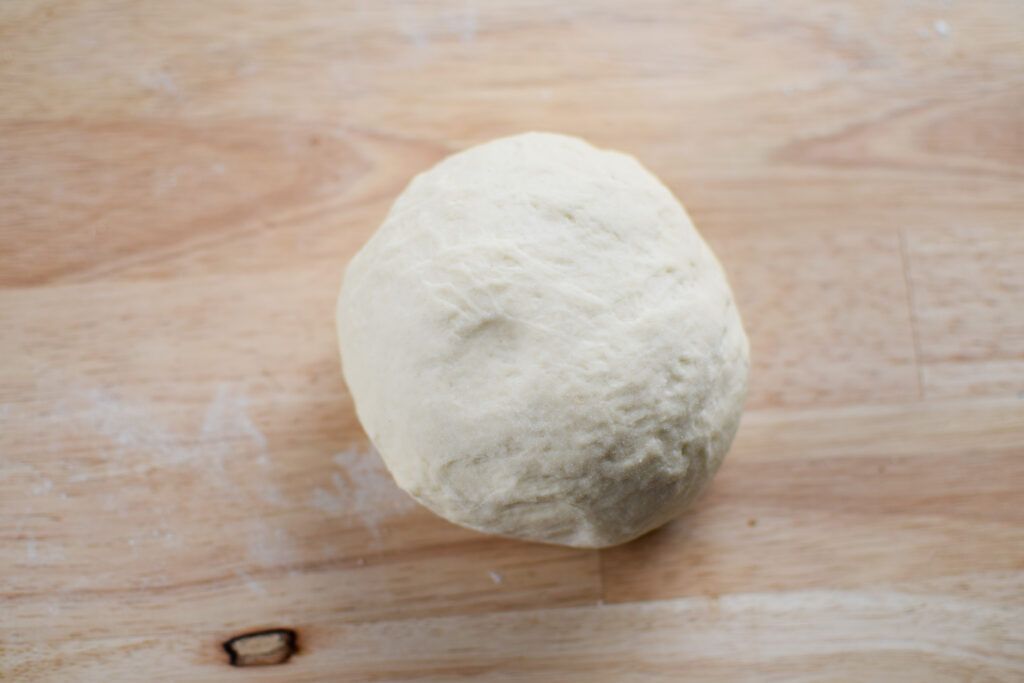
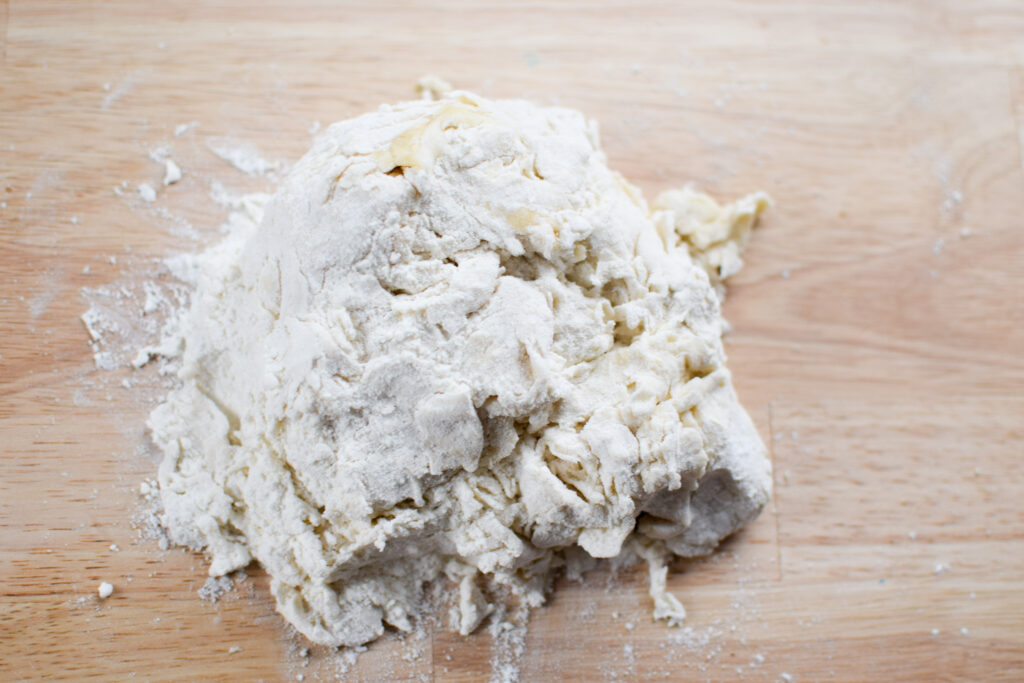
Dump your dough onto a clean surface and begin to knead the mixture until it resembles dough. Knead the dough for 5 minutes. Set a timer! 30 seconds will feel like forever but you’ll get a good feel for it and actually begin to enjoy kneading dough.
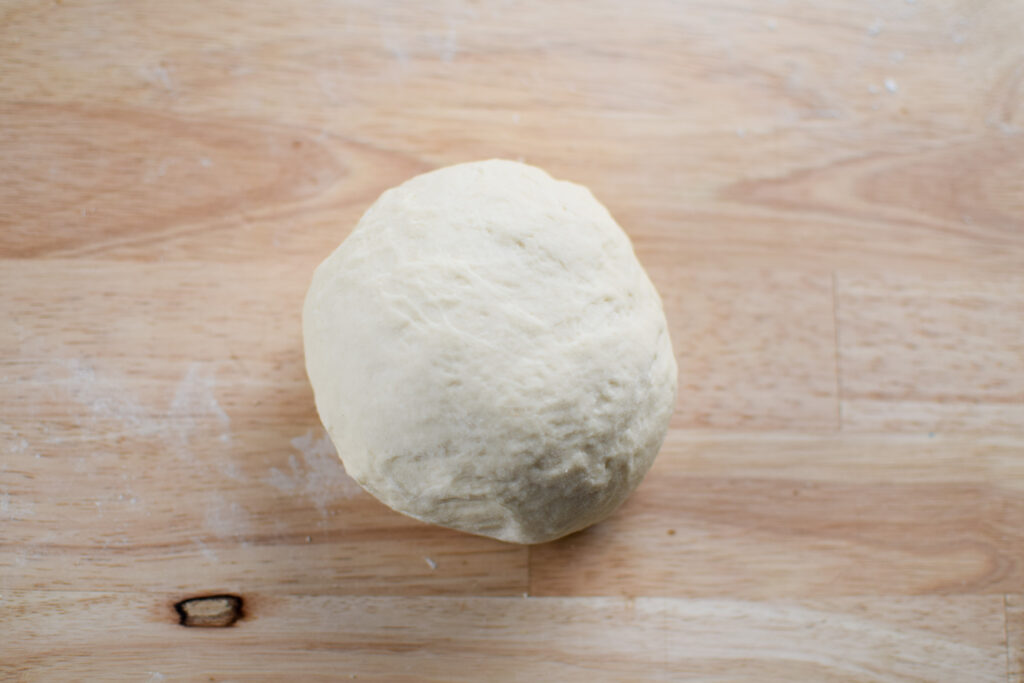
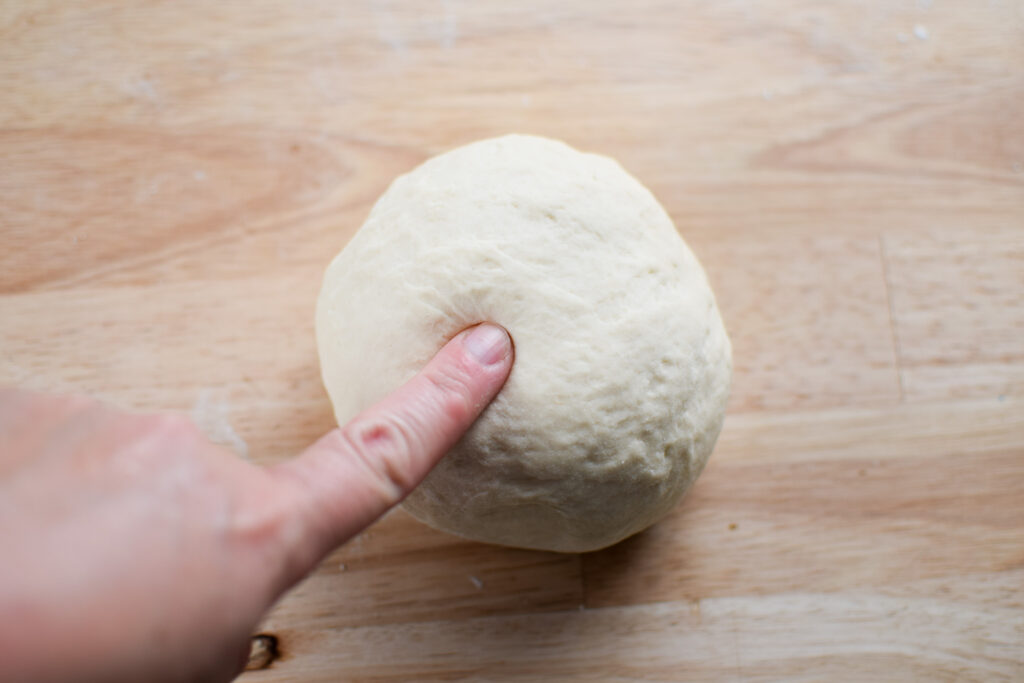
Press your finger in the dough. If the indent doesn’t bounce back right away, the dough is ready to rest and rise.
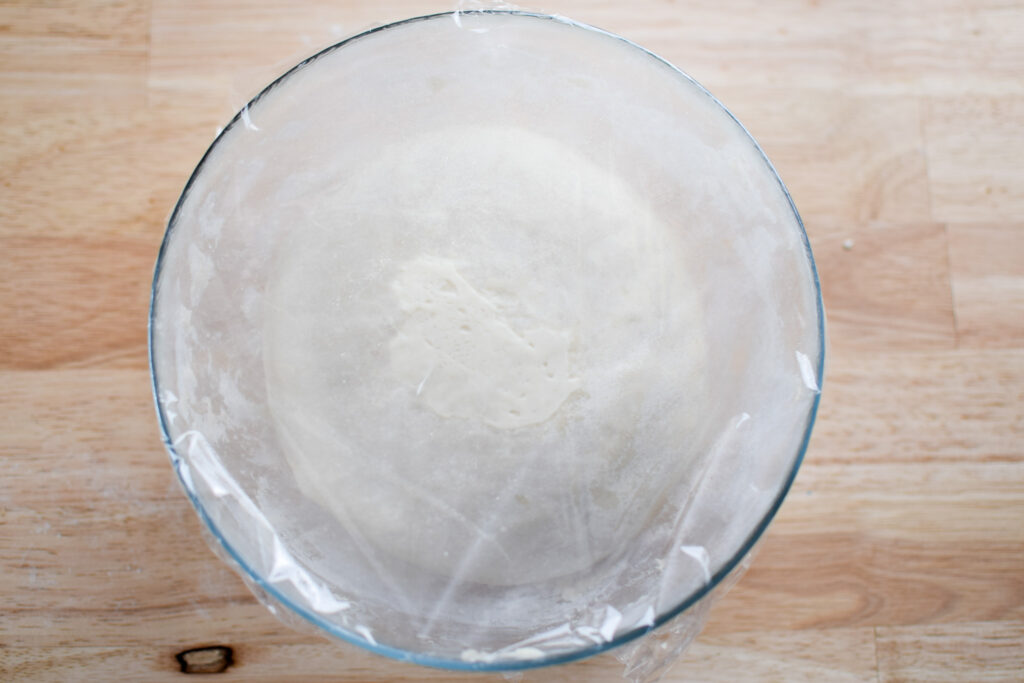
Place your dough back in the mixing bowl and cover with plastic wrap. If your kitchen is cool (mine is) place a towel over the covered bowl to keep it warm. I’ve used a full blanket at times when my kitchen is really cold.


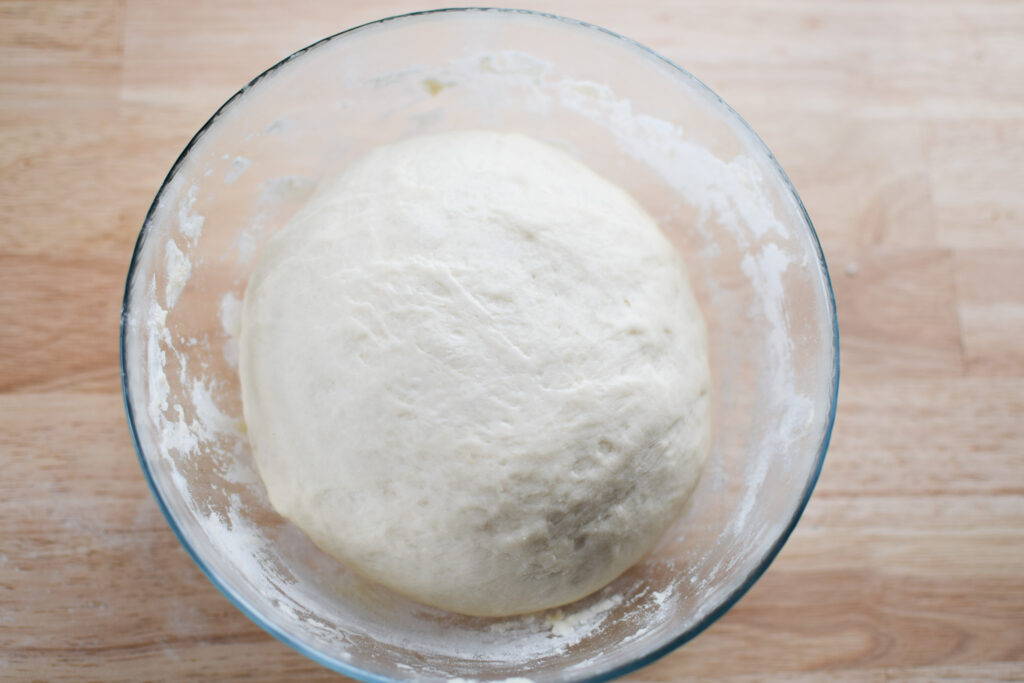
After about an hour, check to see if your dough has about doubled in size. (If not, let it rest longer.)
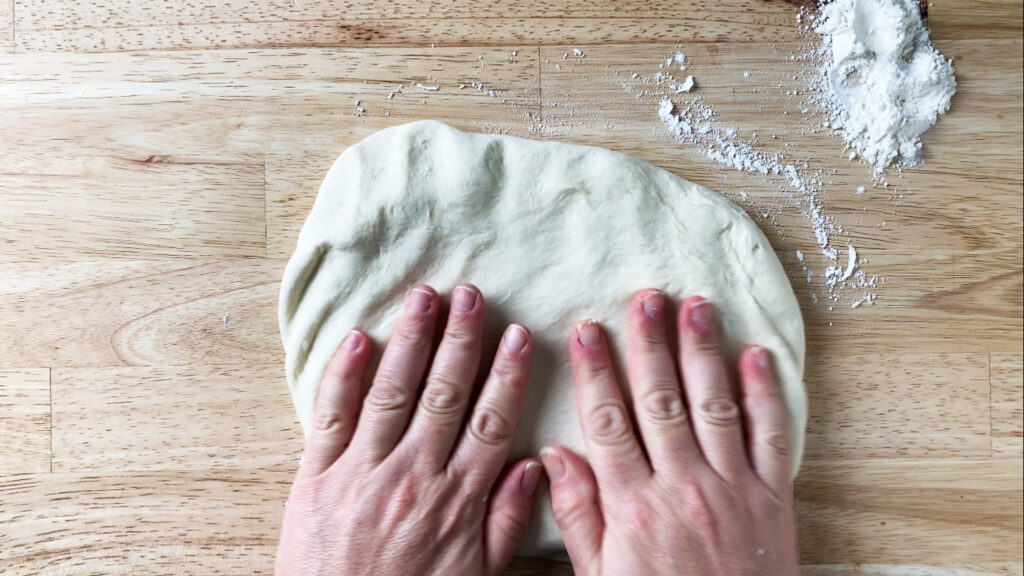
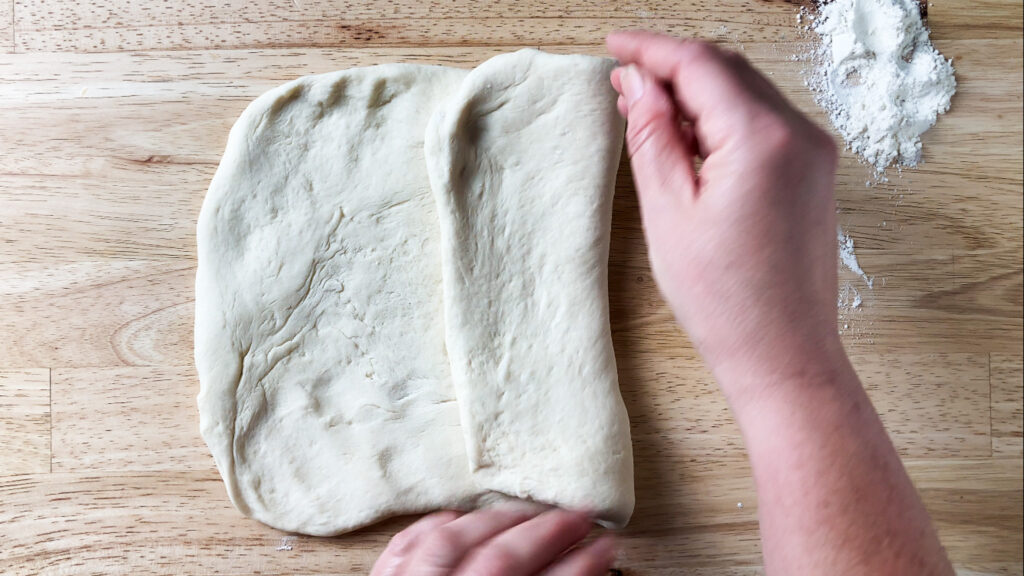
Turn your dough onto a lightly floured surface and begin flattening the dough into a rectangle.


Take the short side of the dough and fold it by 1/3 onto itself. Repeat with the opposite side of the dough, as if you were folding a letter for an envelope.
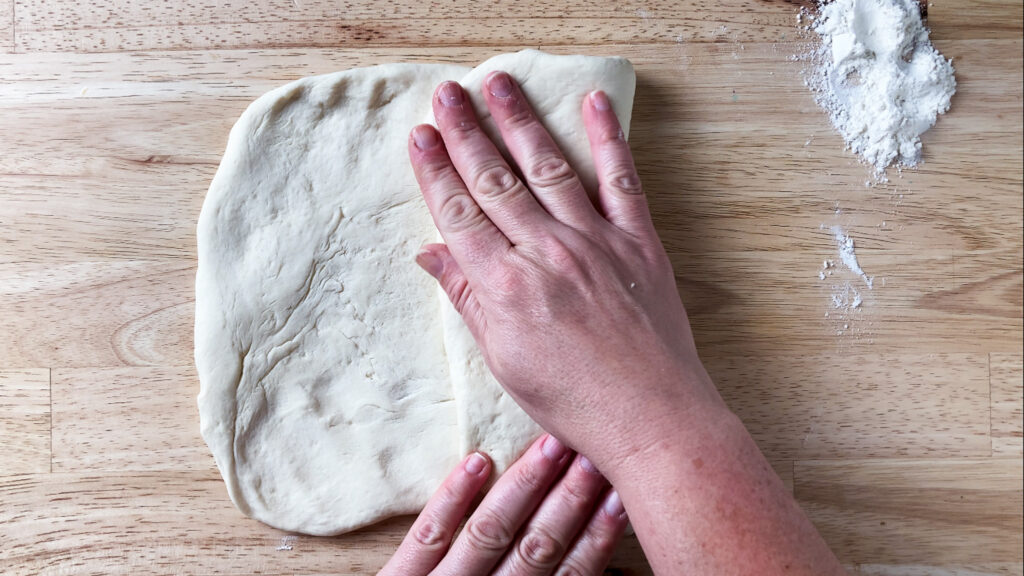

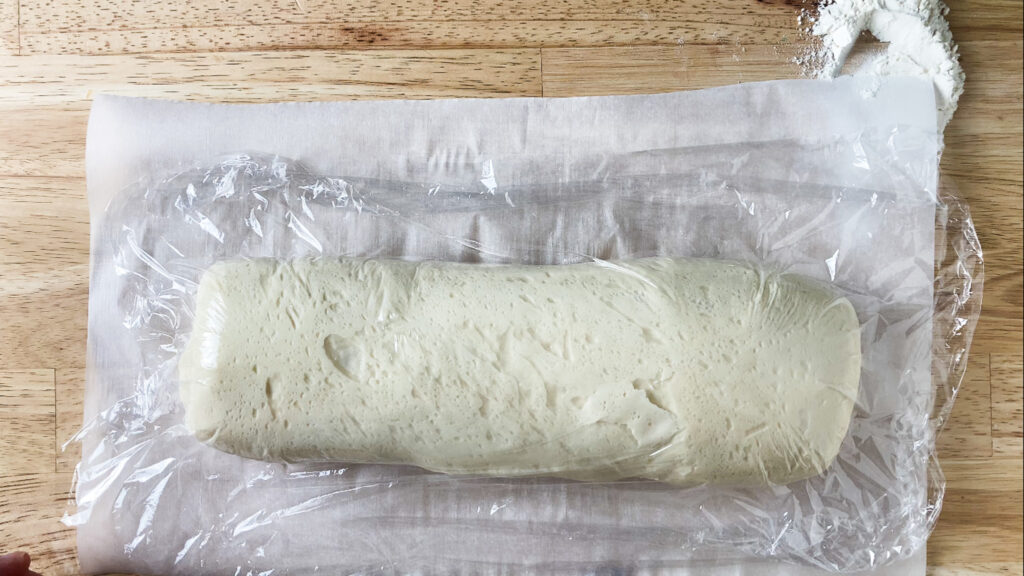
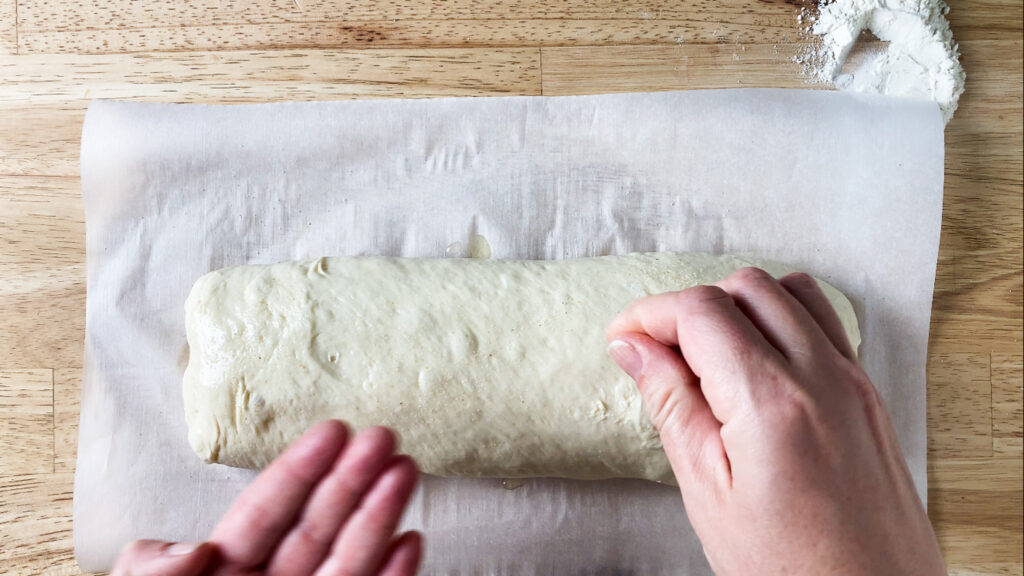
Once it’s in its envelope shape, roll the dough to build a bit of tension in it.
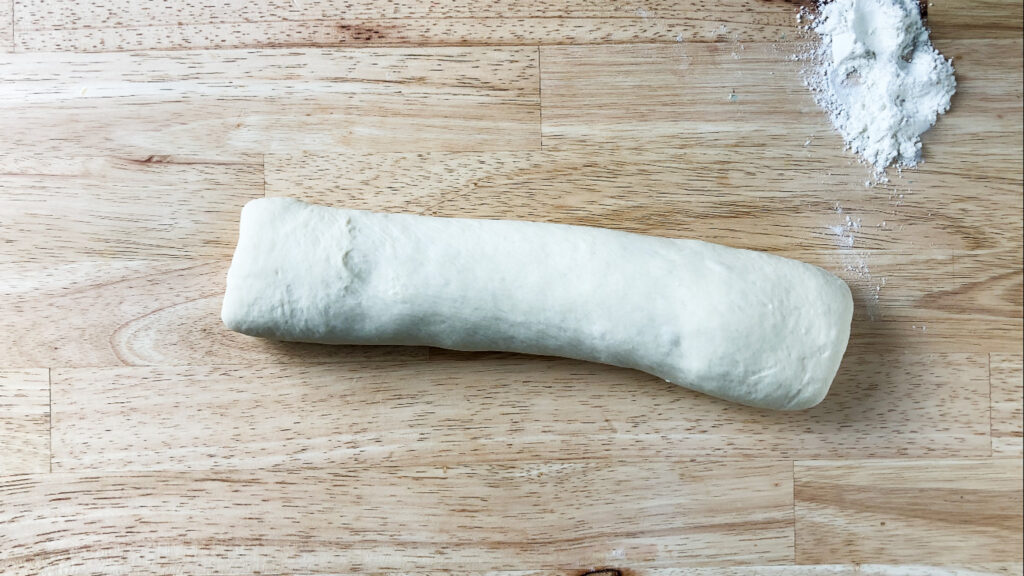
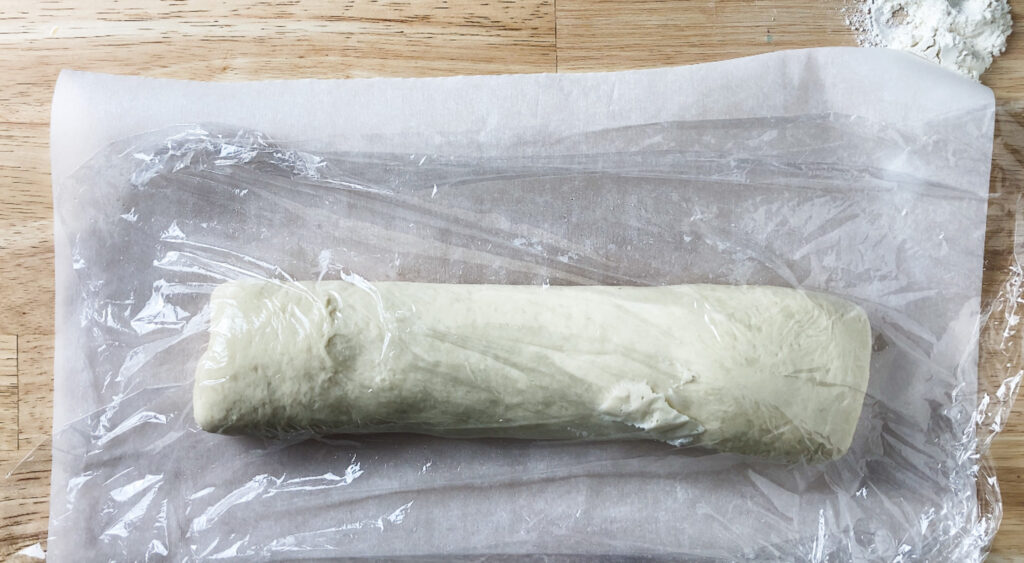
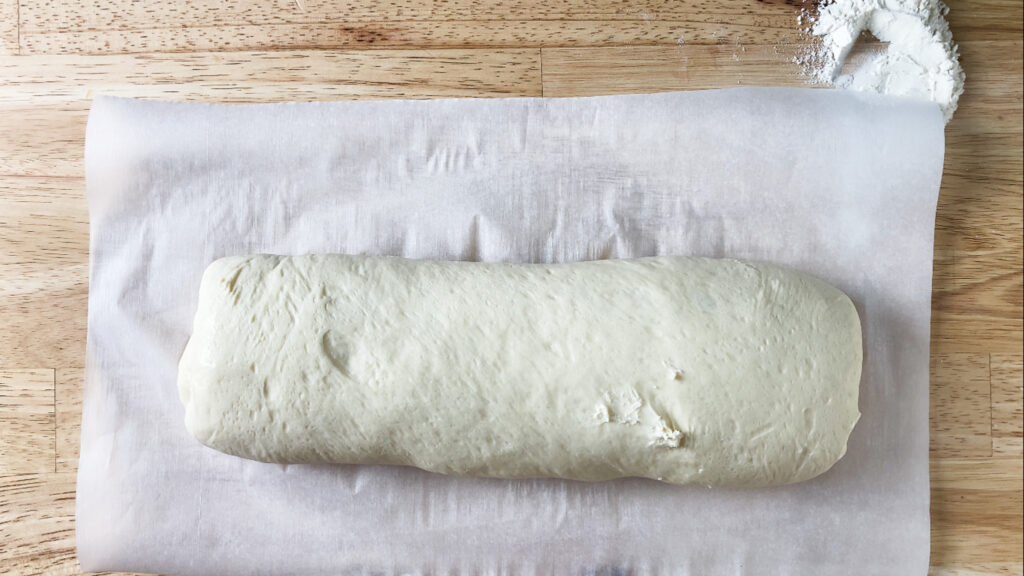
Place your dough “log” on parchment and cover it with plastic wrap to rest 1 more time, for about an hour, or until it’s roughly doubled in size.
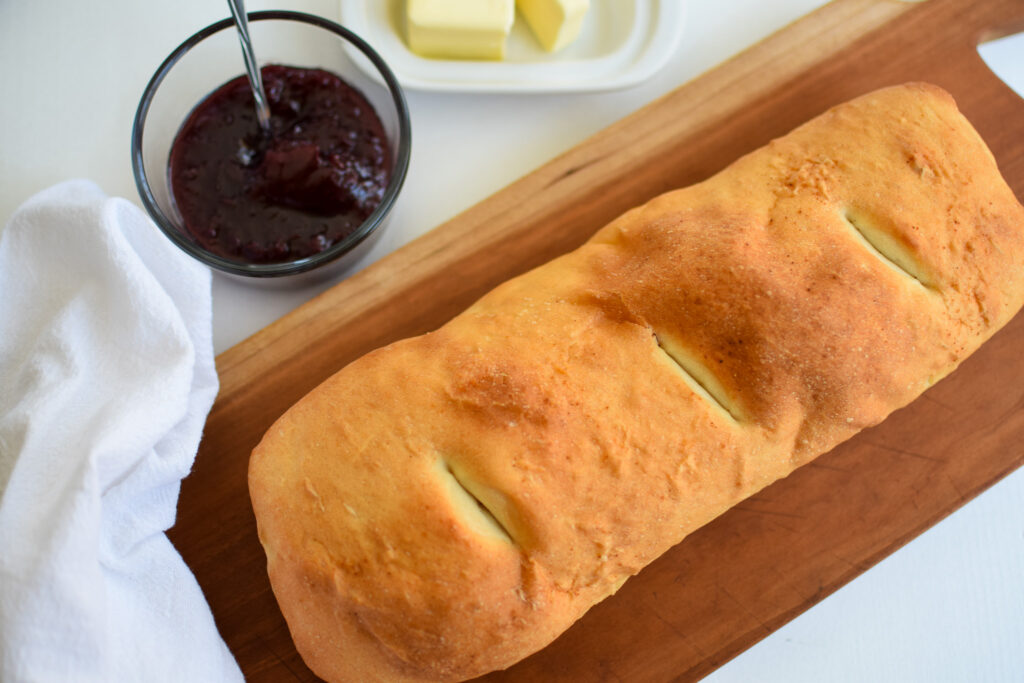
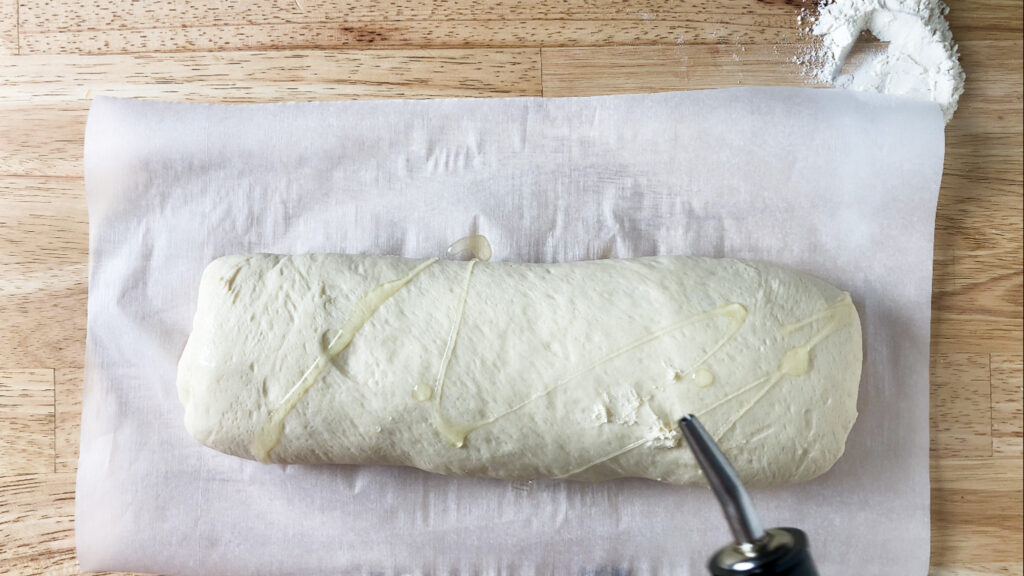
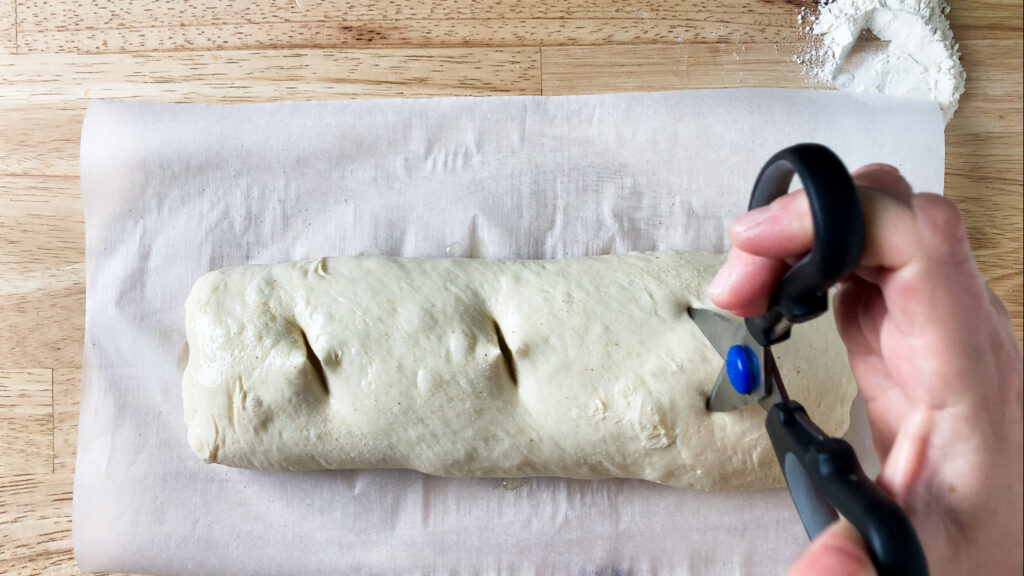
Remove the plastic and drizzle the top of this easy bread dough with olive oil. Then, sprinkle with garlic salt.
Use kitchen scissors or a sharp knife to score several marks across the top of the dough. This allows for more expansion when the dough cooks.
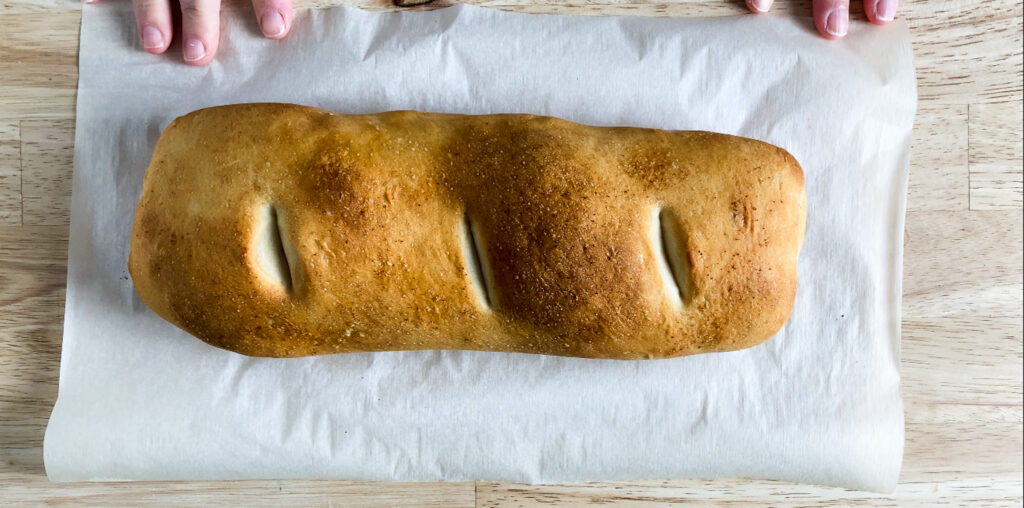
Slide your dough and parchment onto a sheet pan and bake at 400 degrees for 15-20 minutes. Watch the bread at 15 minutes. If you like a crustier bread, cook for an additional few minutes.
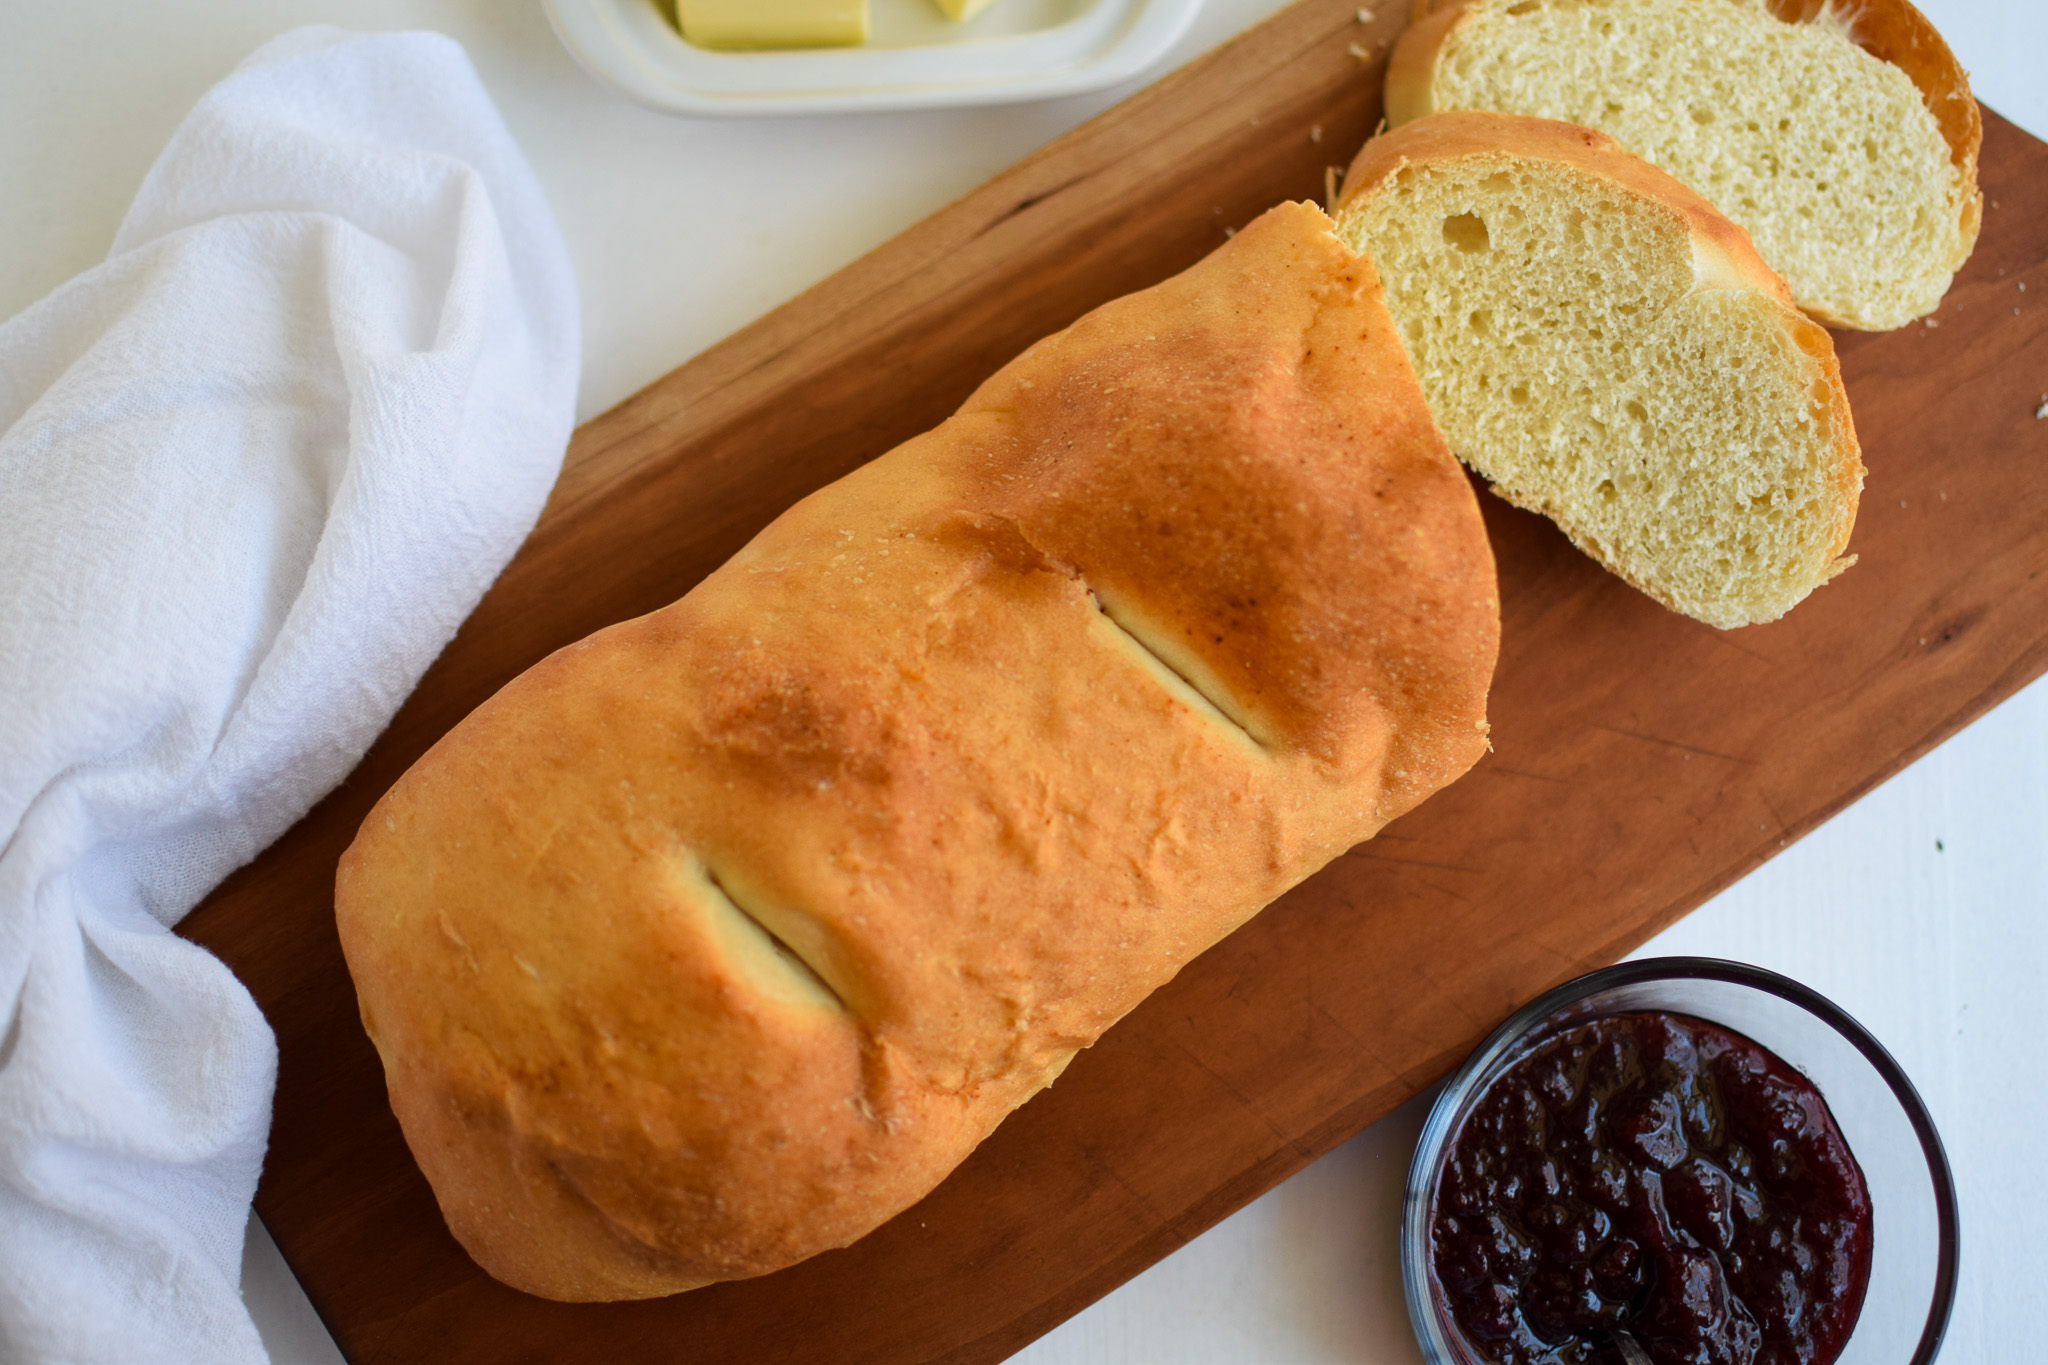
And that’s it for this easy beginner bread! It may look like a lot when it’s all written out, but don’t be overwhelmed if this is your first time baking bread. It’s so much fun to practice baking bread. And the best part? You can eat your failures!
Seriously, even a bad loaf of fresh bread is still better than a good loaf from the grocery store. So enjoy! I hope you’ve been inspired to bake a loaf of this easy beginner bread. If you do, I’d love to hear how it went!
You can follow along with me on Instagram for my latest test recipes.
Easy Beginner Bread
Ingredients
- 300 grams Bread or All Purpose Flour 2 1/2 cups
- 180 grams Water 3/4 cup
- 1 tsp Active Dry Yeast
- 1 tsp Sugar/Honey/Maple Syrup
- 1 1/4 tsp Salt
- 1 tbsp Olive Oil
Instructions
- Add yeast and sugar to warm water and set aside for about 5 minutes. It should bubble and thicken on top.
- In a large bowl, mix together the flour and salt.
- Once the yeast mixture is thick and bubbly, add it to the flour/salt.
- Mix with a wooden/silicone spoon until it starts coming together.
- Turn the dough onto a clean surface and begin to knead the flour mixture until it resembles dough. If it's crumbly and not coming together, add a bit more water, a tablespoon at a time.If it's too wet and sticky, add a tablespoon of flour at a time until it comes together.
- When you have a "ball" of dough, knead it for 5 minutes, adding a dusting of flour to your surface to keep it from sticking.
- Place the dough back in the mixing bowl and cover with plastic wrap. If your kitchen is cool, place a towel over the plastic wrap.Allow the dough to rise till about doubled in size for about an hour.
- Once the dough has risen, place it on a lightly dusted work surface and flatten out the dough so it resembles a rectangle, about 12×6. Fold the short end in about 1/3 of the way, followed by the opposite short side. Your dough should like a folded letter.Roll the dough so it forms a log.
- Place the dough on parchment paper, cover with plastic and allow to rise for 1 more hour, or about doubled in size.
- Once it's doubled, remove the plastic, drizzle with olive oil, sprinkle with sea salt, or garlic salt. Make 3 score marks along the top to allow for expansion.Let the dough rest for 10 minutes.
- Bake at 400 degrees for 15 to 20 minutes. Allow the bread to cool down after cooking before slicing.
One Comment
Comments are closed.